Jess’ Top Tips for Adding More Plants to Your Diet

Jess’ Top Tips for Adding More Plants to Your Diet

Jess’ Top Tips for Adding More Plants to Your Diet

At times, the world can seem so chaotic and be really exhausting.

Hearing about the impacts of the climate crisis, food costs increasing … it can all seem very daunting.

But what if I told you, just by changing the way you eat, can change the world AND save money!

I’ve been plant based/vegan for nearly a year now and it has completely changed my perspective on cooking, eating, and pretty much food in general.
You might think going plant based would be way too hard though. Vegetarian, yes may be doable. But vegan? Can’t imagine!
To be honest, I thought exactly the same thing. But the truth is, once you learn the basics (like riding a bike), it’s much easier than it seems.
So whether you want to incorporate more plants into your diet to improve the quality of your life, or to improve the health of the world around us, I’ll give you some easy tips on how to get started:
R

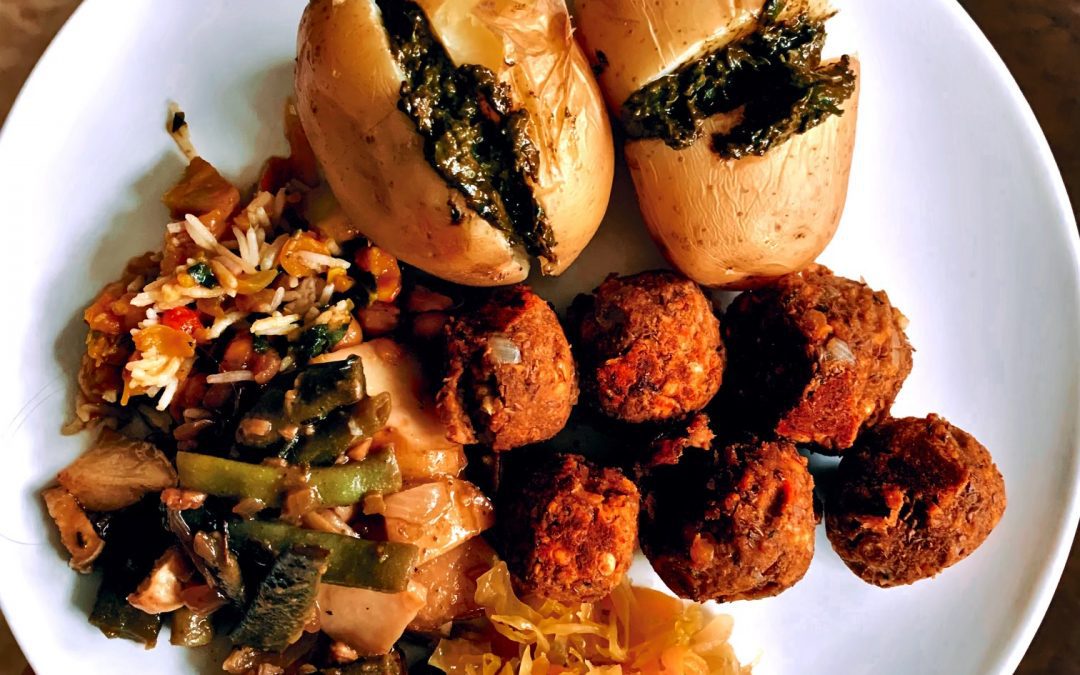
Choose your favourite meal and veganise it.

For example, if you love butter chicken, use chickpeas instead of chicken. If you love nachos, use lentils and beans instead of mince.

R

Using spices is super important!

Some plants, although they are really good for you, are just really bland. Adding spices when you cook them really helps to boost the flavour and will make you love eating plants! My favourite spice is cumin and I literally add it to everything!

R

An easy swap is changing milk for plant based milk

These are available in supermarkets, but are also very simple and cheap to make. I make my own oat milk and it only takes 5 minutes!

R

Check out cookbooks at your local library, recipes on Instagram accounts and online.

My favourite are the @tworawsisters , @plasticfreeherbivore , and @naturallynina . These have helped me develop my cooking skills and helped me get creative in the kitchen

Plant based cooking is also a lot more fun than general cooking. I’ve found that cooking with plants has helped me be more creative in the kitchen which has definitely saved me money! Once you get on the plant based journey, you’ll notice that you can cook meals with a lot more ease and not have to keep referring back to a recipe.

Eating more plants also has huge environmental benefits such as less land needing to be used for agriculture, reduces greenhouse gas emissions, reduces water consumption, protects oceans, and saves animal lives. Since less land will needed to be used to grow food, it means that more land can be regenerated into their natural landscape which increases biodiversity and protects nature.

So what are you waiting for?

You don’t have to be vegan or vegetarian to include more plants in your diet. There’s a lot of scientific evidence out there that shows that incorporating more plants into your diet will reduce your risk of cancer, make you happier, and overall live a happier and healthier life.
If you want to know more, you can follow me on Instagram at @plantbasedecowarrior where I share recipes and facts about plant based eating.

How to Make Your Own Compost

How to Make Your Own Compost

How to Make Your Own Compost

What you’ve got is not waste!

Have you ever seen living and breathing compost? It almost looks like brownie right. Sometimes it smells and looks so good I just want to eat it. Of course I don’t. The plants need it more than I do.

I have talked with so many people and lots of them say they want to compost, but have absolutely no idea where to start. It stinks. It’s gross. Or they don’t have enough space.

But don’t get worried, just get wormy, because I am here to help you compost!

Photo Credit: UC Photographer.

How to start your own compost

First of all you have to decide on what method of composting you are going to do, and what type of compost bin.

Are you going to Bokashi, have a contained worm farm, an in-ground worm farm, have a black compost bin, a wooden pallet compost bin, or do you have no space and instead are going to share your scraps on the app ShareWaste?

Location

No, your compost bin doesn’t need full sunlight and it can be in partial shade. Just put it wherever works for you. Ideally close to your house so that you’re not walking miles to empty your food scraps, as well as making sure it is on grass/soil NOT on concrete.

Next step is to have a closed-lid container in your kitchen

This is where you can separate your food scraps from your trash. An ice cream container will do.

Once your container is full, it’s time to empty it.

First add a few handfuls of sticks to the bottom, as this creates air flow. Then add a layer of dead leaves (heaps around now being Autumn) or ripped up paper/cardboard.

Then you can add your food scraps. Continue to layer your compost bin like this with dead leaves/ paper and then food scraps.

Finally, like making a cake, a compost ‘cake’ has 4 important ingredients.

Air, moisture, browns and greens.

You create the air through aeration, by using a garden fork or compost aerator. The moisture, through watering your compost when it’s too dry. Your brown materials are your non-smelly, ‘dead’ materials, such as dead leaves, paper, cardboard, toilet rolls, sticks… And your green materials are the smelly, ‘living’ materials, such as coffee grounds, food scraps, fresh lawn clippings, fresh garden clippings…

You don’t need to know everything before you start composting, because that will NEVER happen! The point is diverting your food scraps from landfill, and making glorious compost which can be used to increase the health of your plants and the soil.

I am from Rotorua, but I am studying Environmental Science at UC. I have been running compost workshops for one year and when I started, I definitely did not know as much as I do now. It’s about failure, and experimenting, as that is how you learn.

Follow me on Instagram @kaitlyngrowz where I share tips on how to compost – I also run a business called Kai Compost, where I do compost consulting.

Happy Composting!

Kaitlyn

Photo Credit: Rotorua Lakes Council.

Words: Kaitlyn Lamb

Kaitlyn is studying Environmental Science at UC and runs compost workshops and consulting.

Follow me on Instagram @kaitlyngrowz and Kai Compost.

Strawberry Maintenance as Winter Approaches

Strawberry Maintenance as Winter Approaches

Strawberry Maintenance as Winter Approaches

I take my strawberries very seriously, like over 300 plants seriously! 

The past year I harvested over 40 kilograms of strawberries from my patch, that’s not including all that were gobbled along the way, which was many.

As Winter approaches and garden jobs tend to ease off, now is the perfect time for the scraggly strawberry patch to get some much needed attention from me.

Firstly I lift all the plants, seperate the runners aka baby plants, and soak in a wheelbarrow or bucket full of seaweed tonic or homemade fertiliser (like comfrey or nettle tea) for as little as 2hrs to a much as 48hrs, depending on how speedy I am at prepping the bed to replant them.

I’ll prepare the strawberry beds, always located in full sun, with what resources I have, which are alpaca manure & dried willow leaves mixed into the existing soil and topped with pine needles for mulching. Any aged manure and fallen leaves will do (not walnut), alternatively a top up of compost if you have some handy, and a mulch with pea straw would work equally as well.

Then time to get those well hydrated and fed strawberry plants back into the soil, nice and tucked up with mulch. That’s it for Winter.

Come Spring I’ll give them a feed of seaweed tonic, and again a couple more feeds during Summer to keep them flowering and fruiting into Autumn.

Biggest tip, bird netting from early Spring! They will find and devour them, and invite all their mates to the party.

I frequently share tips on strawberries and various other vegetable garden related topics on my Instagram page @nzgardener, I love sharing my North Canterbury 1000m  garden, harvests, flowers, alpacas and sunken glasshouse (walipini) on there, so feel free to hop on over and take a look.

Happy garden days!

Candy

Words and pictures: Candice Harris

Follow Candy on Instagram