Community Gardens For Building Stronger Communities and Food Security

Community Gardens For Building Stronger Communities and Food Security

In an era where digital connections often overshadow face-to-face interactions, community gardens stand as vibrant and transformative spaces.

These oases of greenery not only offer an opportunity to grow fresh produce but also foster a sense of belonging, promote sustainability, and empower communities. In this article, we will explore the beauty and benefits of community gardens, highlighting their positive impact on individuals and neighborhoods.

  1. Nurturing Relationships:

Community gardens serve as meeting grounds for like-minded individuals, fostering connections among people from diverse backgrounds. The act of gardening together creates opportunities for meaningful conversations, shared experiences, and a sense of belonging. Whether you are a seasoned gardener or a novice with a curious spirit, community gardens provide a supportive environment where knowledge and skills can be exchanged, deepening community ties.

  1. Growing Food, Growing Resilience:

One of the fundamental aspects of community gardens is their ability to enhance food security and resilience. By growing their own fruits, vegetables, and herbs, community gardeners become more self-reliant and gain control over their food supply. This is particularly valuable for individuals and families facing financial constraints or lacking access to fresh, healthy produce. Moreover, in times of crisis or disruptions in the food system, community gardens can serve as local sources of sustenance and nourishment.

  1. Sustainability in Action:

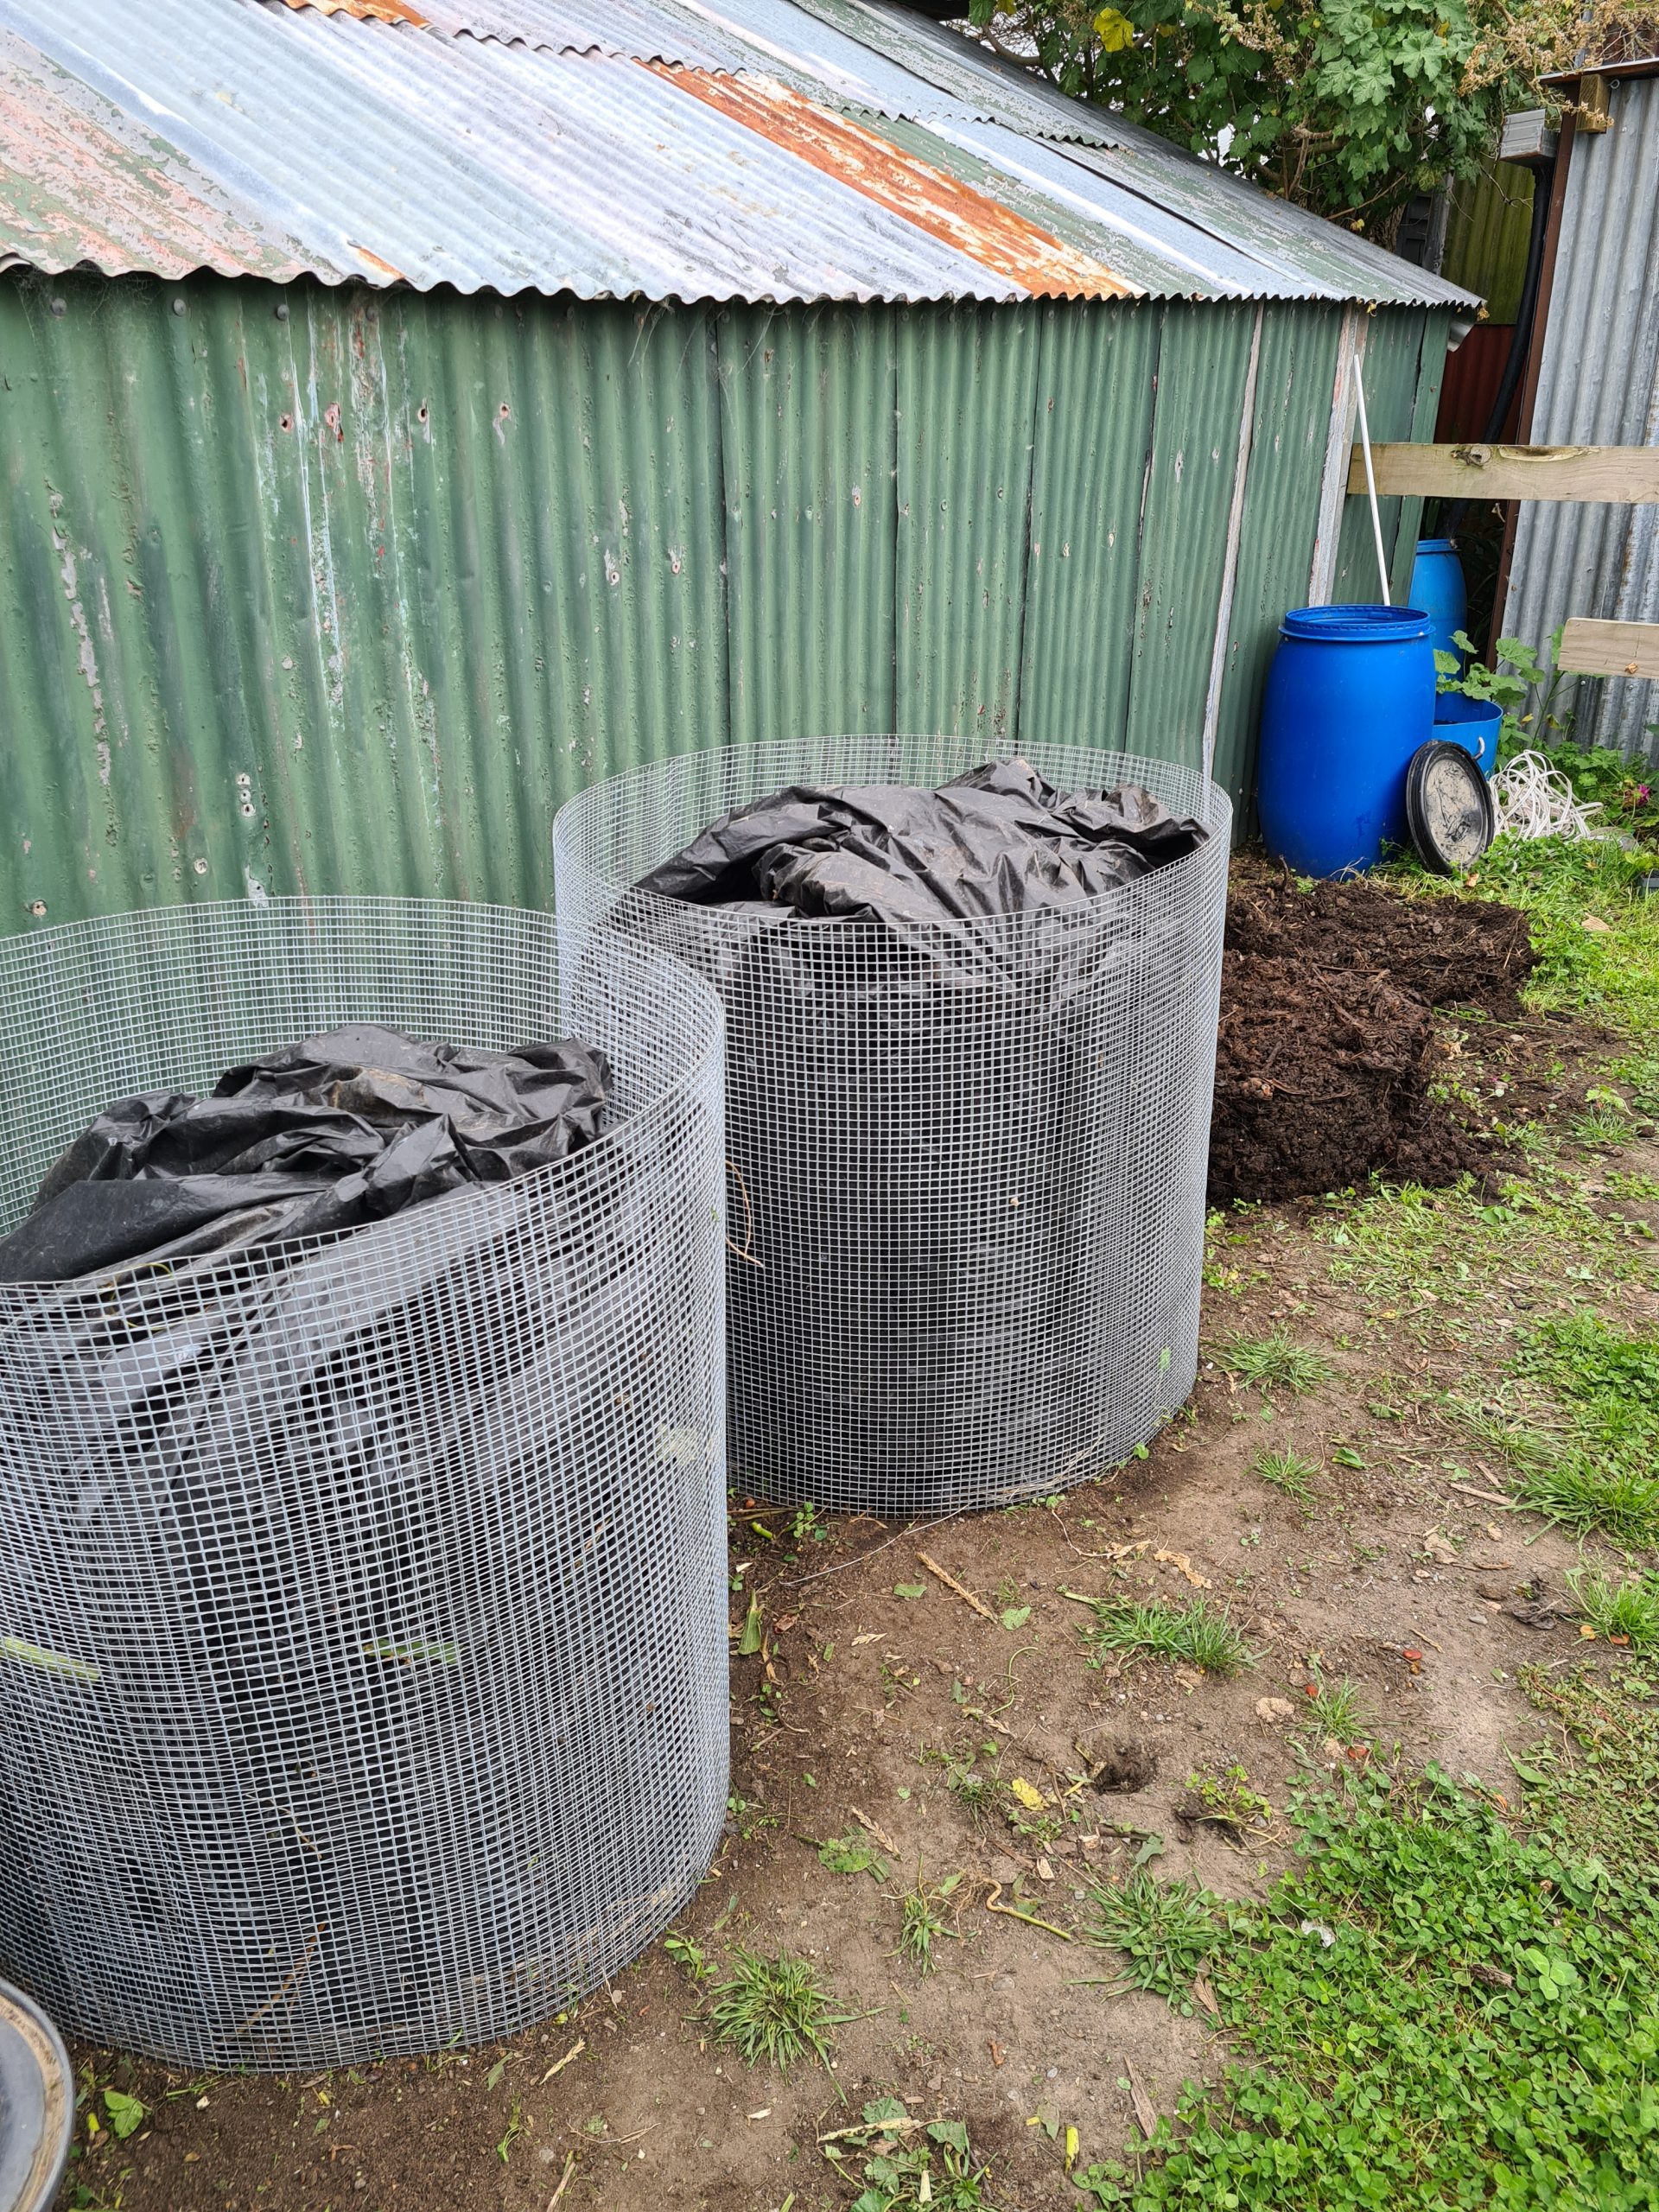
Community gardens embody sustainability at its core. These green spaces encourage organic gardening practices, composting, and water conservation techniques, reducing reliance on chemical inputs and minimizing environmental impact. By cultivating an appreciation for the natural world and practicing sustainable gardening methods, community gardeners contribute to the preservation of local ecosystems and the overall health of the planet.

  1. Spaces for Learning and Empowerment:

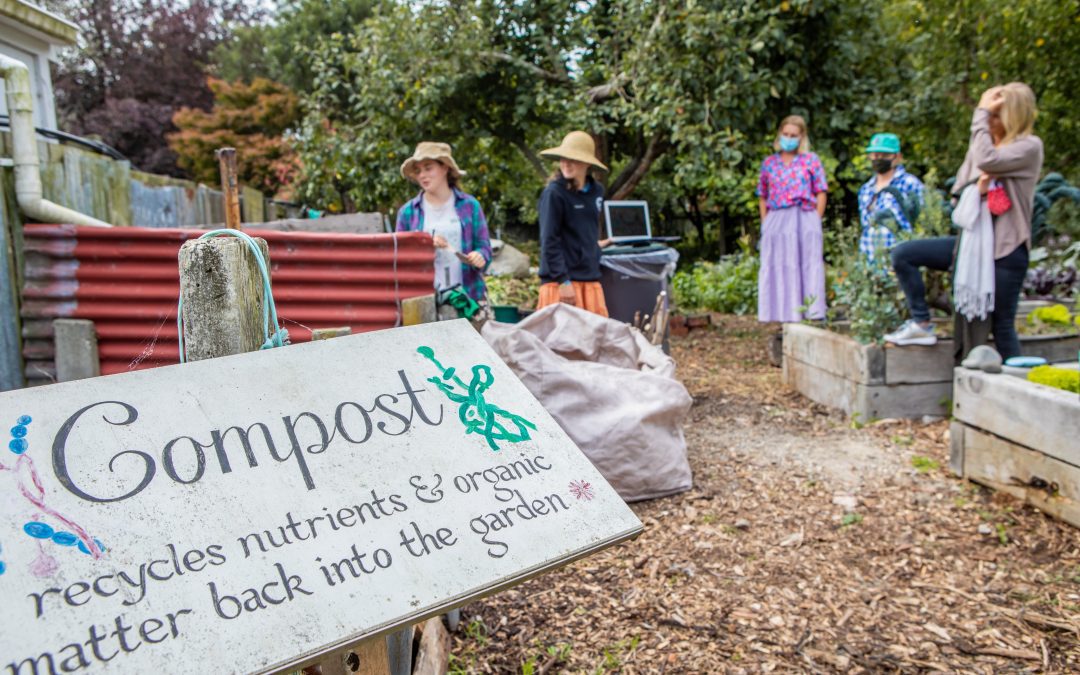
Community gardens are not limited to the act of growing plants; they also serve as educational platforms and empowerment hubs. Many community gardens offer workshops, classes, and demonstrations on topics such as permaculture, composting, and urban farming. These initiatives equip individuals with practical skills and knowledge, empowering them to become stewards of the environment and advocates for sustainable living. Additionally, community gardens often collaborate with local schools, providing students with hands-on learning experiences and fostering a sense of responsibility towards nature.

  1. Building Stronger Communities:

Community gardens act as catalysts for positive social change. They create spaces where neighbors can come together, fostering a sense of community pride, ownership, and cooperation. These gardens often host events, celebrations, and festivals, further strengthening community bonds. By nurturing a shared sense of purpose and fostering a spirit of collaboration, community gardens contribute to safer, healthier, and more vibrant neighborhoods.

Kaiapoi Community Garden
Hope Community Garden
Community gardens represent more than just plots of land filled with plants. They are dynamic and transformative spaces that cultivate connections, resilience, and sustainable practices. Through fostering relationships, promoting food security, embracing sustainability, and empowering individuals, community gardens bring positive change to both individuals and the communities they serve. So, let’s embrace the magic of community gardens, sow the seeds of togetherness, and watch as these green spaces bloom into flourishing centers of empowerment and nourishment for all.
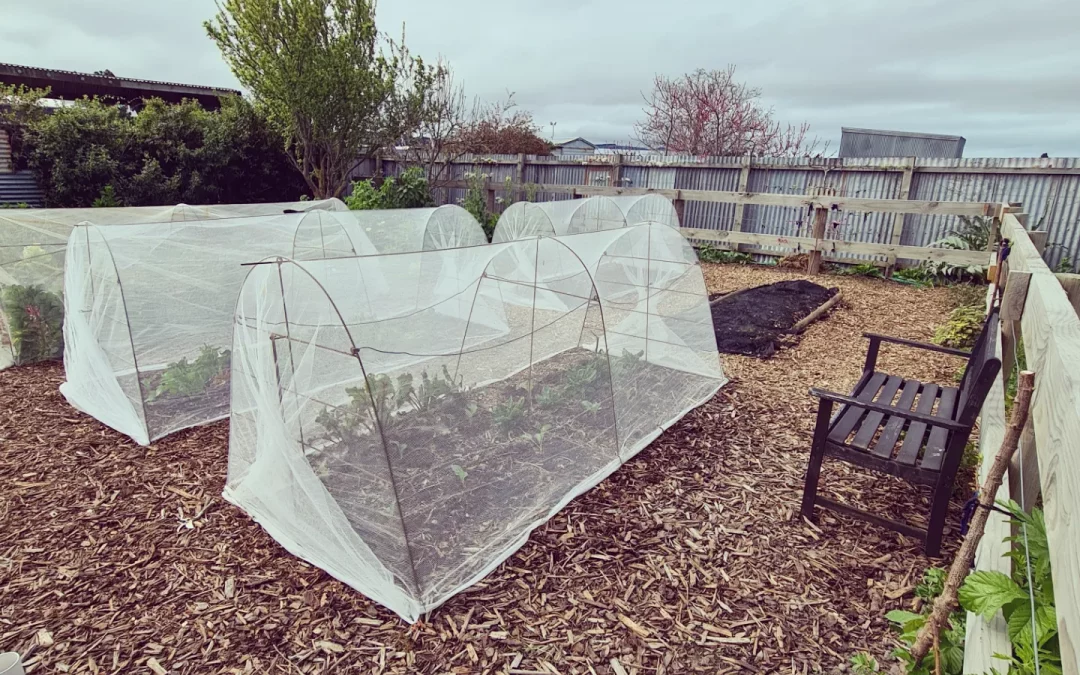
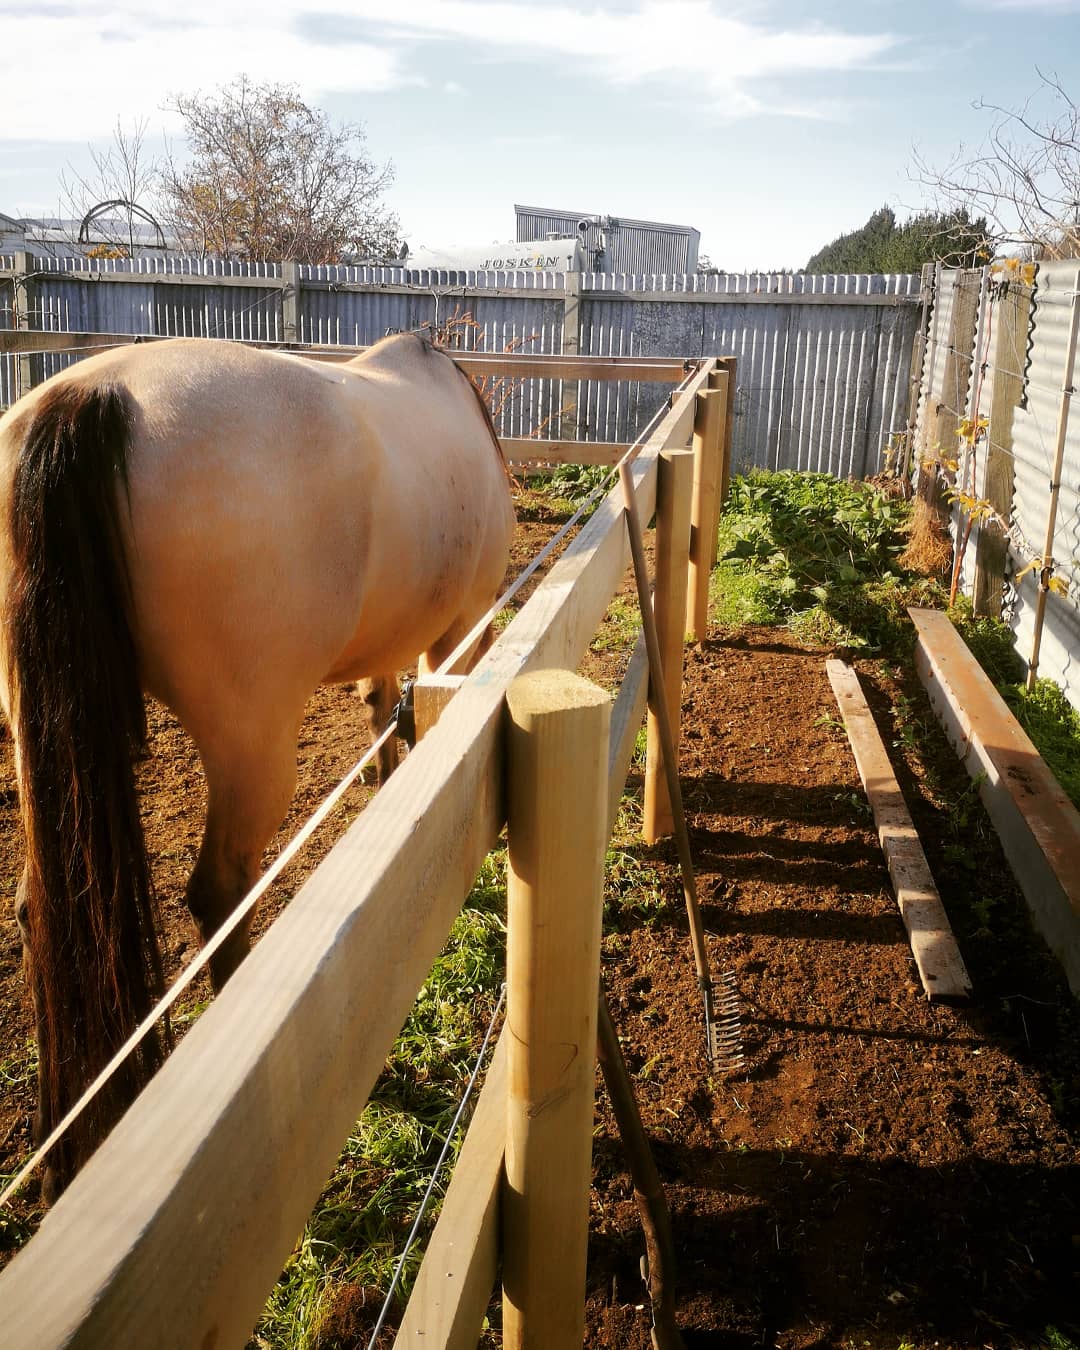
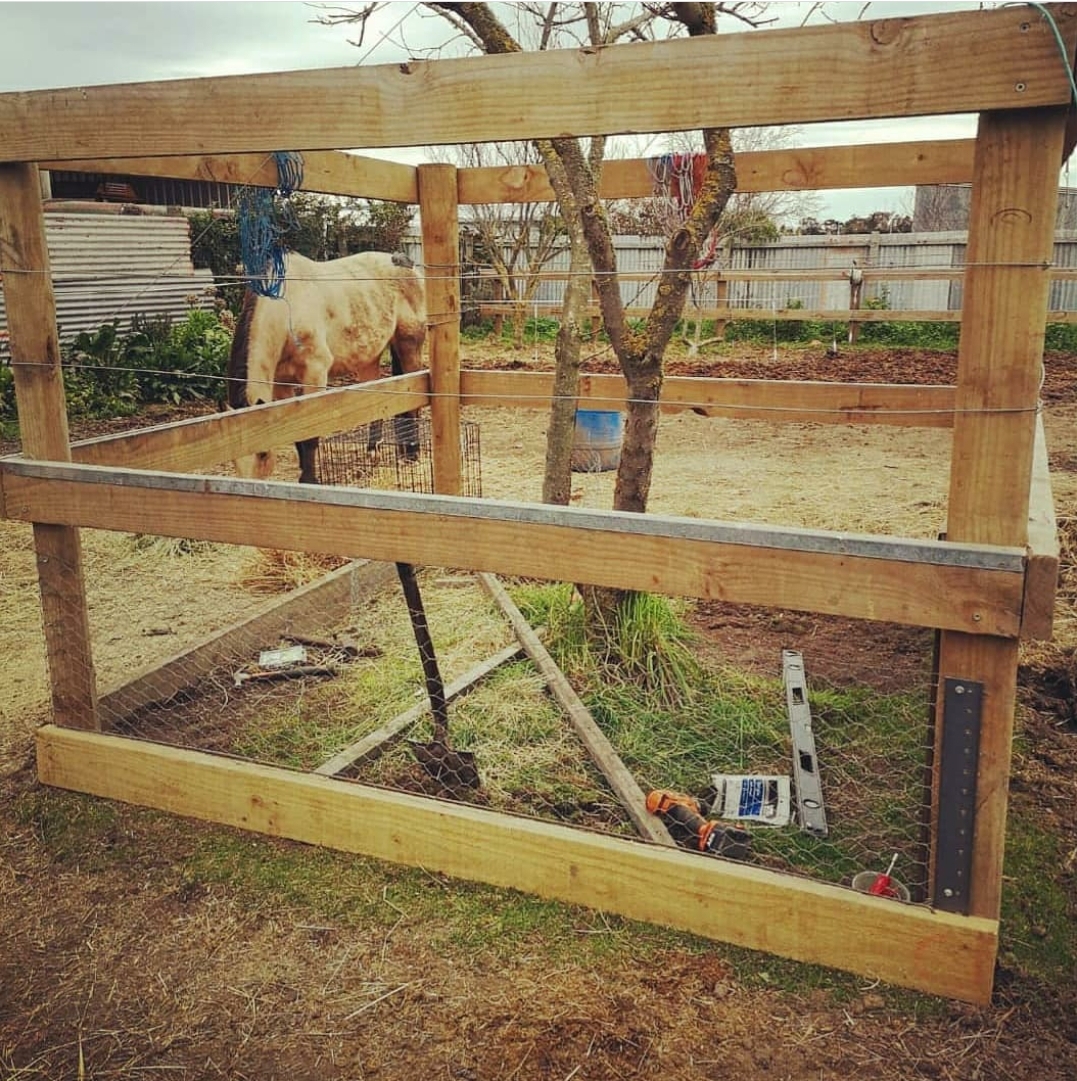
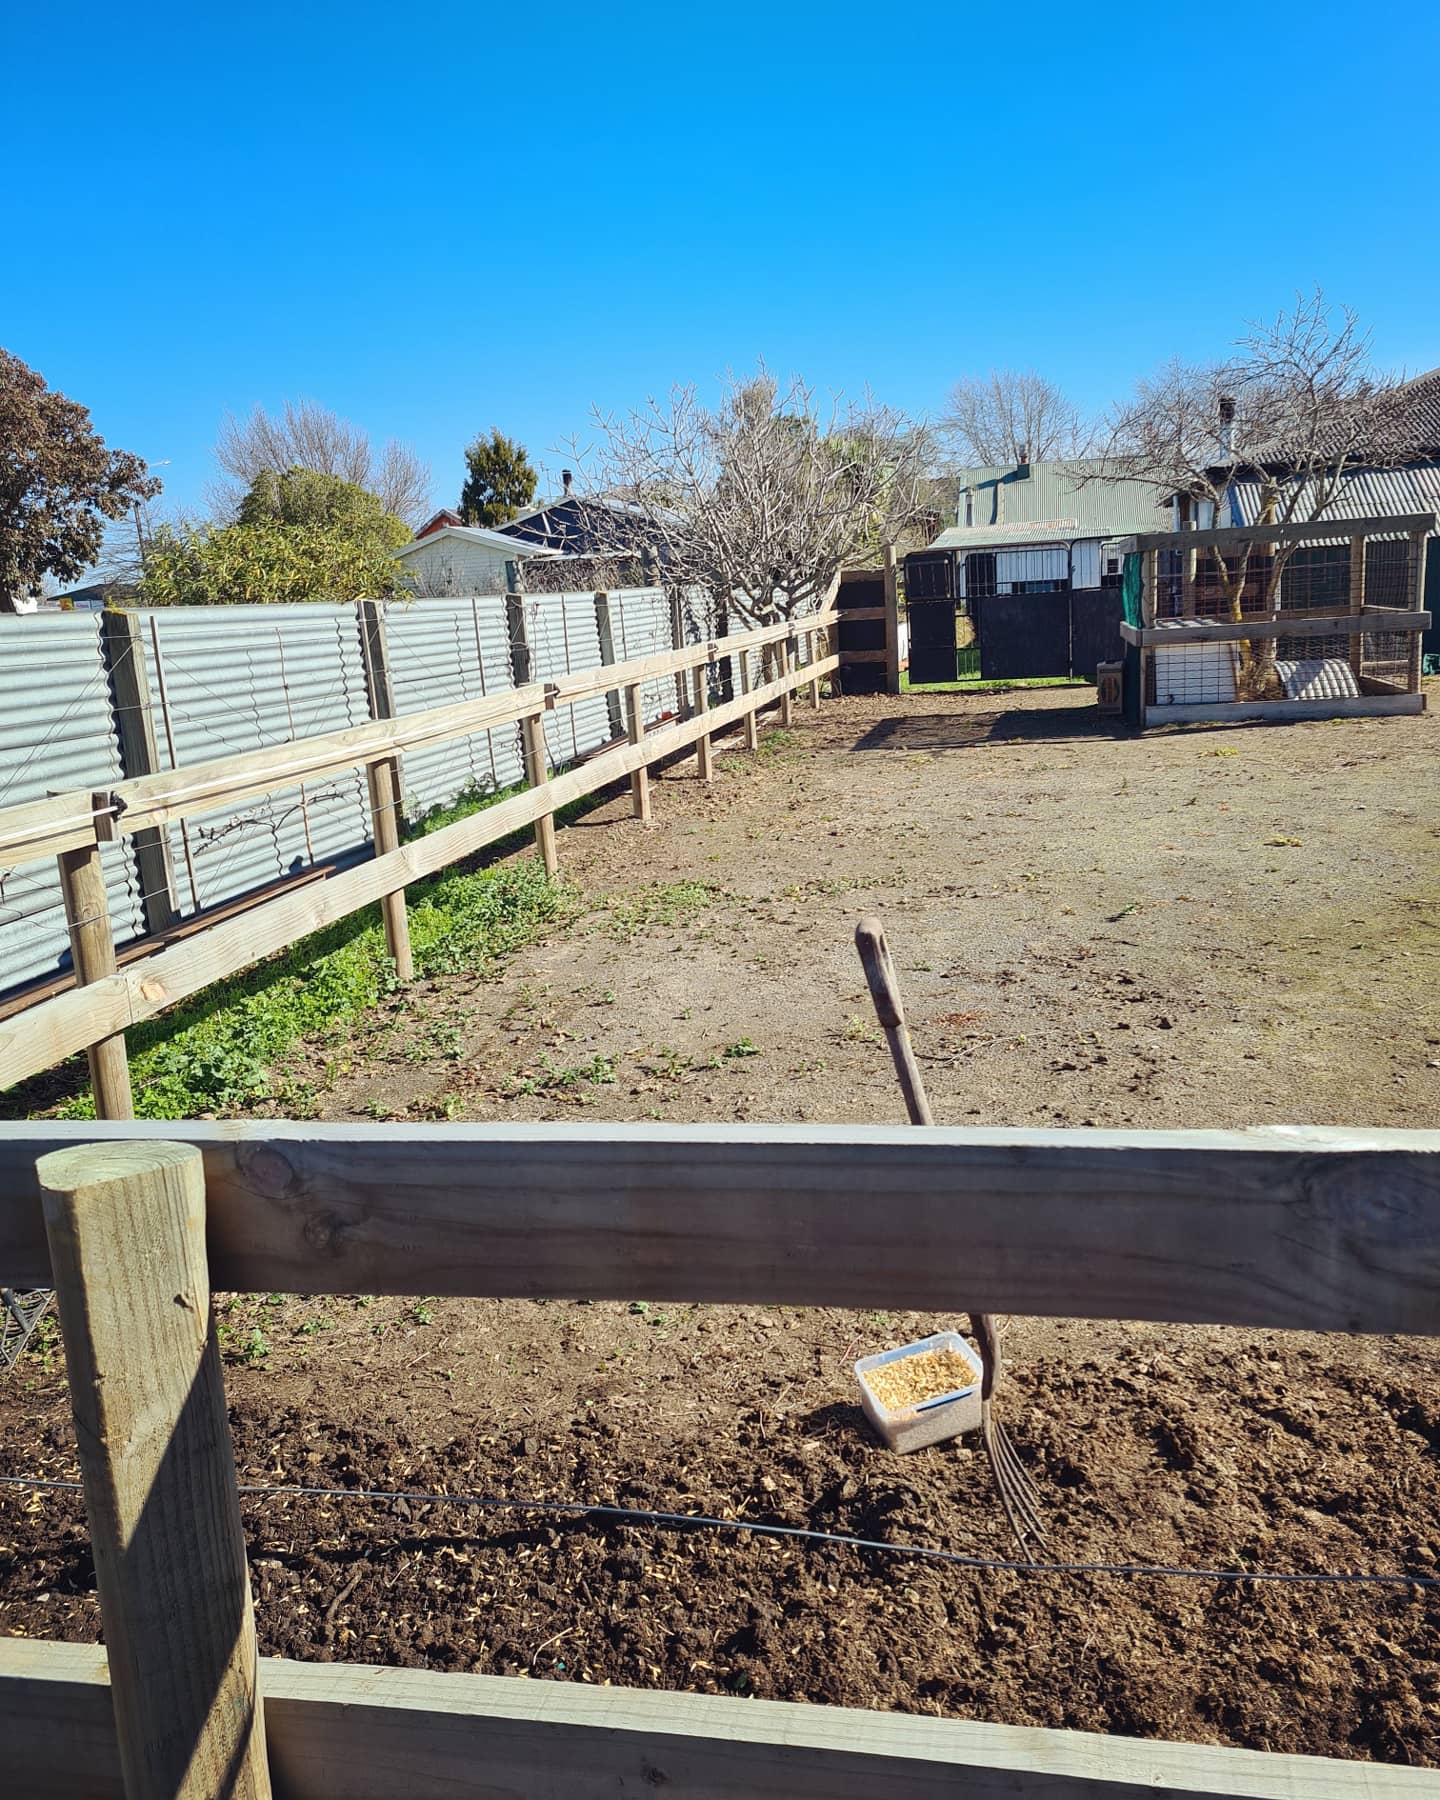
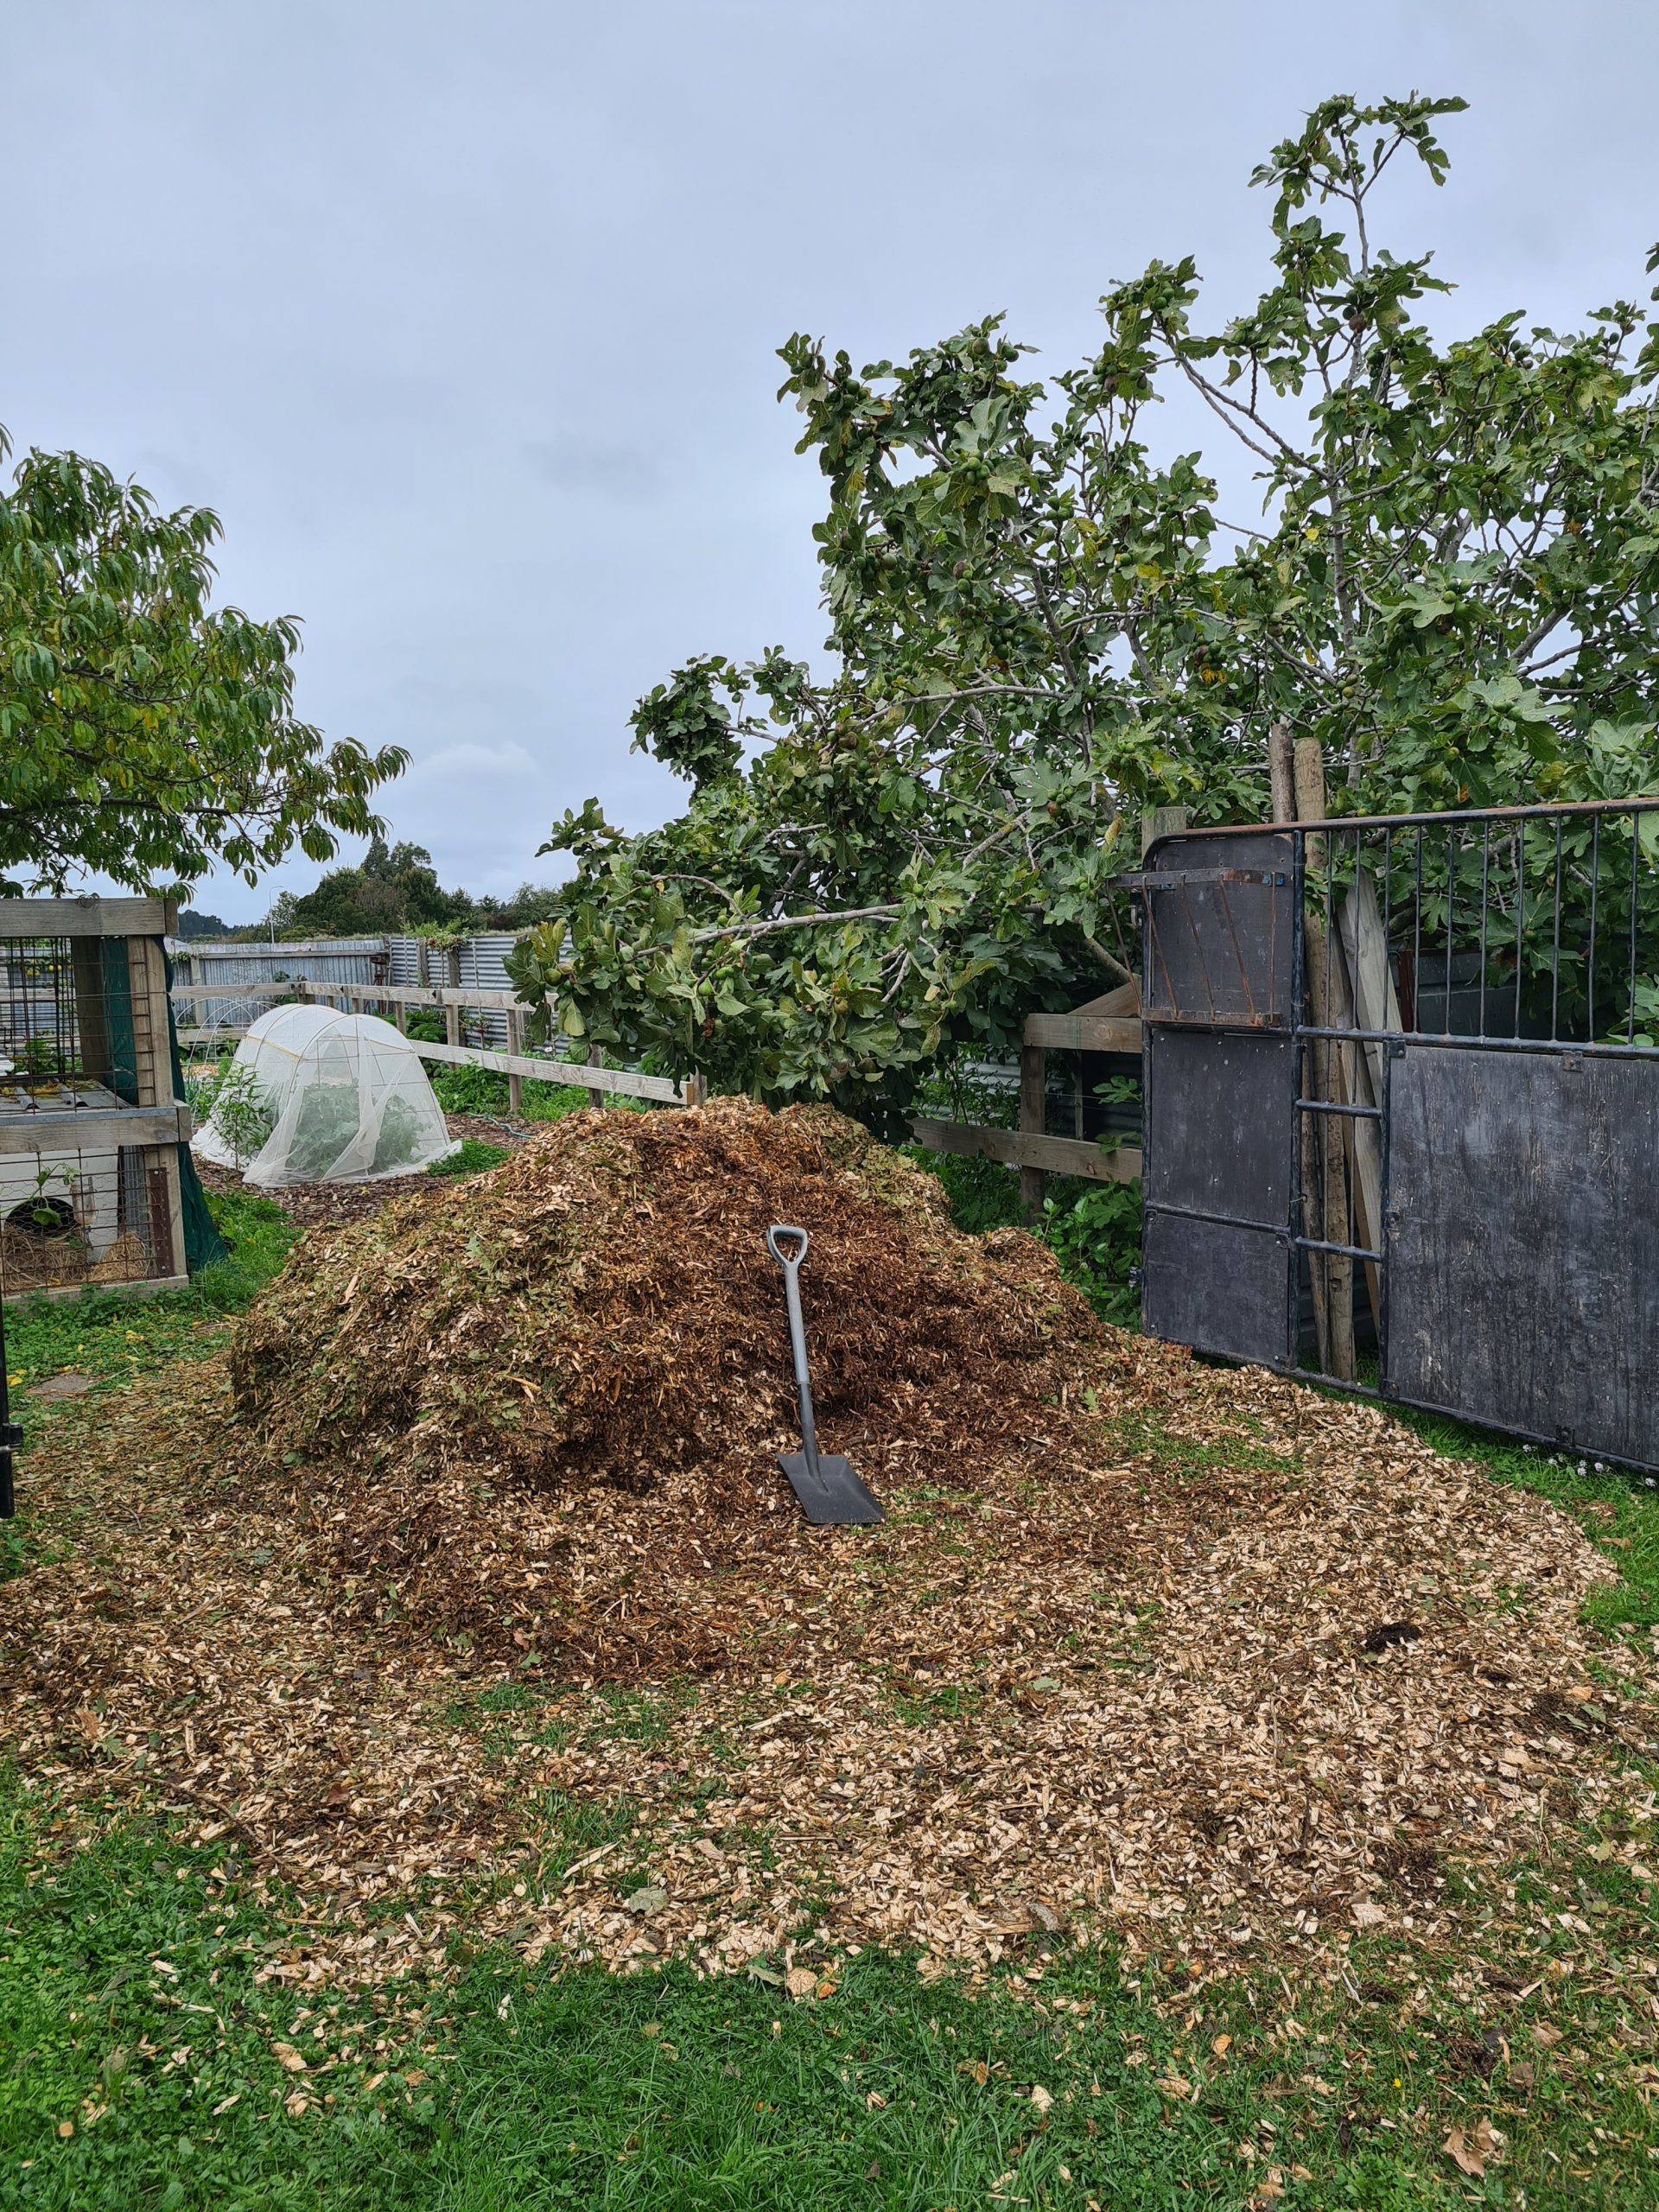
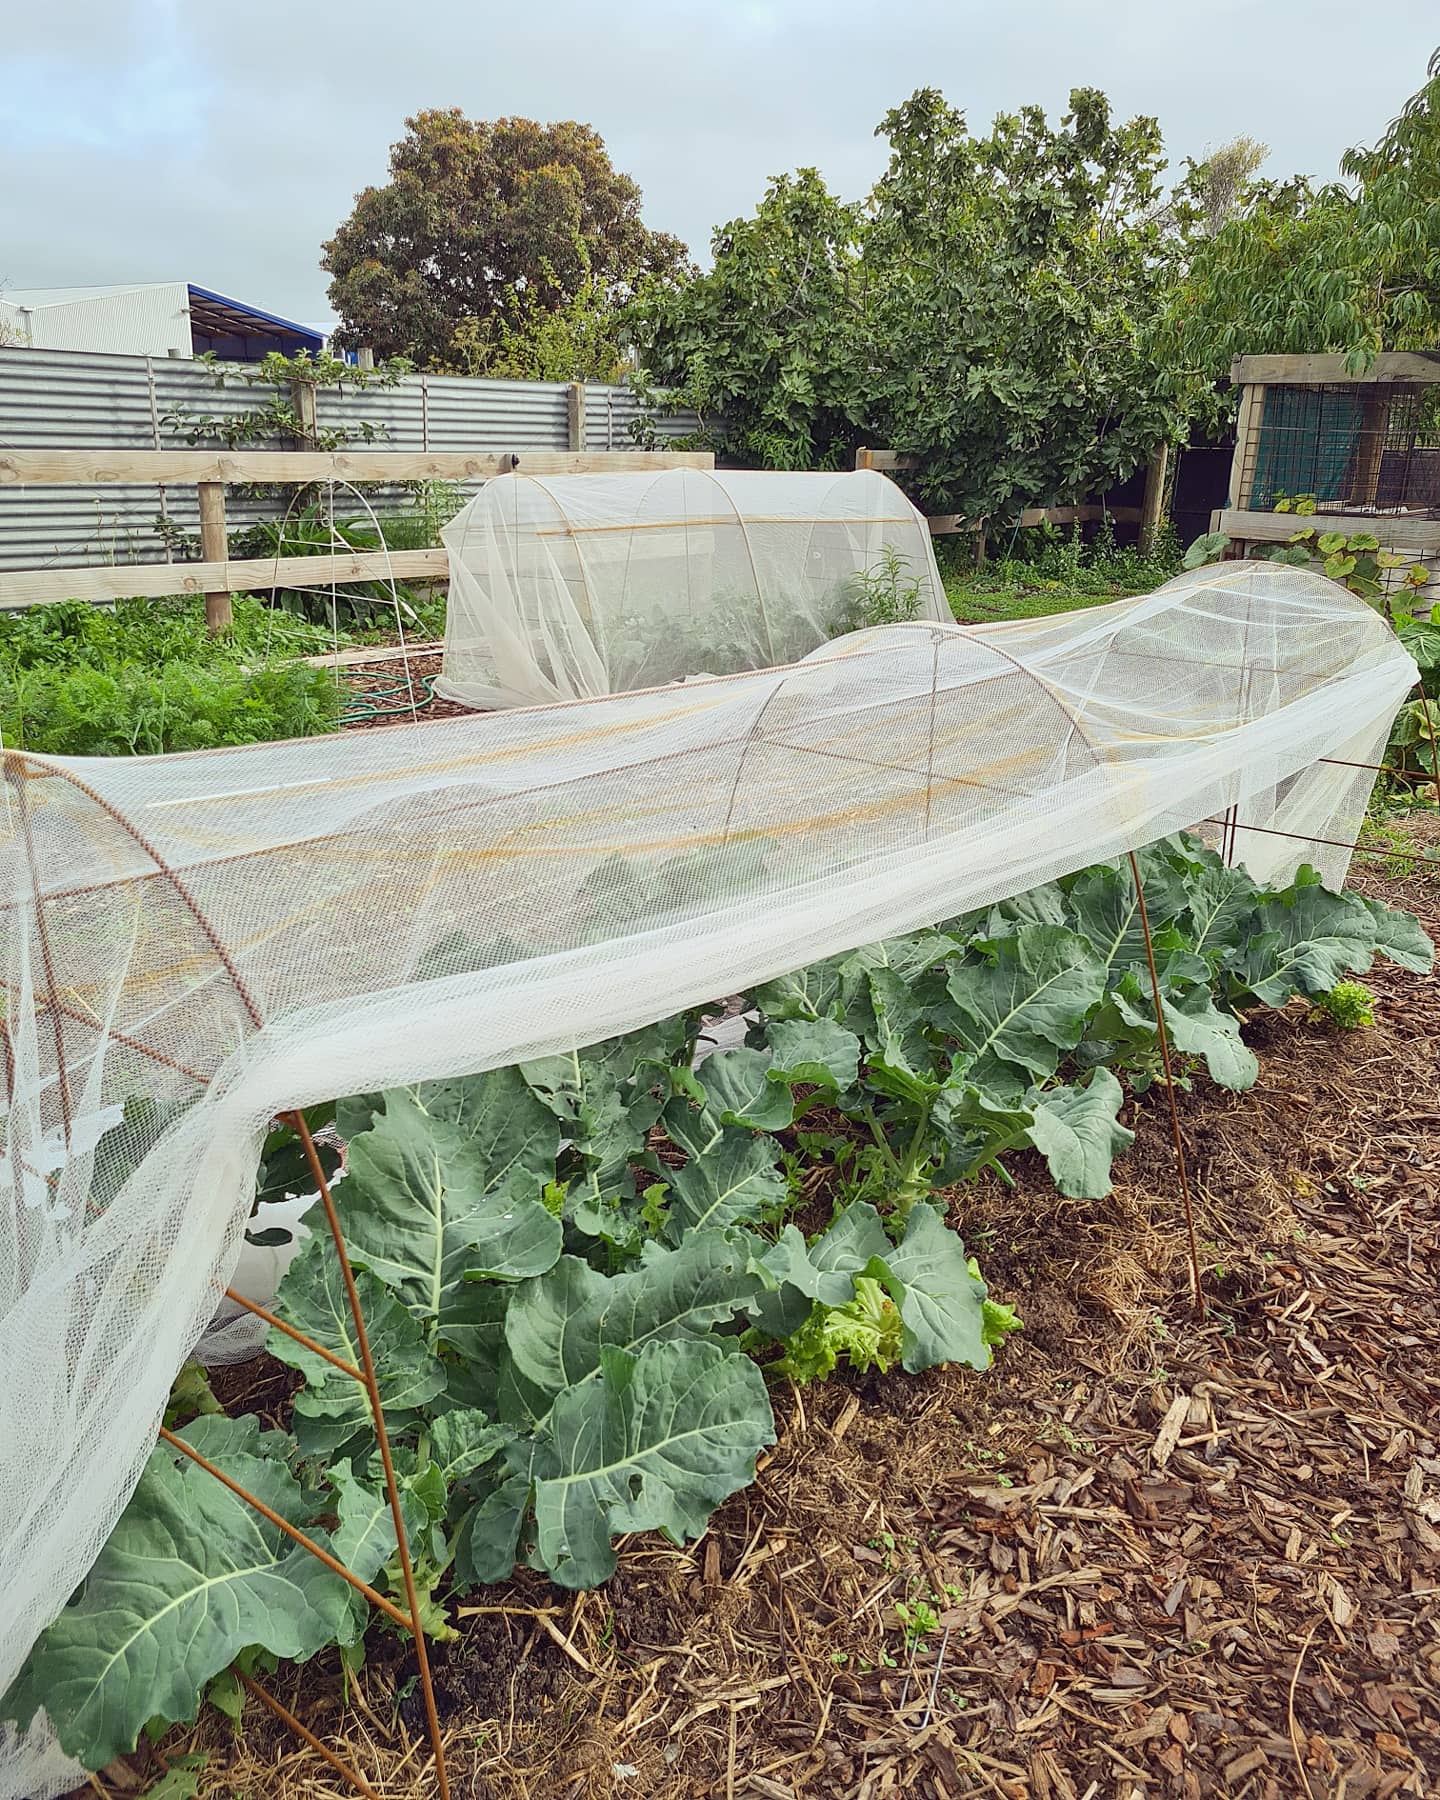
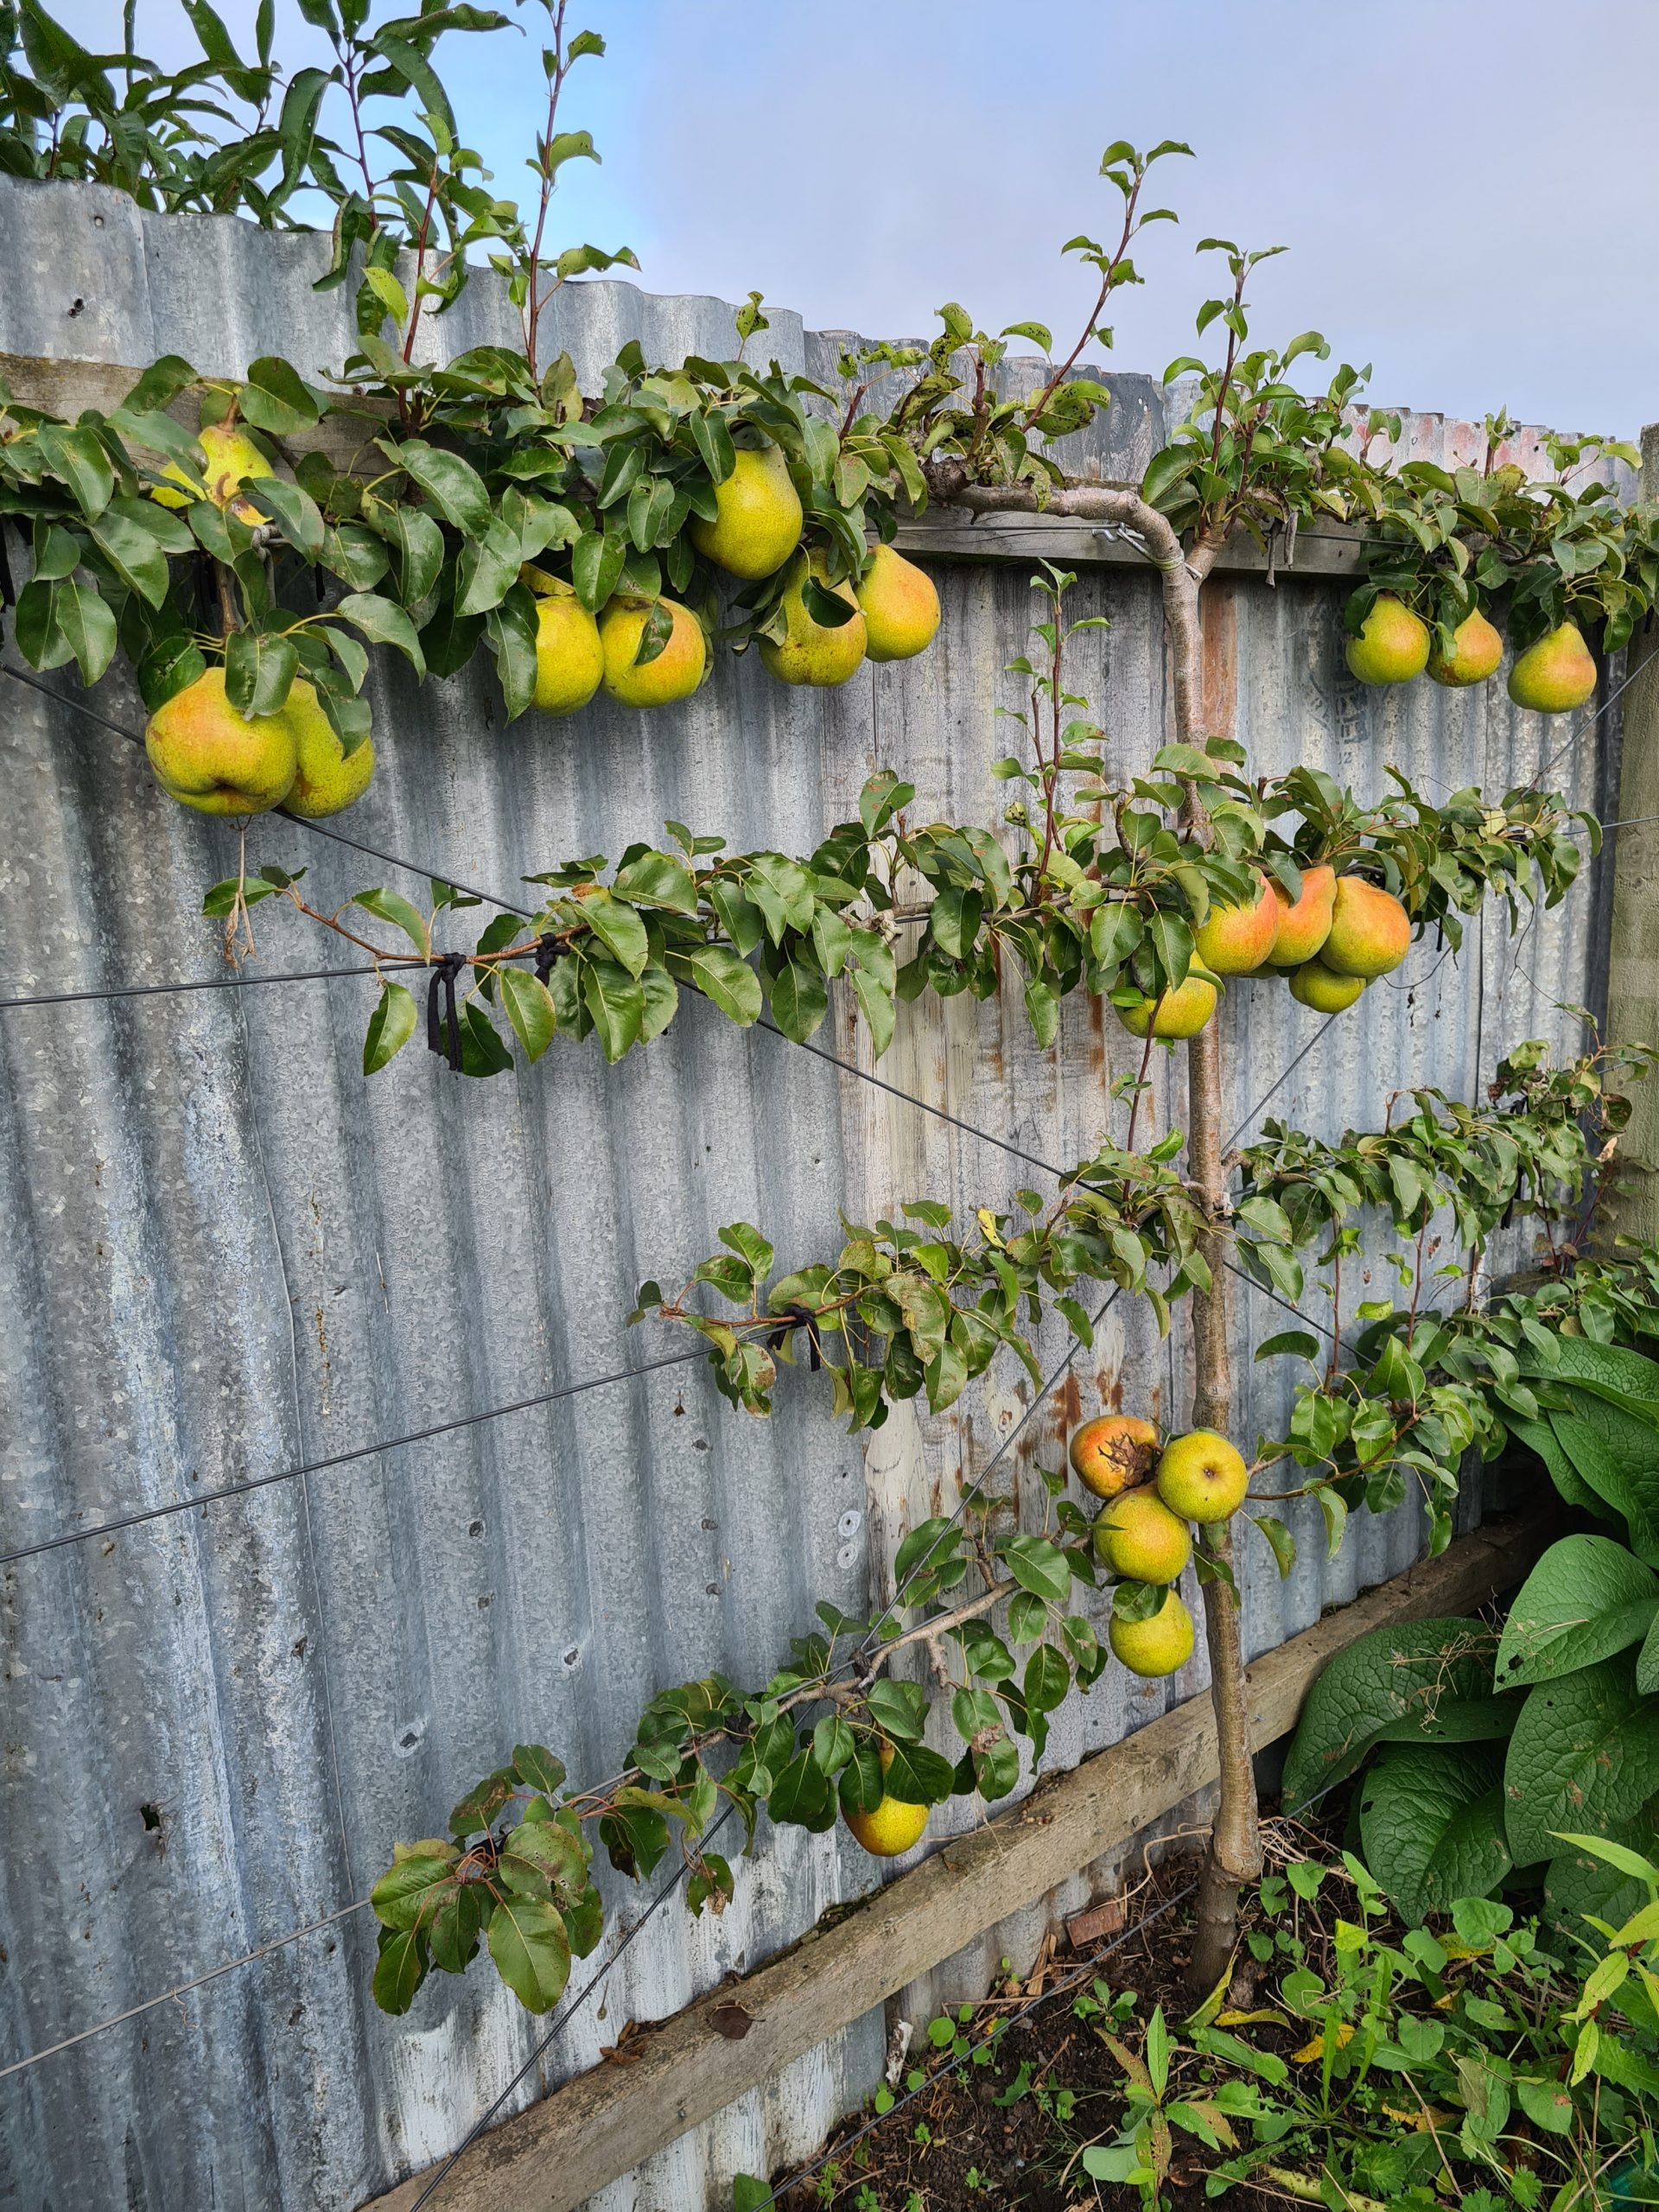
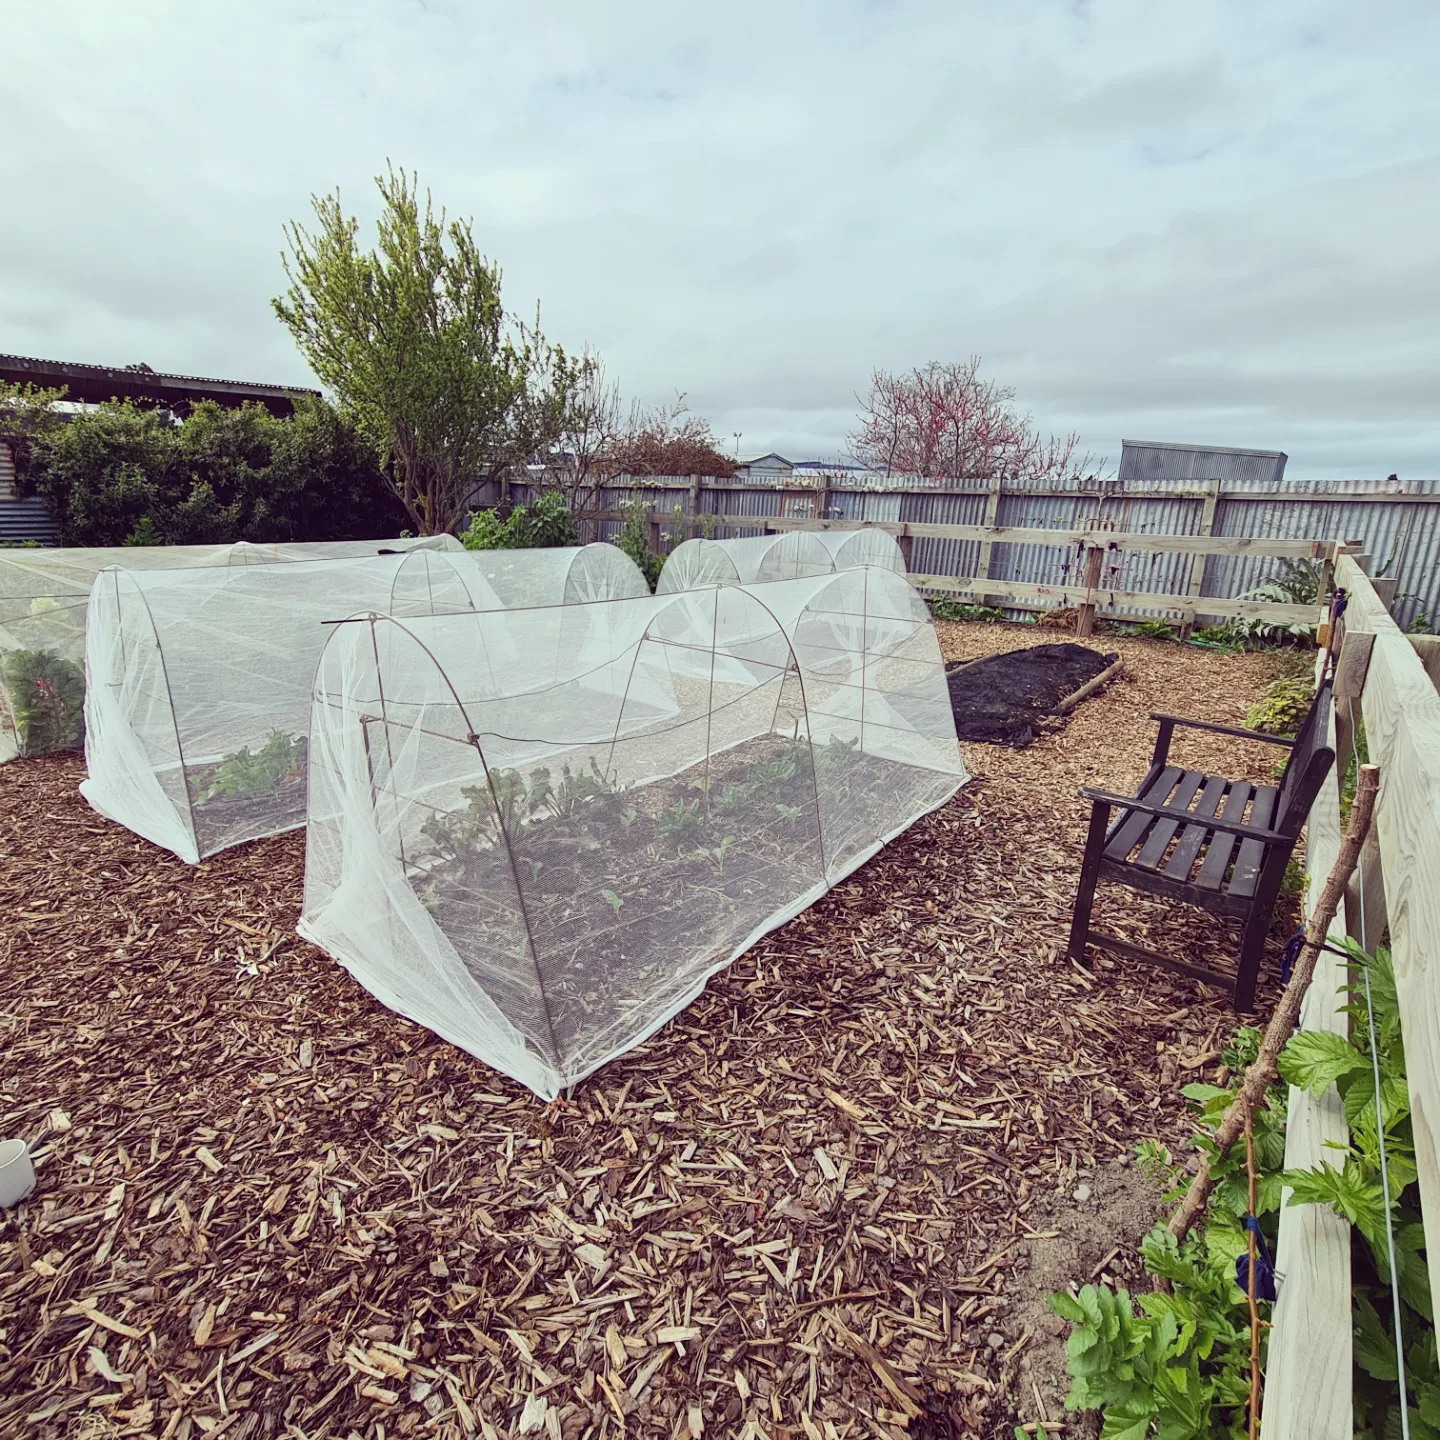
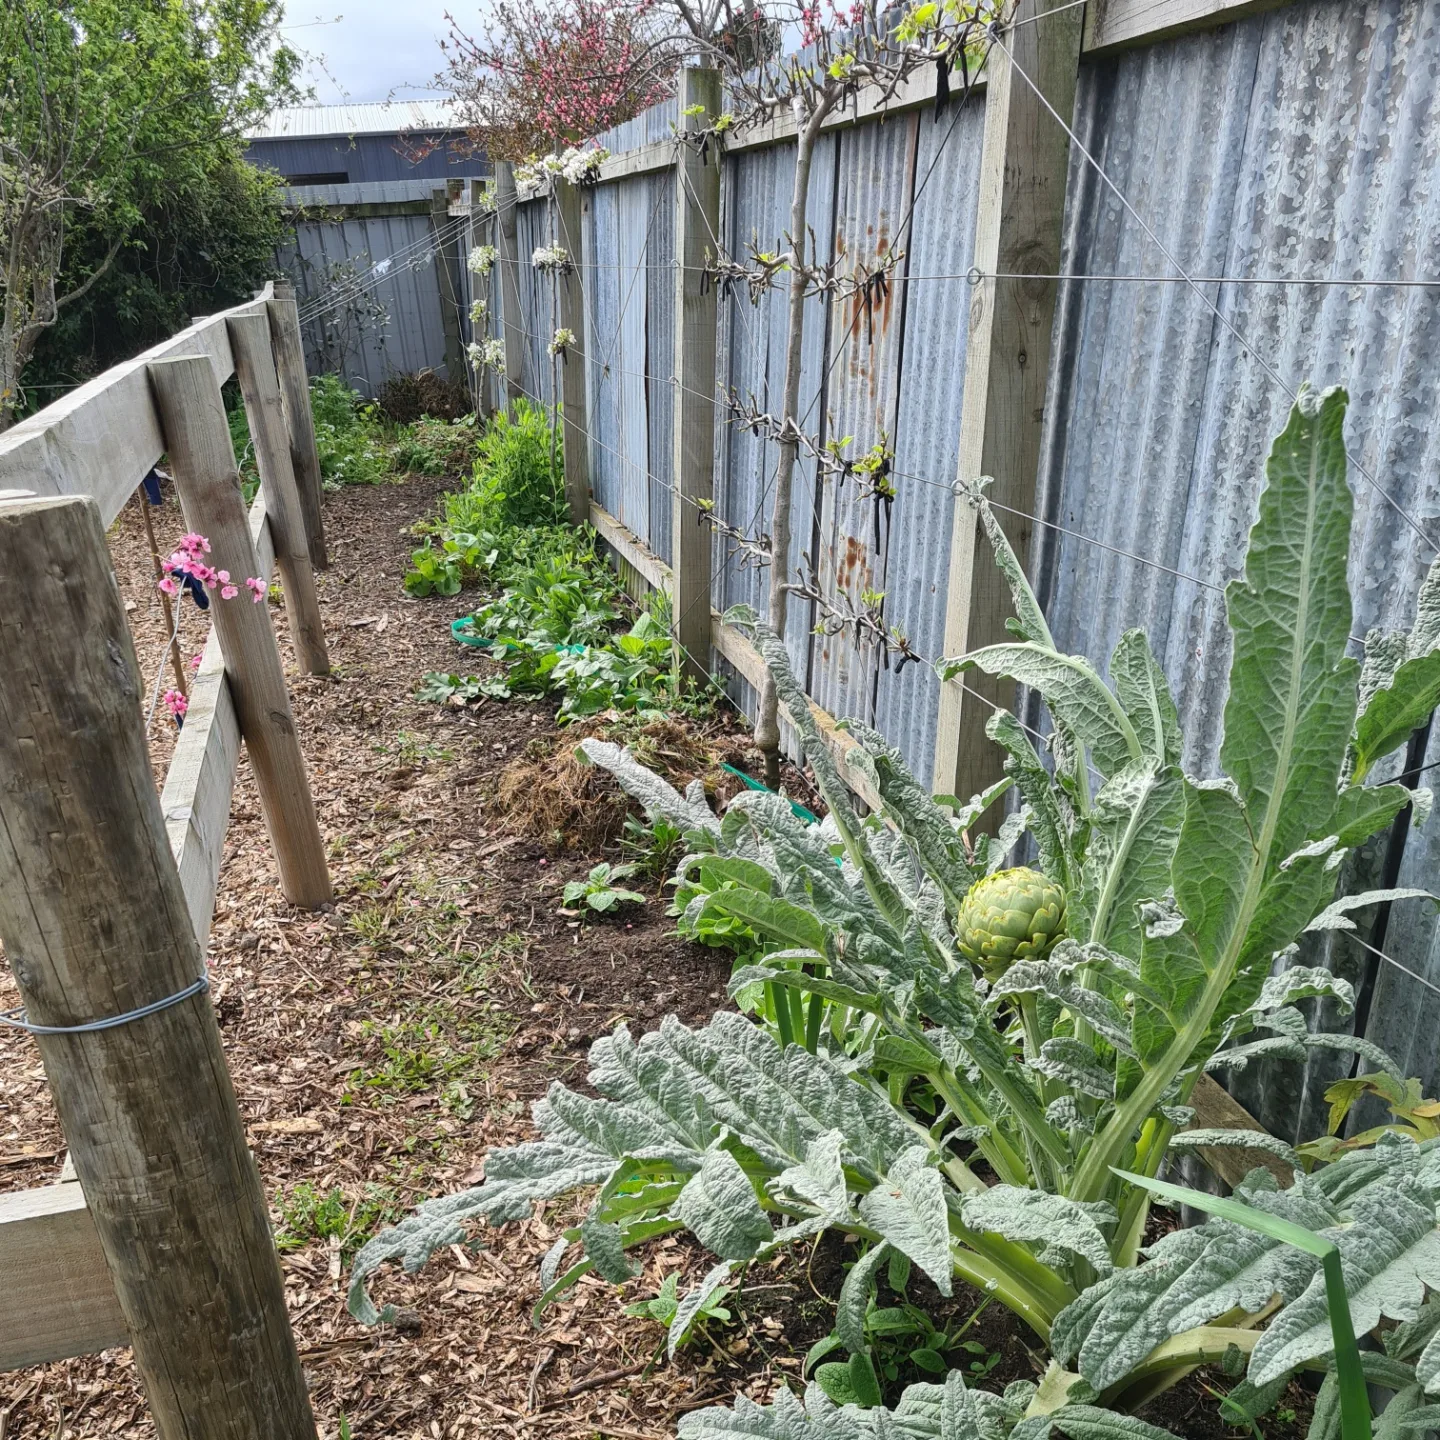
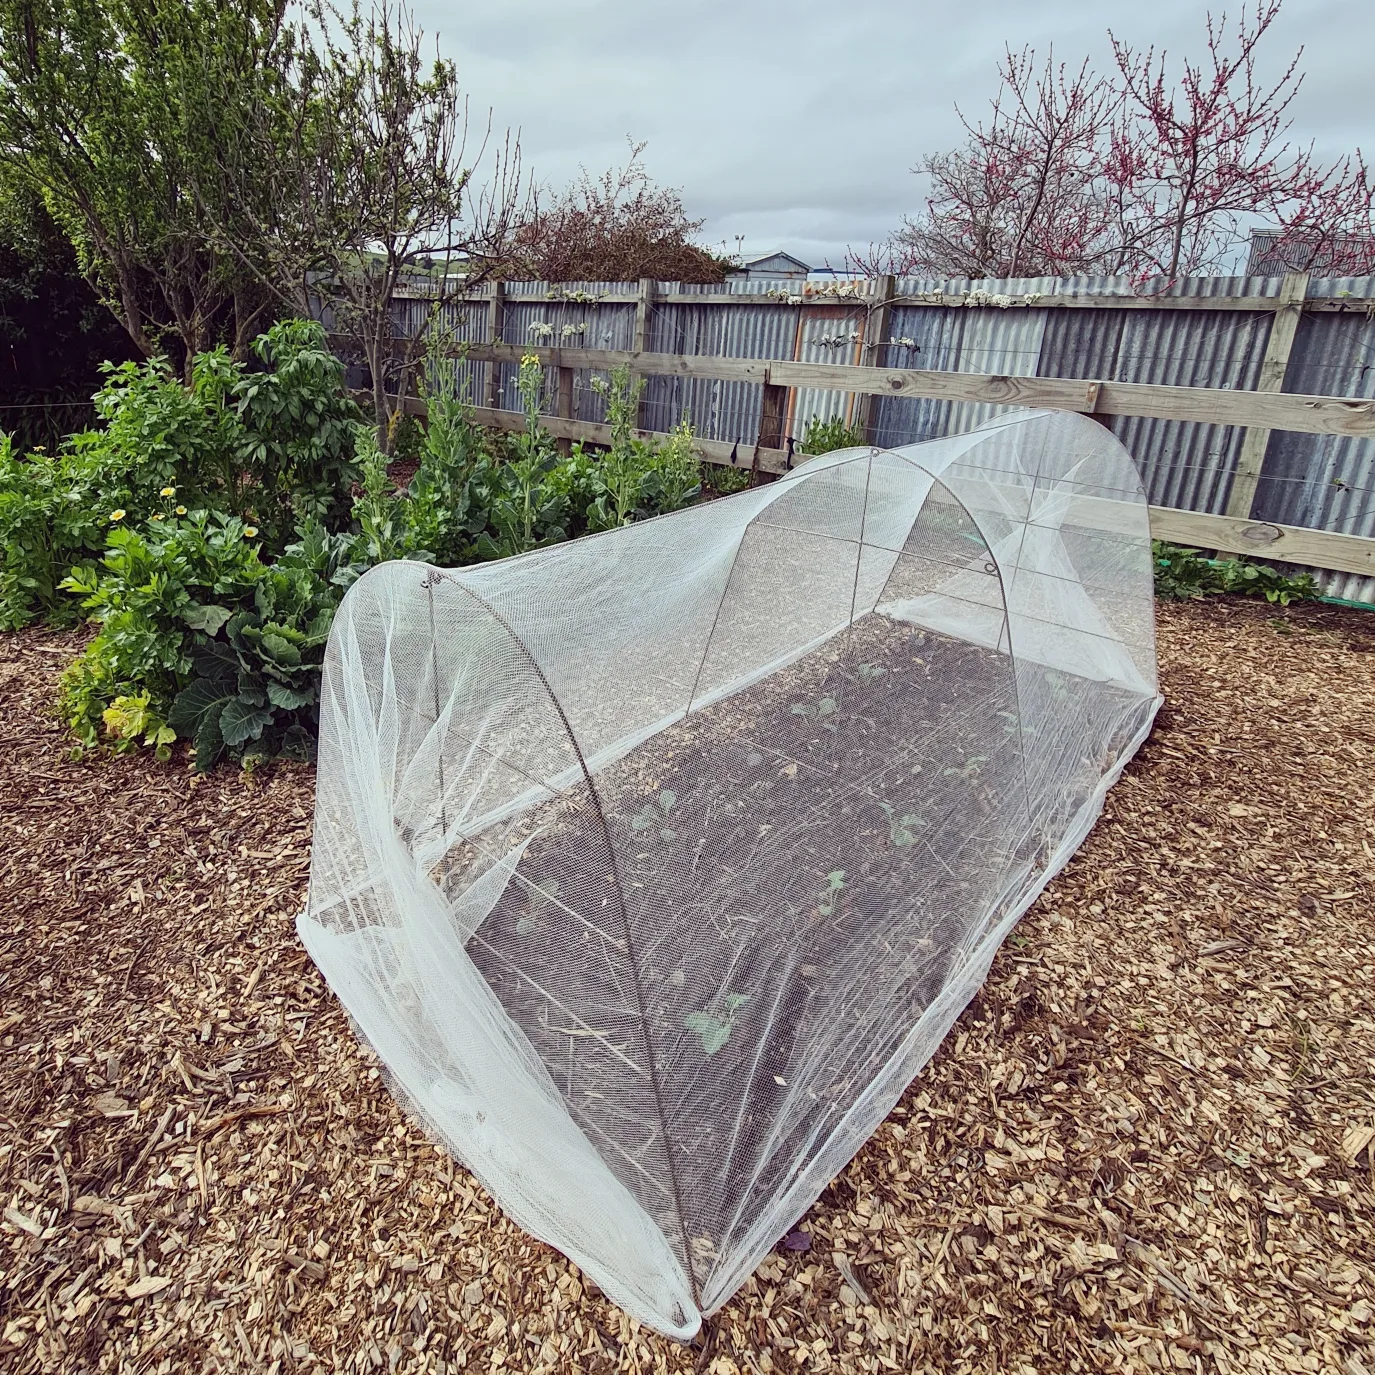
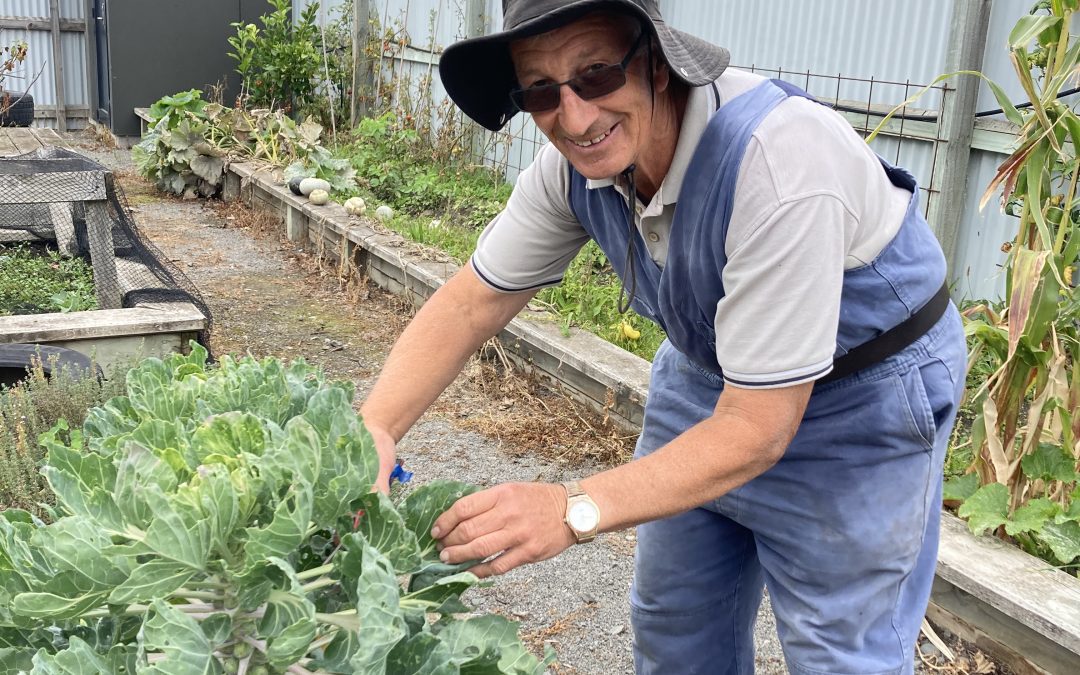
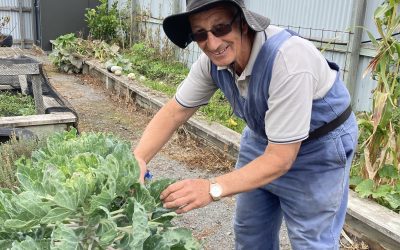
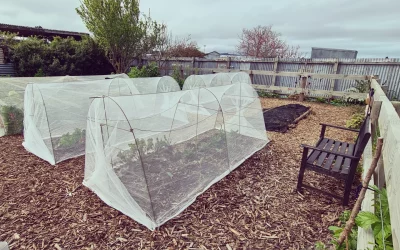
One of North Canterbury’s newest community gardens is in Woodend. Run by Andy Childs, who has extensive gardening experience and is the vice president of the Woodend Community Association.
Produce from the Woodend Community Garden is shared between volunteers, families in need at Woodend School, and the Woodend Community Pantry (situated in the WASP carpark).
We would love to see Andy and his team at the Woodend Community Garden continue to grow and thrive – if you would like to learn more about the garden you can contact Andy on 027 512 2681, or visit The Community of Woodend page on Facebook.
Andy Childs at Woodend Community Garden

Other great community gardens you can get involved with in North Canterbury include Kaiapoi Community Garden and Hope Community Garden – Rangiora. Both of which run valuable workshops throughout the year too!

More posts you may enjoy…

The SEDE Project

The SEDE Project

The SEDE (Supporting Elderly Diet Enrichment) Project.

Home gardeners sharing surplus home grown produce with elderly people in their community.

read more
The Fascinating Story Of Sharon Earl’s Gardening Journey

The Fascinating Story Of Sharon Earl’s Gardening Journey

When she’s not creating tiny realistic drawings with pencil, working with leather, or building life-sized intricate sculptures out of wood and steel, Sharon Earl is in her garden. 

Sharon’s ‘no-dig’ organic vegetable garden in Amberley is one of the gardens featured in the upcoming Hurunui Garden Festival, and includes a comprehensive composting system, espaliered fruit trees, and a large worm farm. Read on as she share’s her gardening journey story here…

Words and images: Sharon Earl

For 40 years I have been growing vegetables. That makes me sound ancient, but I was an early adopter. I am 48. So this story is appealing to all of the 8 year olds out there. A packet of seeds and a tiny two square metres of soil is how I began this enthralling journey.

The year was 1982 and my father saw to dedicate a little corner section of his own vegetable garden, to me(!), because I think he recognized in me a natural curiosity for nature and the world around me. He announced this was to be my very own garden and I could grow whatever I liked from the seed packets in his ice cream container collection.

I remember being shown how to dig, to rake and to smooth the soil and then how to tamp down the rows, once sown, with the head of the rake to leave a toothed stamped line. Dad insisted on straight rows highlighted by a string line. I grew carrots and beans and corn.

Young Sharon Earl feeding pet lamb

Fast forward 20 years and I was married with three children of my own. My gardening was now for real, it was for survival. Mostly I must add it was for my brain’s survival, some breathing space from “three under three”.

I recall my daughter at two being no help whatsoever. I started her too young. Seedlings died at her young podgy hands and her over zealous watering.

I remember the frustration. I recognized I was not as tolerant as my father was way back then. Bless him!

Fast forward another 20 years and I am very well versed in the routine of seasons. I still find in winter that my interest wains – so much so that for a few weeks each July I announce to myself “I’m done with vegetable growing”.

And then the sun returns, and the garden awakens, and I find I am restless to get going (growing) again. My enthusiasm and optimism is ignited and another season begins.

I’m someone who listens to advice, reads, researches and experiments. I now have a No-dig garden, having learnt that soil health is the key to success. I decided to not reinvent the wheel. Who was getting things right?


Sharon in the garden

I looked to see what leading gardeners were doing. We are so lucky that technology allows us to peek into gardens across the globe. It is incredible. I saw the work that Charles Dowding is doing in the UK and I have based my techniques mainly on his – narrow garden beds, compost added in autumn, and let the plants get on with it.

I make compost in bulk (I always have). I get a bit nerdy about it, I keep notes on temperatures, and I bore people, relaying such dreary info without their enquiry. I am endlessly enthralled by what is going on at the microscopic level.

I would buy a microscope but I know I’d get obsessed with that and I haven’t the time for another obsession. Maybe one day I’ll allow myself that treat.

I also have a worm farm. It’s big. Made from two large stainless steel tubs. I sell Tiger worms nationwide. I am Head Rancher at Amberley Worm Ranch. It’s so successful that I am having to limit my sales for a time because my numbers are bordering on the other side of static. I’m a victim of my own success. So I really need to find another tub.

Sharon Earl's no dig garden

I agreed last year, with my arm forced up behind my back, to become a host garden in the Hurunui Garden Festival (this year: October 27-30). I wasn’t ready, by a long shot. My real role was meant to be as an ‘Artist’ (my actual job) but because gardening is my central focus that needed to be as equally on display. I was frantic. My place was a wreck and only half set up.

My horse had been living in my back yard due to a brush with Laminitis sustained at her grazing block. Keeping her contained elsewhere was uneconomic so I purchased some posts and timber, installed them and two sets of massive gates with the help of my partner, and brought her home. I built a mini hayshed and for one whole year she and I became room mates. Now repaired she is back at grazing with room to run and another horse named Tom as her friend

I had put down crusher dust to line her fenced arena. Now I was left with a heavily compacted area that had a concrete like crust to it. And with hundreds of visitors just a few months away from arriving what was I going to do!? So I looked to Charles. Via his wonderful online videos I learnt that all would be ok.

I did need to dig initially. The crust was extreme. I broke through with a fork, bending the tines, it was necessary. I then grew green manure crops and did “chop and drop”. And then repeated that twice more.

Now one year on I have set out rectangular beds that are completely No dig. I apply my homemade compost, and worm castings, and let nature continue to repair itself. Between the beds I have placed arborist’s chippings. It’s a manageable way to keep a large area tidy and the wood chips have brought in the fungi my soil needed.

I make compost teas, bubbling them with aquarium bubblers. I apply water sparingly, and prefer to use captured rainwater. I even have magnets on my garden hose on the off-chance that theory works.

I give all ideas a go, why not? It makes the daily tasks enjoyable, thought provoking and gives my partner something to laugh about.

I have now got 29 fruiting trees here. There is no more room at the inn. Fourteen of those are espaliered. I’m so in love with this technique. They give me endless joy. Five are newly planted this spring, and some are now in their fifth year. They are my pride and joy. They fruit heavily, are easy to protect from baking sun, frost or hail. And they delight people, they are living works of art.

So that’s my wee story. I believe we should all be wise guardians of the soil we inhabit. We should do right by nature. And if possible we should grow more than we need, to share with others. I’m still finding I have a non-consistent flow of crops but I wish to help others with produce. That’s my aim.

I’m gifting constantly but I’d like it to have a market gardener’s type routine to it, so my help could have a more predictable output. That’s my goal.

I’d also prefer the recipients came to be part of the picking. Mostly so they have choice in their meal planning, and so we build a connection. Even for them to sit and watch and chat while do the harvesting would be lovely. I think there is something very healing and cathartic about growing food.

I have a plan to get children growing, for the elderly of the community. In my imagination they would work together young and old. I just need to find the time to coordinate the idea in my head into a real life thing.

Sharon is a full time sculptor, artist and gardener/food producer based in Amberley who decided at age 43 to just live her dream life. 5 years later she is seeing the vision of how that could look, becoming more and more of a reality.

“I tread lightly on the earth and believe by opening my garden up for group tours I can help to share conversations on growing healthy food from healthy living soil.”

Check out Sharon’s garden at the upcoming Hurunui Garden Festival!

Also check out:
Sharon Earl Instagram
Sculptor – Sharon Earl Facebook
Amberley Worm Ranch

More posts you may enjoy…

The SEDE Project

The SEDE Project

The SEDE (Supporting Elderly Diet Enrichment) Project.

Home gardeners sharing surplus home grown produce with elderly people in their community.

read more

The SEDE Project

The SEDE Project

The SEDE Project

Last summer, whenever I had vegetables from my garden that were surplus to my needs, I gave them to my parents. They have been keen gardeners for their entire lives but due to age-related issues are no longer able to look after a vegetable garden. The look of delight on my mother’s face every single time I handed over home grown produce struck a chord and got me thinking. What if the same was done by numerous home gardeners, benefitting many elderly people who can no longer grow their own? Not long afterwards there was an article in the Christchurch Press about an elderly man who was skipping lunch each day due to affordability issues. His situation really bothered me and I realised I should implement my idea about home gardeners giving their surplus fruit and vegetables to local pensioners.

So in March this year I posted on the Rangiora Community Facebook page, outlining my idea. With absolutely no expectations as to the response. It was in fact immediate, extensive and very supportive. Over the following weeks I was interviewed for Stuff, newspaper articles, Radio New Zealand and online publications. I set up a Facebook page before any articles were published so people could contact me and The SEDE Project was born (or should I say ‘planted’).

Given the simplicity of my idea, the extent of the response was very surprising, as it is not a new concept. It’s merely going back to the basics, doing what people in communities have done in the past. I believe it is becoming increasingly necessary to return to these basics, given the relentlessly escalating cost of living. The SEDE Project promotes this in a way that addresses a particular need for help amongst elderly people in our communities. According to Stats NZ, the number of people in New Zealand aged 65+ doubled between 1991 and 2020, to reach 790,000, and is projected to double again by 2056. New Zealand has an ageing population and the need for help within this demographic is going to steadily increase.

The SEDE Project has two options for home gardeners and recipient pensioners. The first option involves linking a home gardener one-to-one with a pensioner for ongoing donations of surplus produce. This arrangement works well. However there are often instances where other home gardeners wish to make one-off donations of produce, usually of an amount that is too much for one pensioner, and often only one type of fruit or vegetable. To resolve this, I implemented a second option, whereby a group of pensioners who live near to each other, usually within a block of retirement units, receive the one-off donations and share the produce out amongst themselves. This also works very well. The ongoing challenge for me is ensuring that supply and demand are as equal as possible.

Overall, the concept has numerous positive outcomes:

R

Health benefits for elderly people due to sufficient fruit and vegetables in their diet

R

No wastage of home grown produce.

R

Surplus home grown produce goes to a great cause.

R

No loss of pride for the elderly recipients in terms of receiving help, as it is framed as an effective way to use up surplus produce.

R

Cost of living savings for pensioners, particularly given the escalating price of fruit and vegetables in supermarkets.

R

No cost involved for the gardeners who donate their produce.

R

It is so simple – those who can grow produce pass their surplus on to those who are no longer able to.

R

Our elders feel seen, supported and respected and valuable links are fostered amongst people within the community.

R

It is an easy way for those who want to help others to do so.

R

The community helps the community.

So, how is it tracking so far?

At this stage, there are approximately 50 elderly recipients receiving free produce via this initiative, in Rangiora and Kaiapoi. Almost all live in blocks of independent retirement units; several live in their own homes. Fruit and vegetables are received by one-to-one arrangements or one-off donations, and often via both means for the retirement unit residents.

During the colder months supply from home gardeners is understandably greatly diminished. To address this, Satisfy Food Rescue is passing on produce to some recipients over the winter in order to maintain a regular supply to these pensioners. I am extremely grateful to them for this help. Next spring and summer I anticipate that supply from individual home gardeners will increase considerably, and that more home gardeners will come on board also. This will enable the Project to take on more recipients to balance supply and demand, and more elderly residents will then benefit.

To help with distribution, we now have a bicycle courier who can deliver donated produce to elderly recipients in Rangiora.

Our fabulous courier is a local retiree who loves cycling, was keen to be a part of the initiative and offered to do this.

As time goes on I want to implement other ideas that further the aims of the Project:

  • Keen volunteer gardeners maintaining the vegetable plots of elderly people who are unable to do so (and sharing the resulting produce with them);
  • vegetable seedling swaps amongst home gardeners;
  • asking garden centres to donate vegetable seedlings to SEDE Project gardeners;
  • showing beginner gardeners how to establish a vegetable garden (via Facebook posts following a knowledgeable home gardener go through the process);
  • home gardeners donating surplus seedlings to people who are keen to grow vegetables for local pensioners;
  • a workshop to teach people how to grow vegetables;
  • promoting grow-your-own produce as a means of reducing the cost of living for people of all ages.

If you would like to donate your home grown produce, or wish to become a recipient of this initiative, you can contact me via Facebook

Words & Images: Julie Lamplugh, The SEDE Project

How to Make Your Own Compost

How to Make Your Own Compost

How to Make Your Own Compost

What you’ve got is not waste!

Have you ever seen living and breathing compost? It almost looks like brownie right. Sometimes it smells and looks so good I just want to eat it. Of course I don’t. The plants need it more than I do.

I have talked with so many people and lots of them say they want to compost, but have absolutely no idea where to start. It stinks. It’s gross. Or they don’t have enough space.

But don’t get worried, just get wormy, because I am here to help you compost!

Photo Credit: UC Photographer.

How to start your own compost

First of all you have to decide on what method of composting you are going to do, and what type of compost bin.

Are you going to Bokashi, have a contained worm farm, an in-ground worm farm, have a black compost bin, a wooden pallet compost bin, or do you have no space and instead are going to share your scraps on the app ShareWaste?

Location

No, your compost bin doesn’t need full sunlight and it can be in partial shade. Just put it wherever works for you. Ideally close to your house so that you’re not walking miles to empty your food scraps, as well as making sure it is on grass/soil NOT on concrete.

Next step is to have a closed-lid container in your kitchen

This is where you can separate your food scraps from your trash. An ice cream container will do.

Once your container is full, it’s time to empty it.

First add a few handfuls of sticks to the bottom, as this creates air flow. Then add a layer of dead leaves (heaps around now being Autumn) or ripped up paper/cardboard.

Then you can add your food scraps. Continue to layer your compost bin like this with dead leaves/ paper and then food scraps.

Finally, like making a cake, a compost ‘cake’ has 4 important ingredients.

Air, moisture, browns and greens.

You create the air through aeration, by using a garden fork or compost aerator. The moisture, through watering your compost when it’s too dry. Your brown materials are your non-smelly, ‘dead’ materials, such as dead leaves, paper, cardboard, toilet rolls, sticks… And your green materials are the smelly, ‘living’ materials, such as coffee grounds, food scraps, fresh lawn clippings, fresh garden clippings…

You don’t need to know everything before you start composting, because that will NEVER happen! The point is diverting your food scraps from landfill, and making glorious compost which can be used to increase the health of your plants and the soil.

I am from Rotorua, but I am studying Environmental Science at UC. I have been running compost workshops for one year and when I started, I definitely did not know as much as I do now. It’s about failure, and experimenting, as that is how you learn.

Follow me on Instagram @kaitlyngrowz where I share tips on how to compost – I also run a business called Kai Compost, where I do compost consulting.

Happy Composting!

Kaitlyn

Photo Credit: Rotorua Lakes Council.

Words: Kaitlyn Lamb

Kaitlyn is studying Environmental Science at UC and runs compost workshops and consulting.

Follow me on Instagram @kaitlyngrowz and Kai Compost.

Strawberry Maintenance as Winter Approaches

Strawberry Maintenance as Winter Approaches

Strawberry Maintenance as Winter Approaches

I take my strawberries very seriously, like over 300 plants seriously! 

The past year I harvested over 40 kilograms of strawberries from my patch, that’s not including all that were gobbled along the way, which was many.

As Winter approaches and garden jobs tend to ease off, now is the perfect time for the scraggly strawberry patch to get some much needed attention from me.

Firstly I lift all the plants, seperate the runners aka baby plants, and soak in a wheelbarrow or bucket full of seaweed tonic or homemade fertiliser (like comfrey or nettle tea) for as little as 2hrs to a much as 48hrs, depending on how speedy I am at prepping the bed to replant them.

I’ll prepare the strawberry beds, always located in full sun, with what resources I have, which are alpaca manure & dried willow leaves mixed into the existing soil and topped with pine needles for mulching. Any aged manure and fallen leaves will do (not walnut), alternatively a top up of compost if you have some handy, and a mulch with pea straw would work equally as well.

Then time to get those well hydrated and fed strawberry plants back into the soil, nice and tucked up with mulch. That’s it for Winter.

Come Spring I’ll give them a feed of seaweed tonic, and again a couple more feeds during Summer to keep them flowering and fruiting into Autumn.

Biggest tip, bird netting from early Spring! They will find and devour them, and invite all their mates to the party.

I frequently share tips on strawberries and various other vegetable garden related topics on my Instagram page @nzgardener, I love sharing my North Canterbury 1000m  garden, harvests, flowers, alpacas and sunken glasshouse (walipini) on there, so feel free to hop on over and take a look.

Happy garden days!

Candy

Words and pictures: Candice Harris

Follow Candy on Instagram

How to create your own Food Forest

How to create your own Food Forest

How to create your own Food Forest

Have a small backyard? Want to grow your own food but don’t think it’s possible because you don’t have much room? Consider creating your own food forest, one can be started in less than 6 square metres – Brent Cairns from Kaiapoi Food Forest explains how:


Food forest layers all fill a potential growing space, including vertical spaces, which allows you to grow far more in any given area than you could in a traditional garden. A food forest is less work as you will mainly be growing perennials which produce fruit each year, saving you loads of money

How to get started:

Kill the grass and build soil

Lay thick layers of cardboard or newspaper (not glossy as its toxic) then apply a thick layer (at least 300mm) of mulch ideally sourced from trees that have been mulched inclusive of leaf litter (leaf litter will assist with speed of breakdown of the mulch). To start you can’t plant directly into the mulch, it’s there to build soil, breakdown and feed the surrounding plants and trees, which will retain moisture. It will be at least a season or two before your mulch will be broken down enough to plant anything into it. Until then all plants should be planted through the mulch and into the soil below.

First/Canopy layer

The canopy layer is either a fruit or a nut tree, choose a fruit that you like, apple, pears, apricots, plums, peaches etc and plant the tree in the centre of where you want to create your food forest. Either plant the main fruit tree first or dig through the mulch and plant into soil, make sure you keep mulch 300mm away from tree trunks and ensure grafts are not covered. Otherwise the mulch will rot the tree trunk killing it.

Second layer

Choose a smaller fruit tree (semi dwarf apricot or nectarine etc) or a citrus tree (lemon, mandarin, lemonade etc), or even a small nut tree like a hazelnut. Depending on your space and amount of light you could choose 3-5 types of smaller tree to go in this layer. We also plant kowhai and kakabeaks in this layer to provide nitrogen to the other trees and plants.

Third layer

Choosing what berries you like, currants (red, black or even white), raspberries (red and golden) golden raspberries are so yummy, the birds don’t know they are ripe as it’s not until they turn orange that they are ready to pop straight in your mouth. Again space dependent you could have a multitude of different berry types at this layer.

Fourth layer

Choose perennial vegetables/herbs (asparagus, rhubarb, globe artichokes, chives, coriander), flowers that will attract bees and are edible, i.e. nasturtiums, rosemary, borage etc. We plant then chop and drop comfrey which has a long tap root which goes down and brings to the surface an abundance of nutrients for the other plants.

Fifth layer

Choose wild and normal strawberries (white and red), incredibly strawberries don’t mind a bit of walking over. At this layer you can include pumpkins, kamokamo, squash etc. The idea is to cover the garden with an abundance of plants, if you don’t do it, nature will with weeds.

However many weeds are edible and very nutritious i.e. cleavers, yes that sticky velcro plant can be eaten and even dried as a coffee substitute.

Sixth layer

The root crop layer. You don’t want to dig up and disturb the soil/mulch, so root crops are isolated too turnips, carrots, parsnips, beetroots etc. Pop your potatoes and kumara in a separate area to your food forest.

Seventh layer

Climbing plants, beans and peas, even hops. The plants will climb up the trees or you can install frames. Peas and beans are not only food, they are plants that will provide nitrogen to the other plants.

Gaps in your food forest add in annuals like lettuces, which don’t need lots of light to grow well so can be planted on the shady side of the food forest. If you wish, include brassicas like cauliflower, Brussel sprouts etc,… brassica flowers are so yummy to throw into salads.

We plant garlic and onions as food but also they ward away pests. We plant tomatoes and purposely don’t stake them as many varieties grow well by just letting them go bush.

In time you will find that in your mulch layer will start growing mushrooms, a sign that your soil is healthy and alive (do not be tempted to eat the mushrooms they may be poisonous) you may want to inoculate areas of mulch with suitable edible mushroom spores.

Food Forests are a far easier way of growing food, the only time you dig is to plant something, if you fill it with abundance you won’t have to weed as there isn’t room for weeds.

You won’t have to use sprays as the mixture and balance of different plants will keep the bugs away.

A food forest will provide you with such an abundance of fresh nutritious food.

I have described above a single food forest guild, if you have room, you can plant at a spacing of 5-10 metres a multitude of different canopy trees. The more guilds of course will give you a wider selection of food to eat.

Learn more at kai.net.nz or visit the Kaiapoi Food Forest on Cass Street, Kaiapoi.
We have volunteer time each Wednesday after 4pm, a time for maintenance and learning.

Words: Brent Cairns