Learn more about the benefits of community gardens, such as nurturing relationships and empowering communities – and discover the new Woodend Community Garden!
The Fascinating Story Of Sharon Earl’s Gardening Journey
When she’s not creating tiny realistic drawings with pencil, working with leather, or building life-sized intricate sculptures out of wood and steel, Sharon Earl is in her garden.
Sharon’s ‘no-dig’ organic vegetable garden in Amberley is one of the gardens featured in the upcoming Hurunui Garden Festival, and includes a comprehensive composting system, espaliered fruit trees, and a large worm farm. Read on as she share’s her gardening journey story here…
Words and images: Sharon Earl
For 40 years I have been growing vegetables. That makes me sound ancient, but I was an early adopter. I am 48. So this story is appealing to all of the 8 year olds out there. A packet of seeds and a tiny two square metres of soil is how I began this enthralling journey.
The year was 1982 and my father saw to dedicate a little corner section of his own vegetable garden, to me(!), because I think he recognized in me a natural curiosity for nature and the world around me. He announced this was to be my very own garden and I could grow whatever I liked from the seed packets in his ice cream container collection.
I remember being shown how to dig, to rake and to smooth the soil and then how to tamp down the rows, once sown, with the head of the rake to leave a toothed stamped line. Dad insisted on straight rows highlighted by a string line. I grew carrots and beans and corn.

Fast forward 20 years and I was married with three children of my own. My gardening was now for real, it was for survival. Mostly I must add it was for my brain’s survival, some breathing space from “three under three”.
I recall my daughter at two being no help whatsoever. I started her too young. Seedlings died at her young podgy hands and her over zealous watering.
I remember the frustration. I recognized I was not as tolerant as my father was way back then. Bless him!
Fast forward another 20 years and I am very well versed in the routine of seasons. I still find in winter that my interest wains – so much so that for a few weeks each July I announce to myself “I’m done with vegetable growing”.
And then the sun returns, and the garden awakens, and I find I am restless to get going (growing) again. My enthusiasm and optimism is ignited and another season begins.
I’m someone who listens to advice, reads, researches and experiments. I now have a No-dig garden, having learnt that soil health is the key to success. I decided to not reinvent the wheel. Who was getting things right?

I looked to see what leading gardeners were doing. We are so lucky that technology allows us to peek into gardens across the globe. It is incredible. I saw the work that Charles Dowding is doing in the UK and I have based my techniques mainly on his – narrow garden beds, compost added in autumn, and let the plants get on with it.
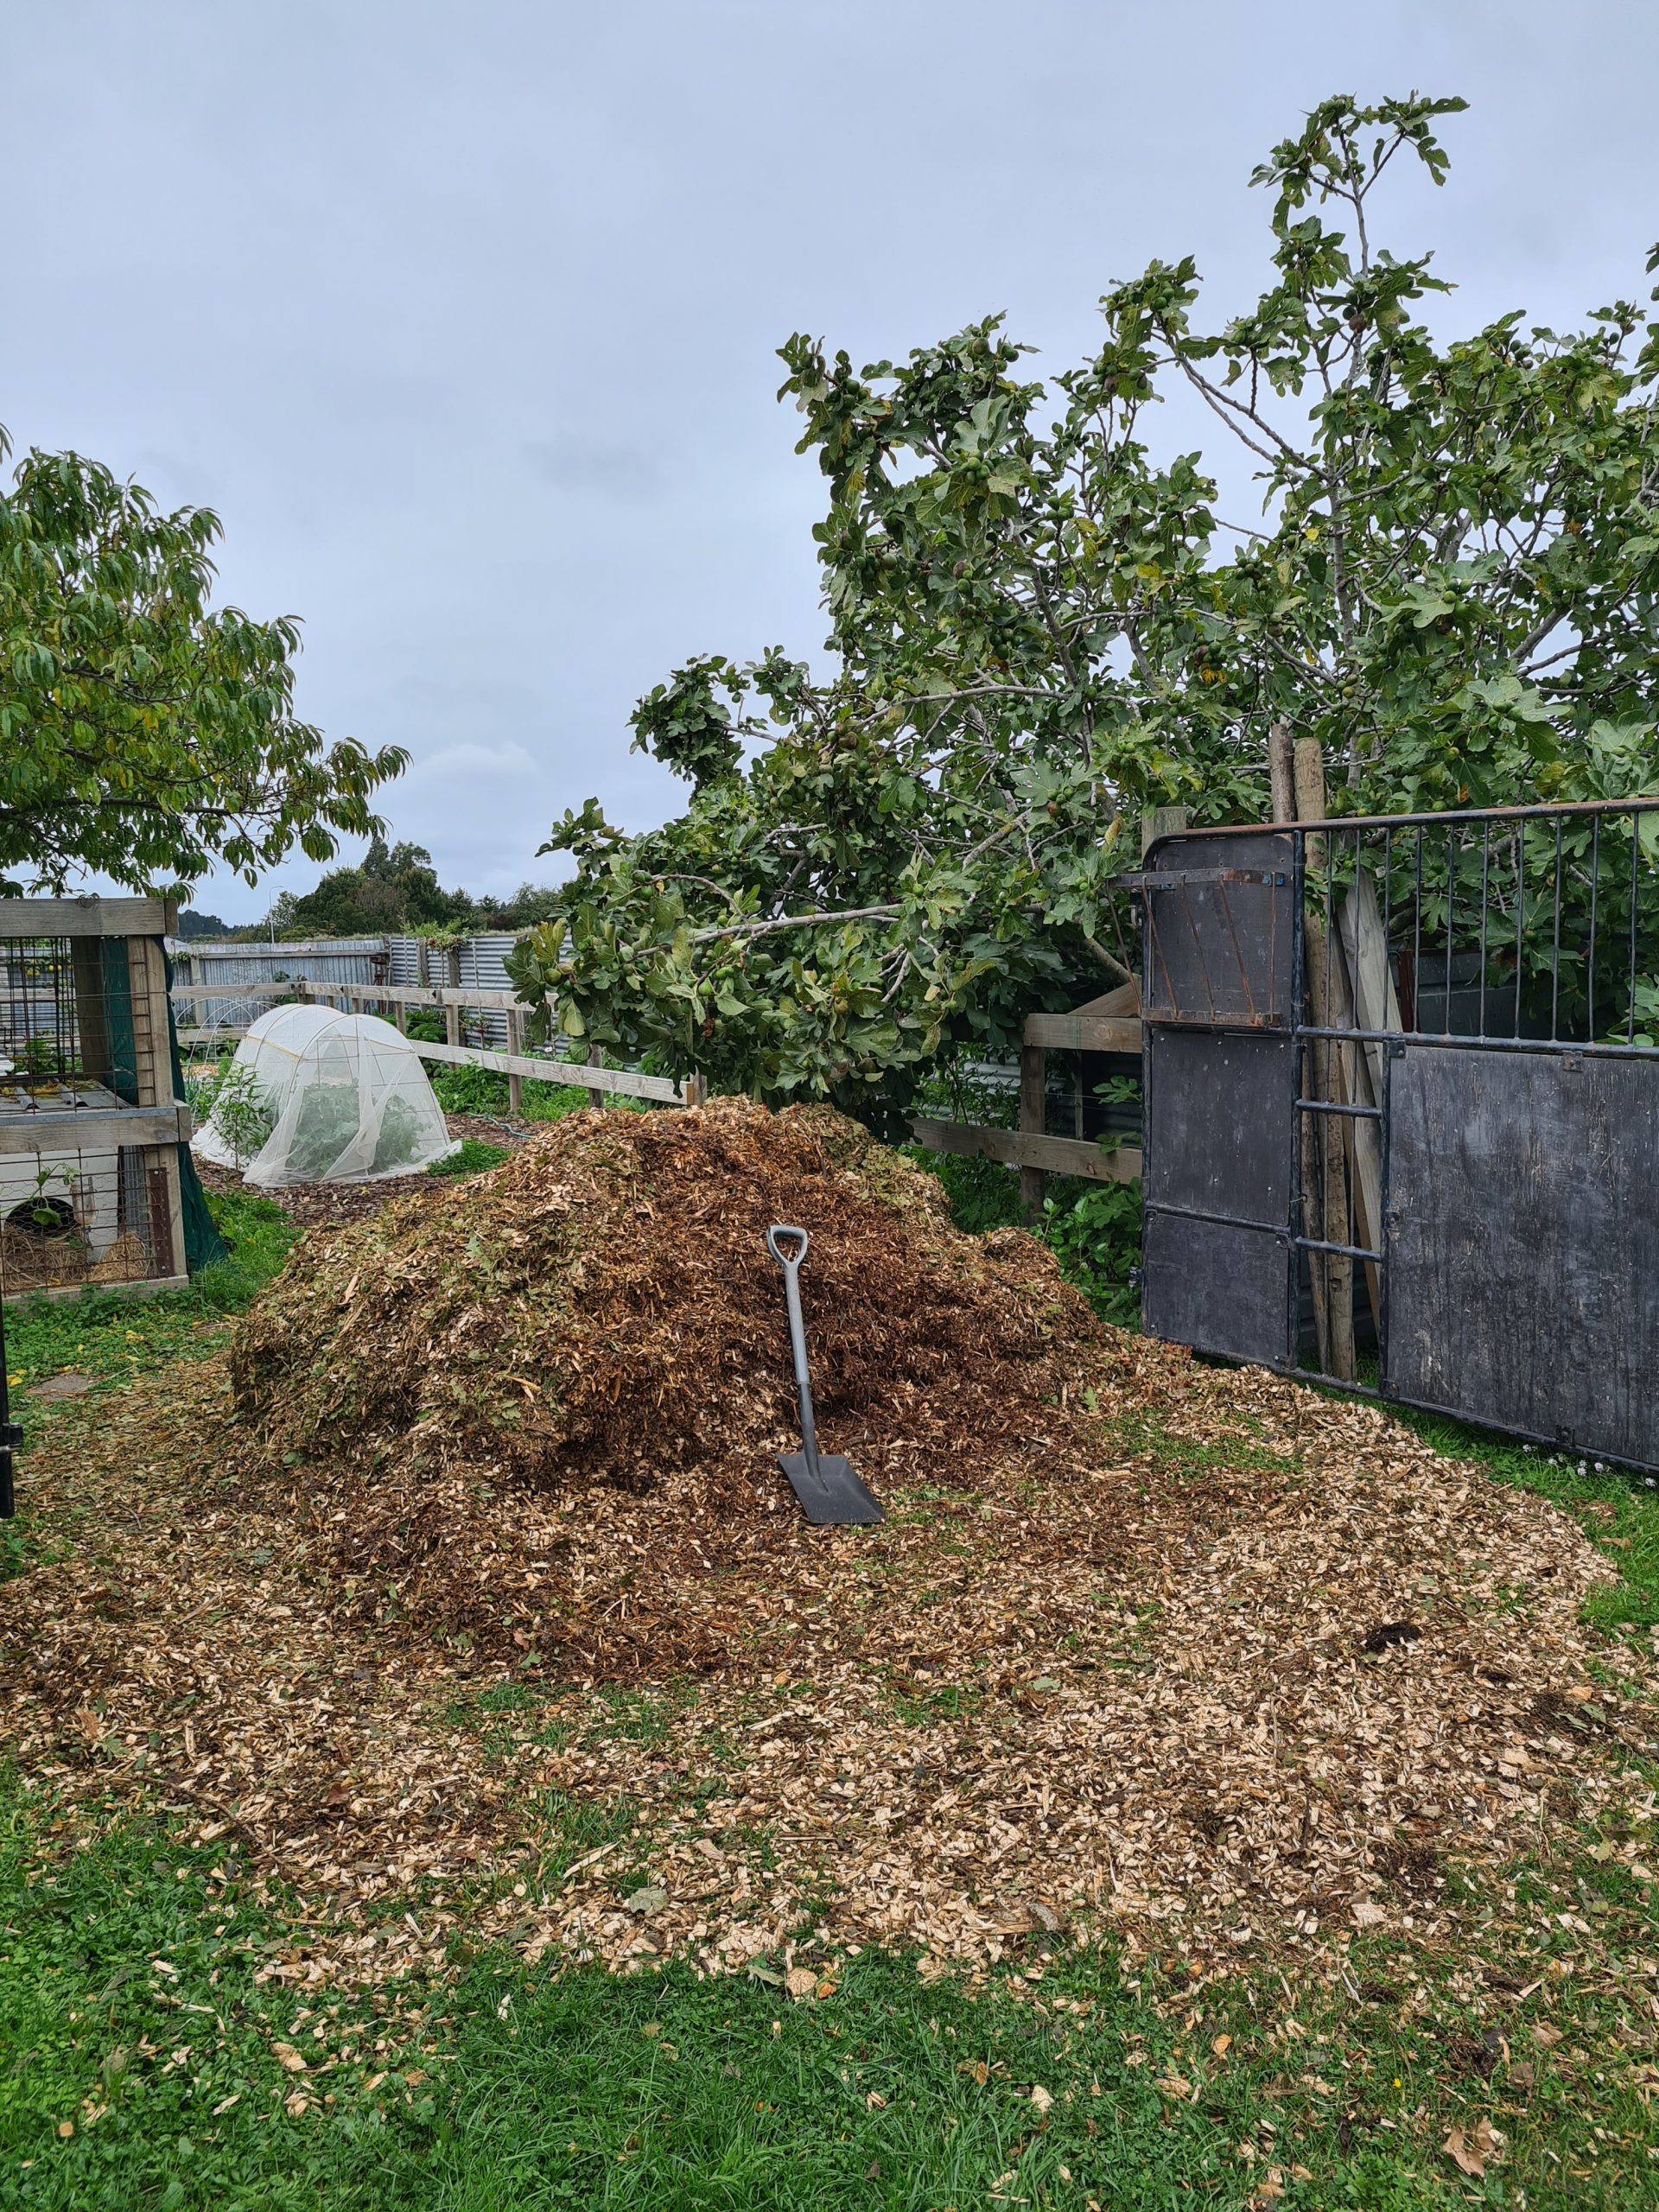
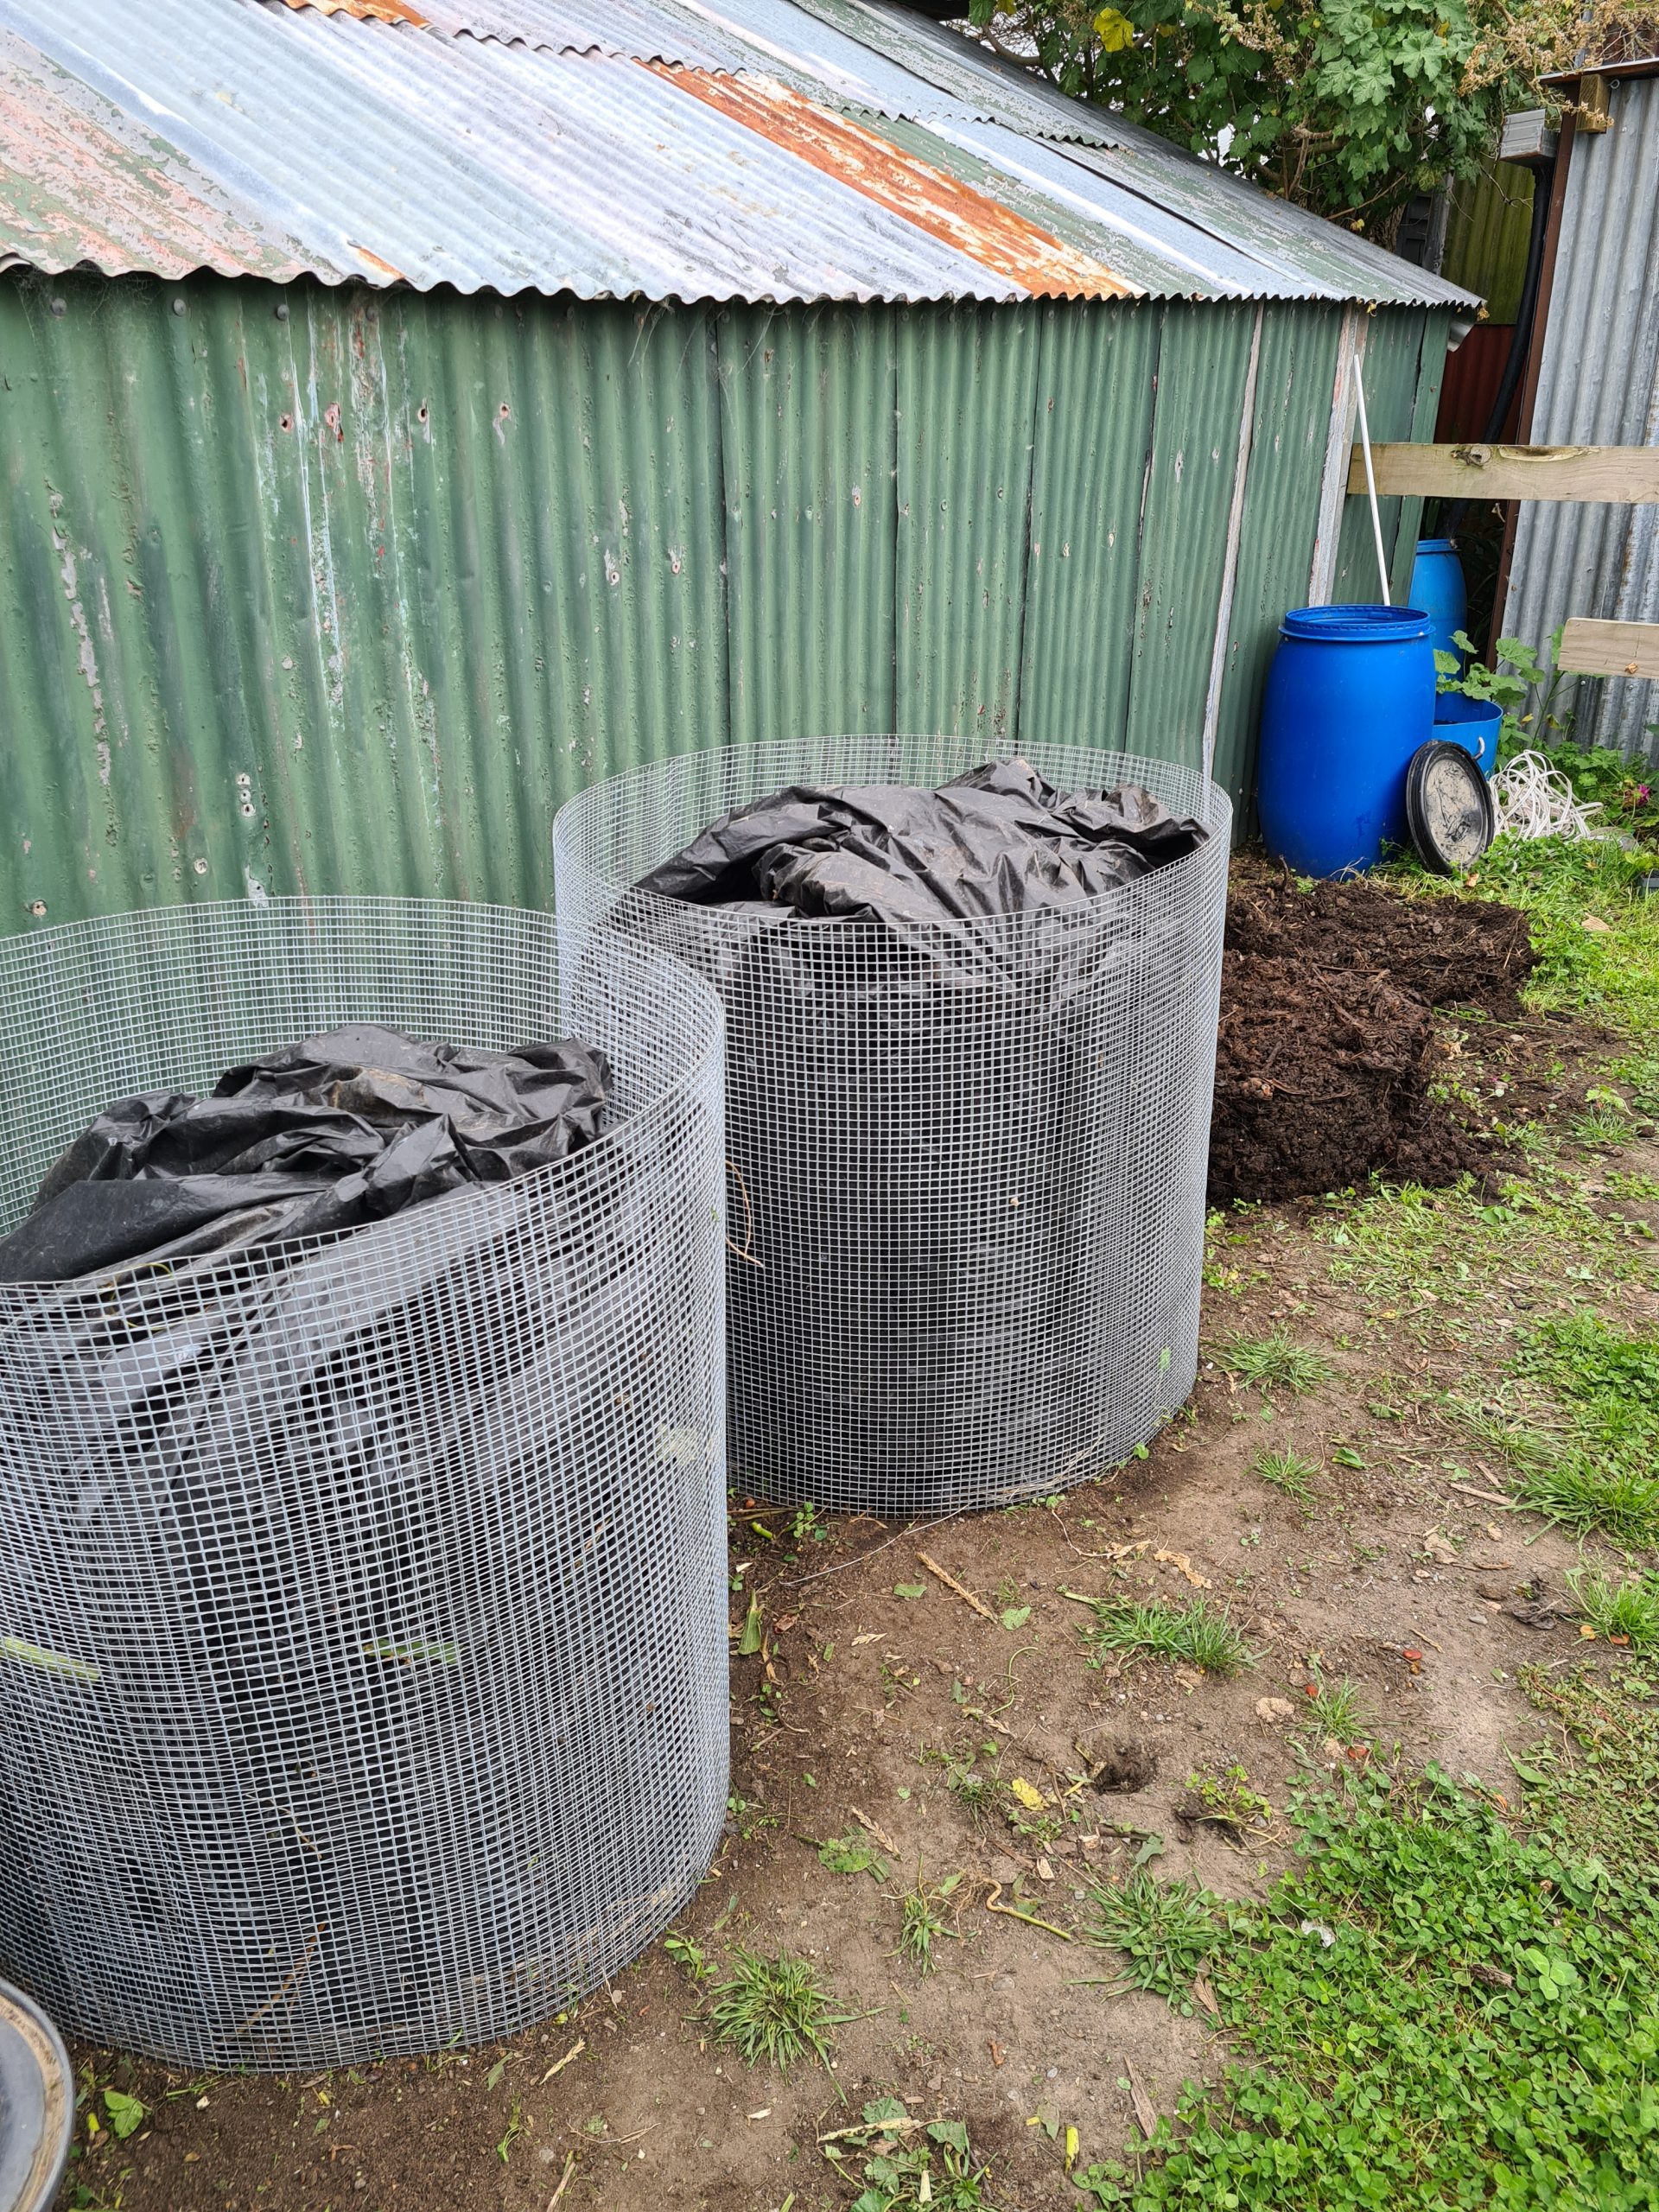
I make compost in bulk (I always have). I get a bit nerdy about it, I keep notes on temperatures, and I bore people, relaying such dreary info without their enquiry. I am endlessly enthralled by what is going on at the microscopic level.
I would buy a microscope but I know I’d get obsessed with that and I haven’t the time for another obsession. Maybe one day I’ll allow myself that treat.
I also have a worm farm. It’s big. Made from two large stainless steel tubs. I sell Tiger worms nationwide. I am Head Rancher at Amberley Worm Ranch. It’s so successful that I am having to limit my sales for a time because my numbers are bordering on the other side of static. I’m a victim of my own success. So I really need to find another tub.

I agreed last year, with my arm forced up behind my back, to become a host garden in the Hurunui Garden Festival (this year: October 27-30). I wasn’t ready, by a long shot. My real role was meant to be as an ‘Artist’ (my actual job) but because gardening is my central focus that needed to be as equally on display. I was frantic. My place was a wreck and only half set up.
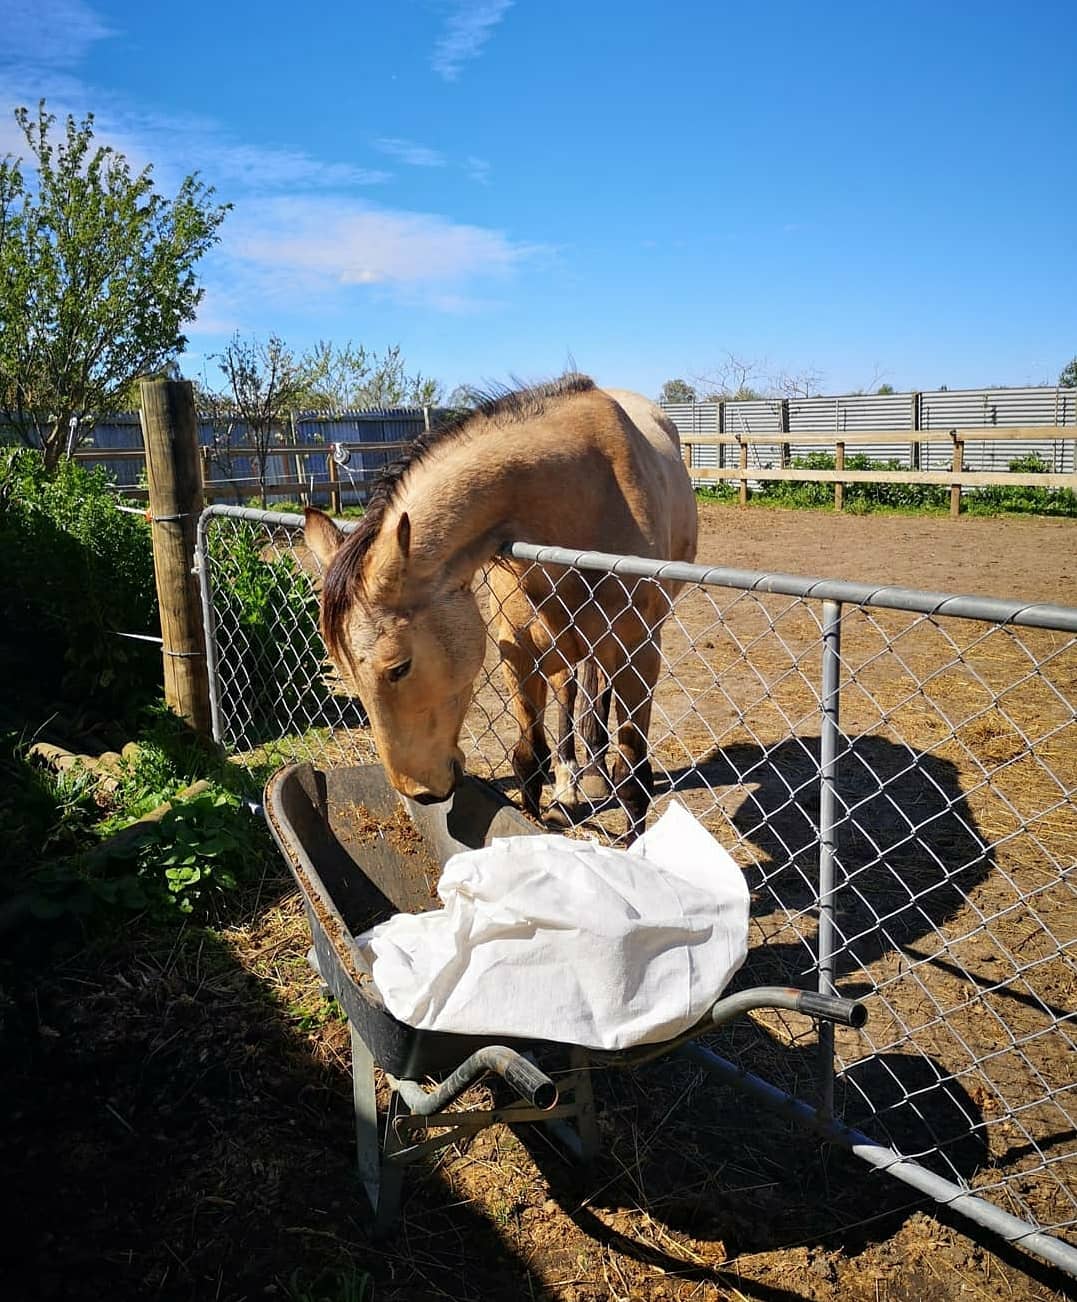
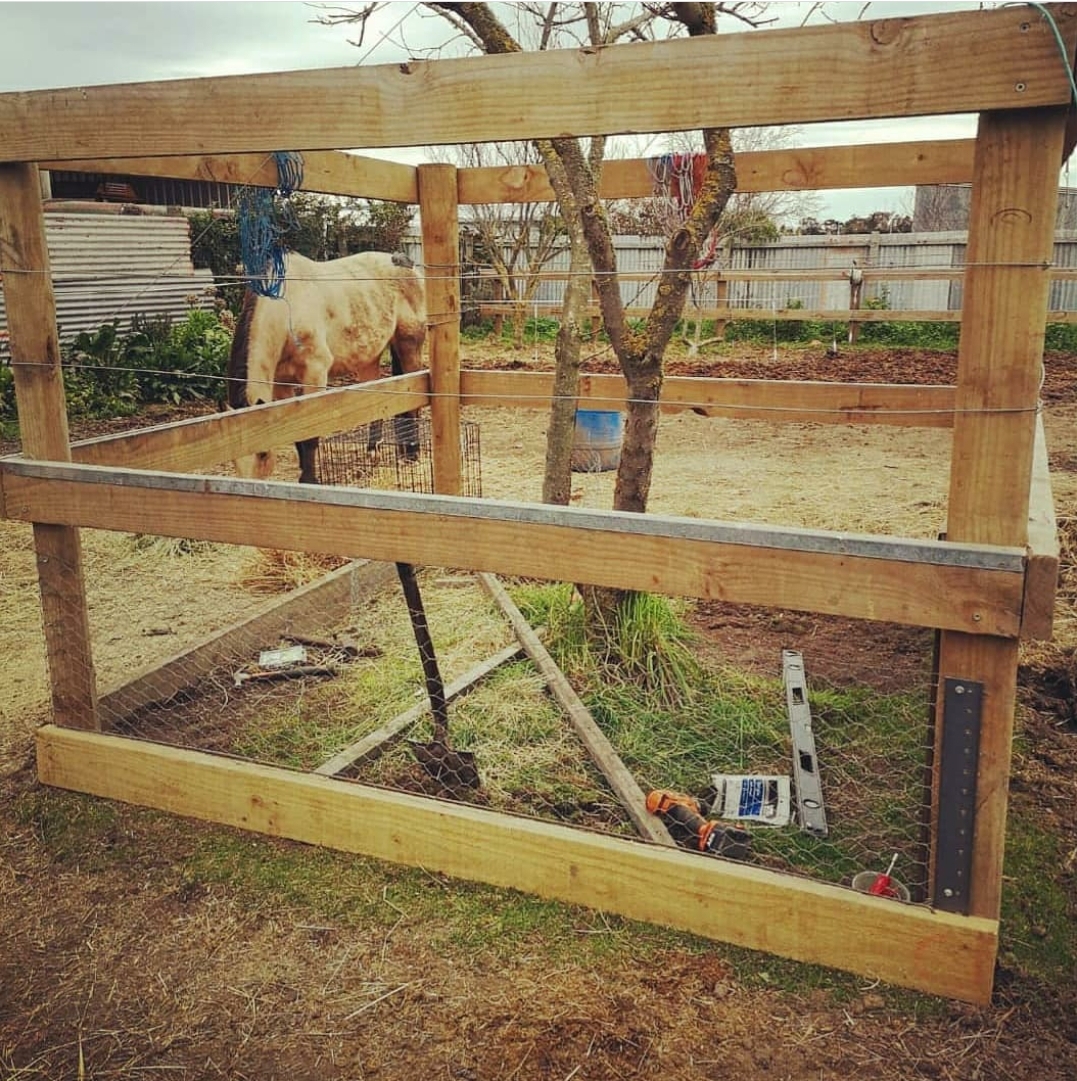
My horse had been living in my back yard due to a brush with Laminitis sustained at her grazing block. Keeping her contained elsewhere was uneconomic so I purchased some posts and timber, installed them and two sets of massive gates with the help of my partner, and brought her home. I built a mini hayshed and for one whole year she and I became room mates. Now repaired she is back at grazing with room to run and another horse named Tom as her friend
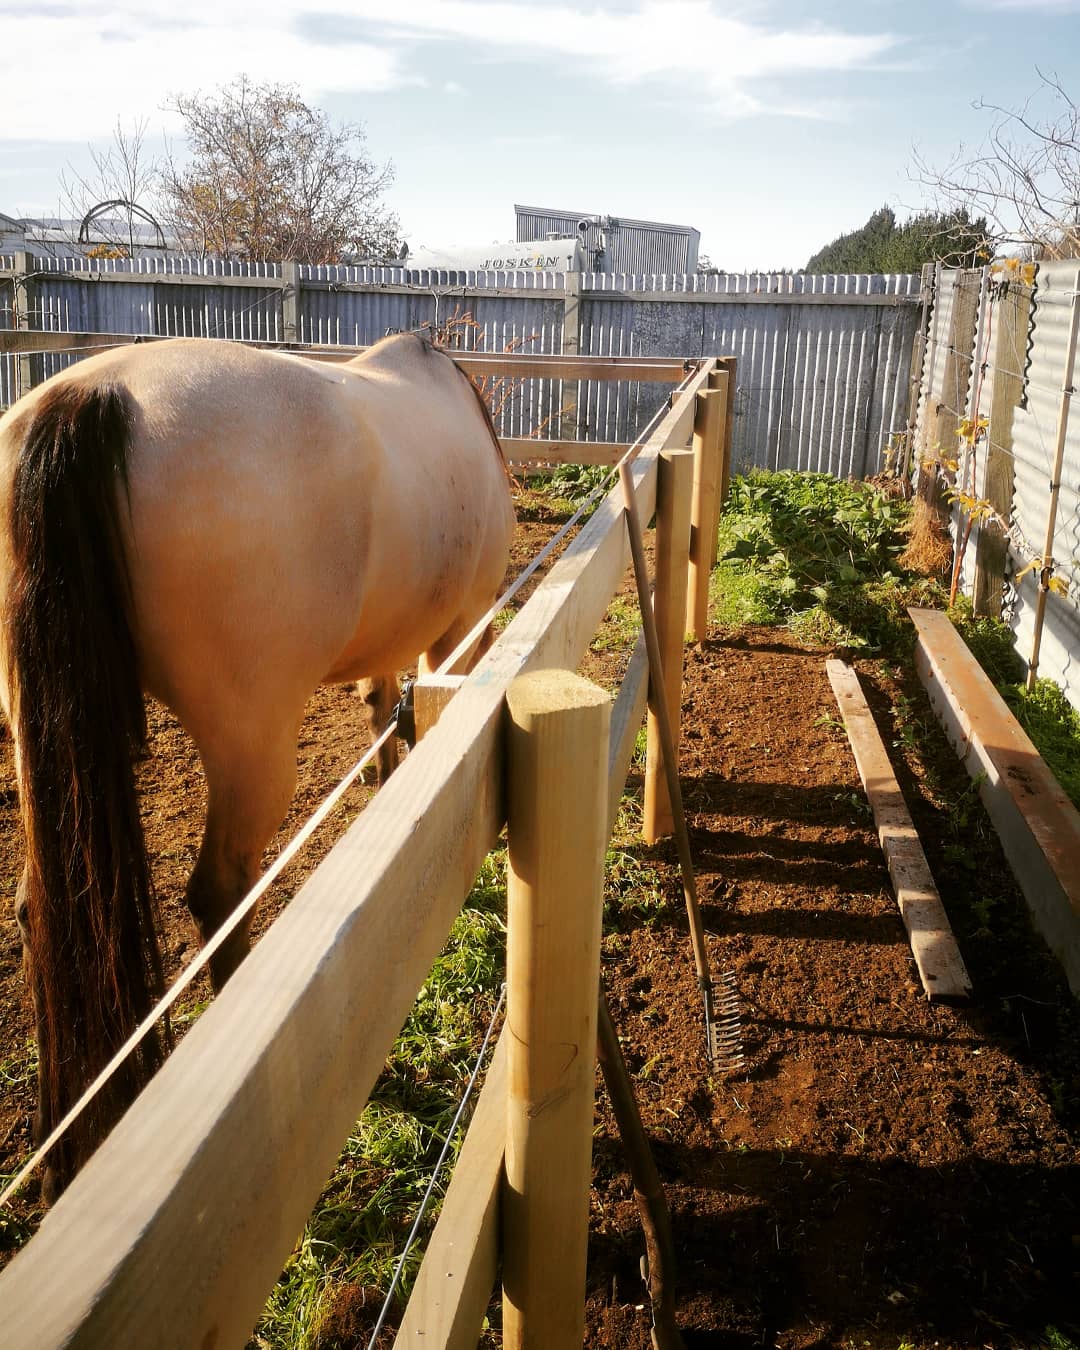
I had put down crusher dust to line her fenced arena. Now I was left with a heavily compacted area that had a concrete like crust to it. And with hundreds of visitors just a few months away from arriving what was I going to do!? So I looked to Charles. Via his wonderful online videos I learnt that all would be ok.
I did need to dig initially. The crust was extreme. I broke through with a fork, bending the tines, it was necessary. I then grew green manure crops and did “chop and drop”. And then repeated that twice more.
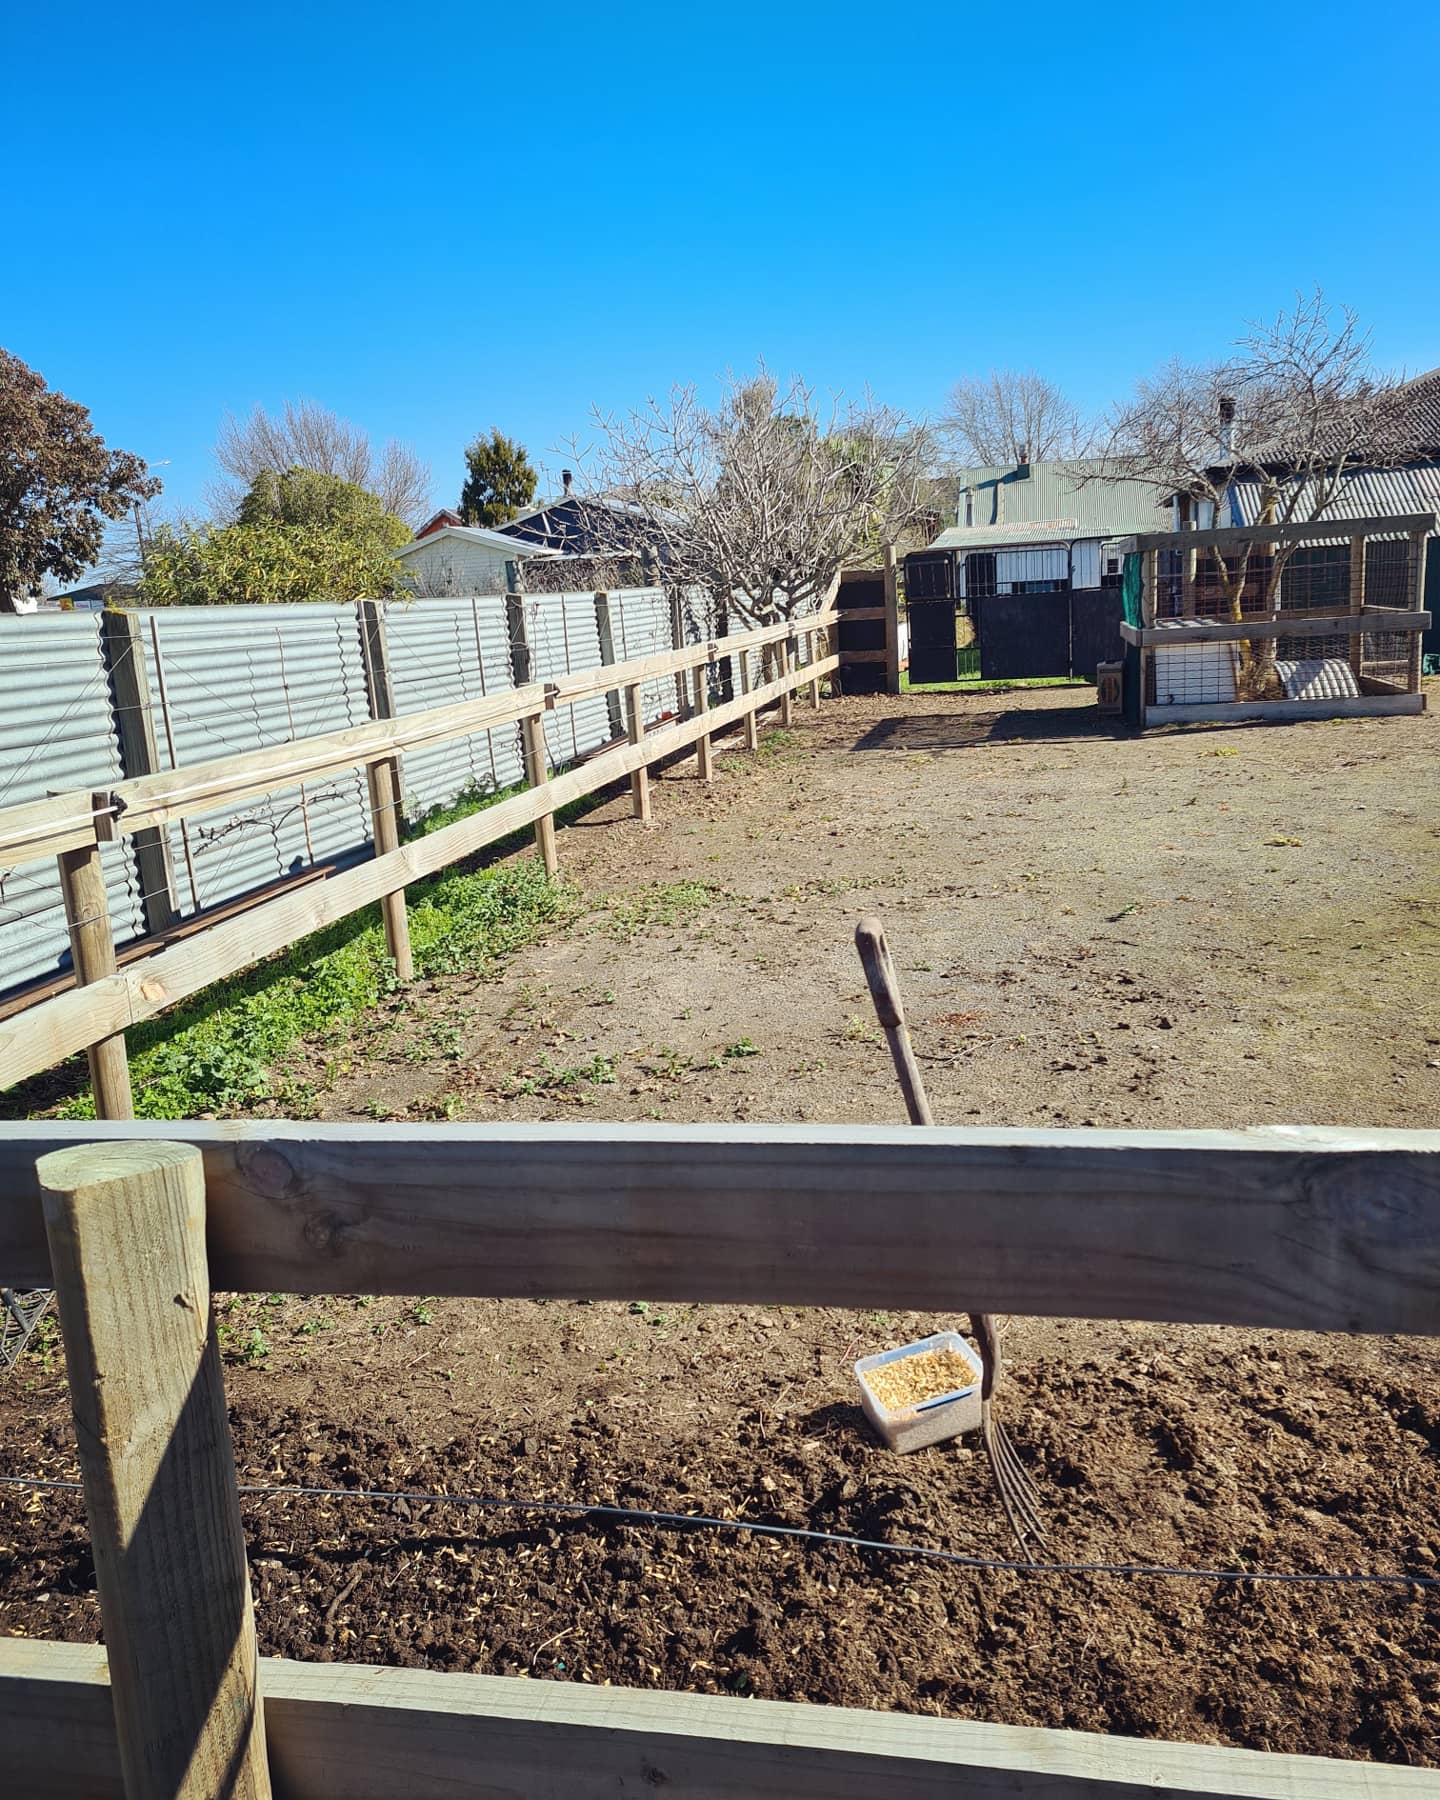
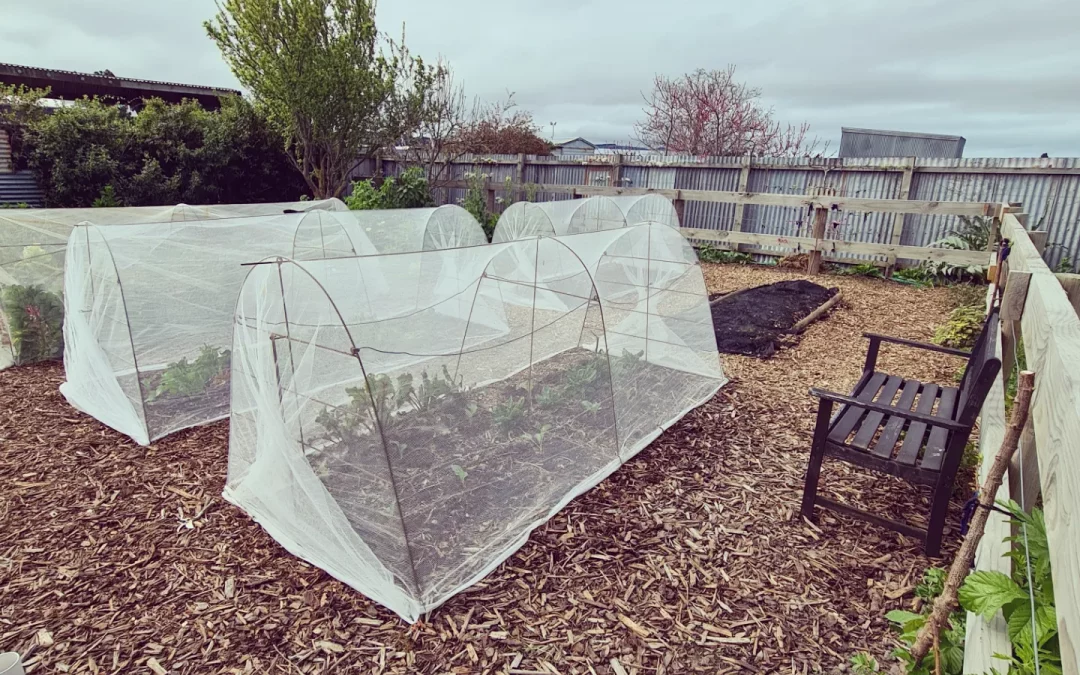
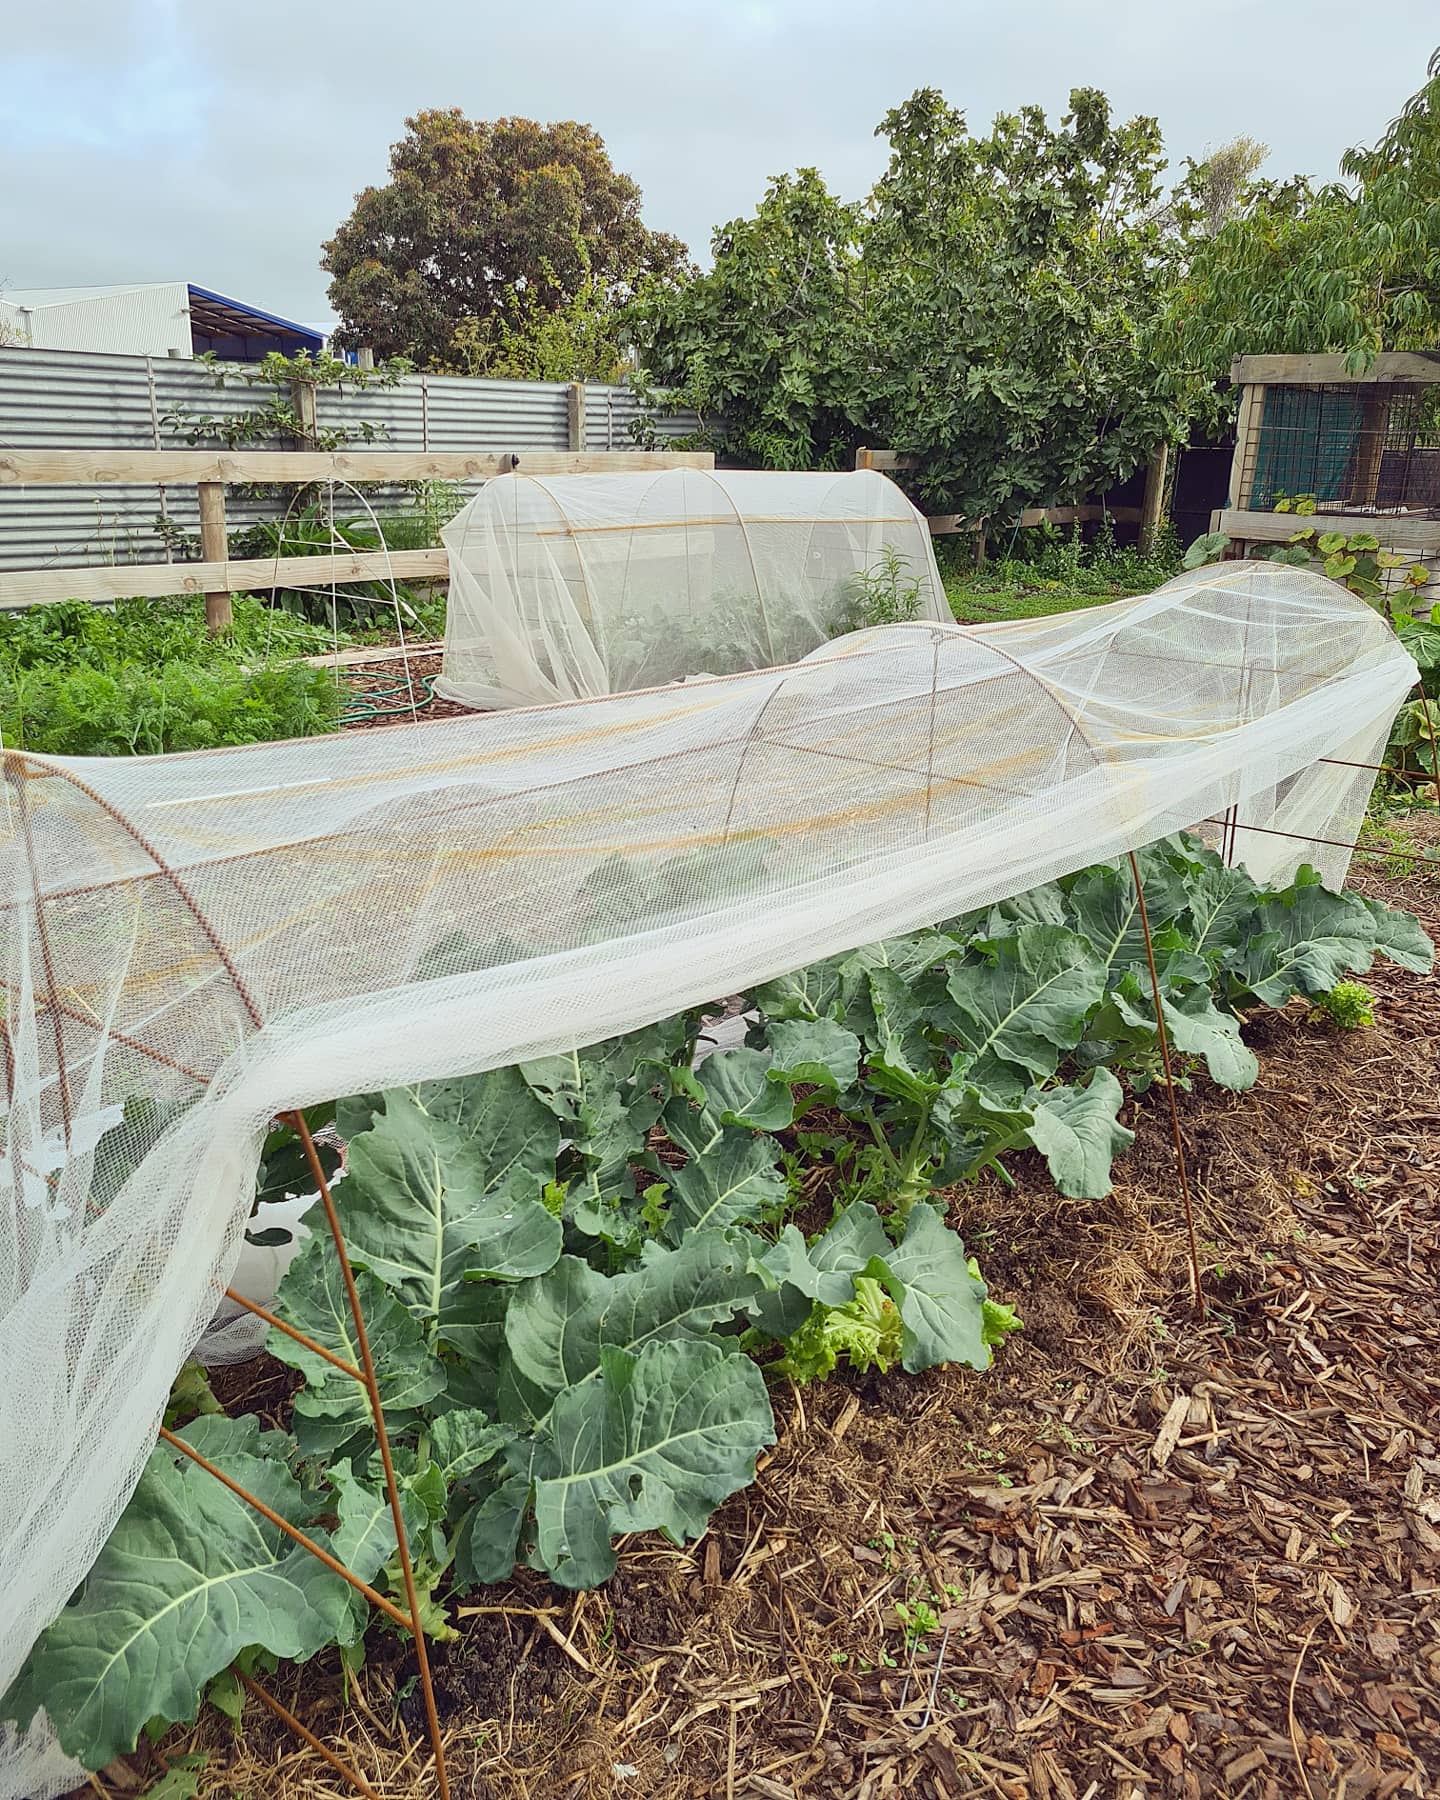
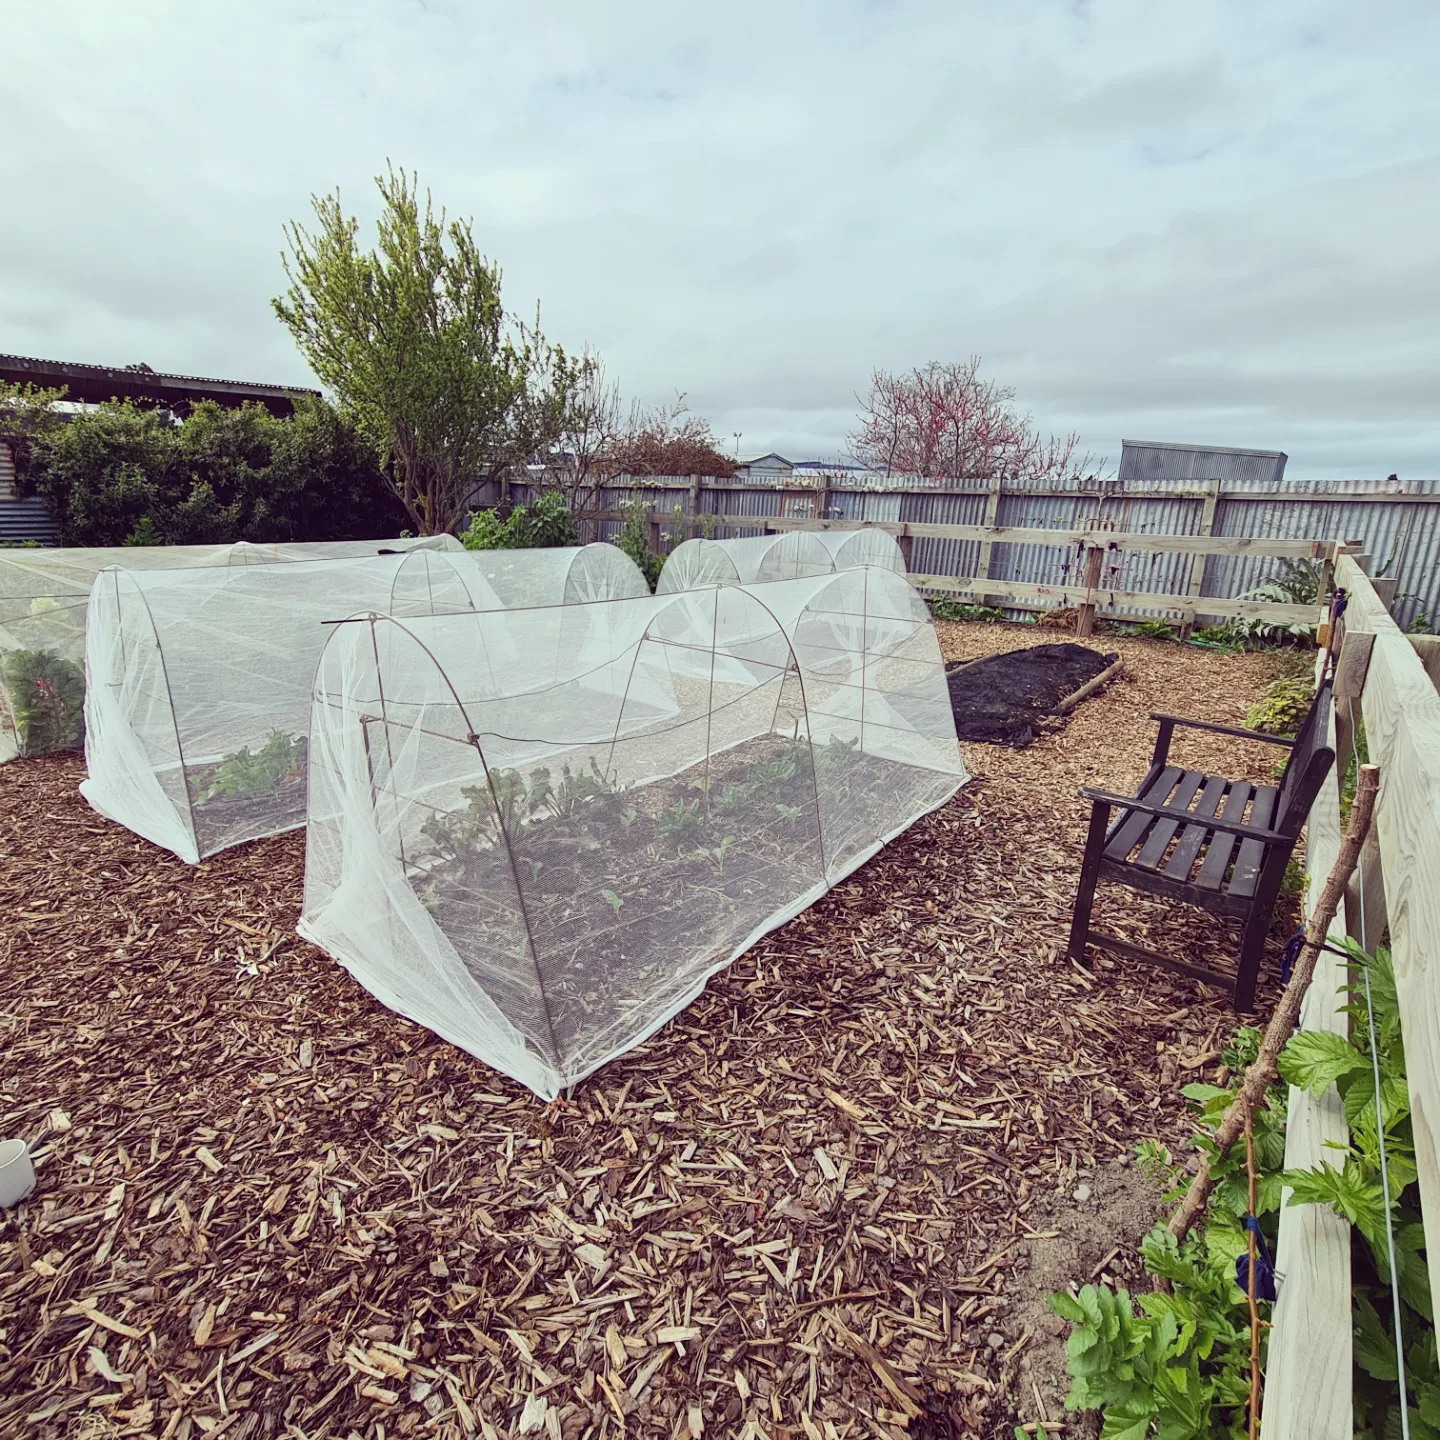
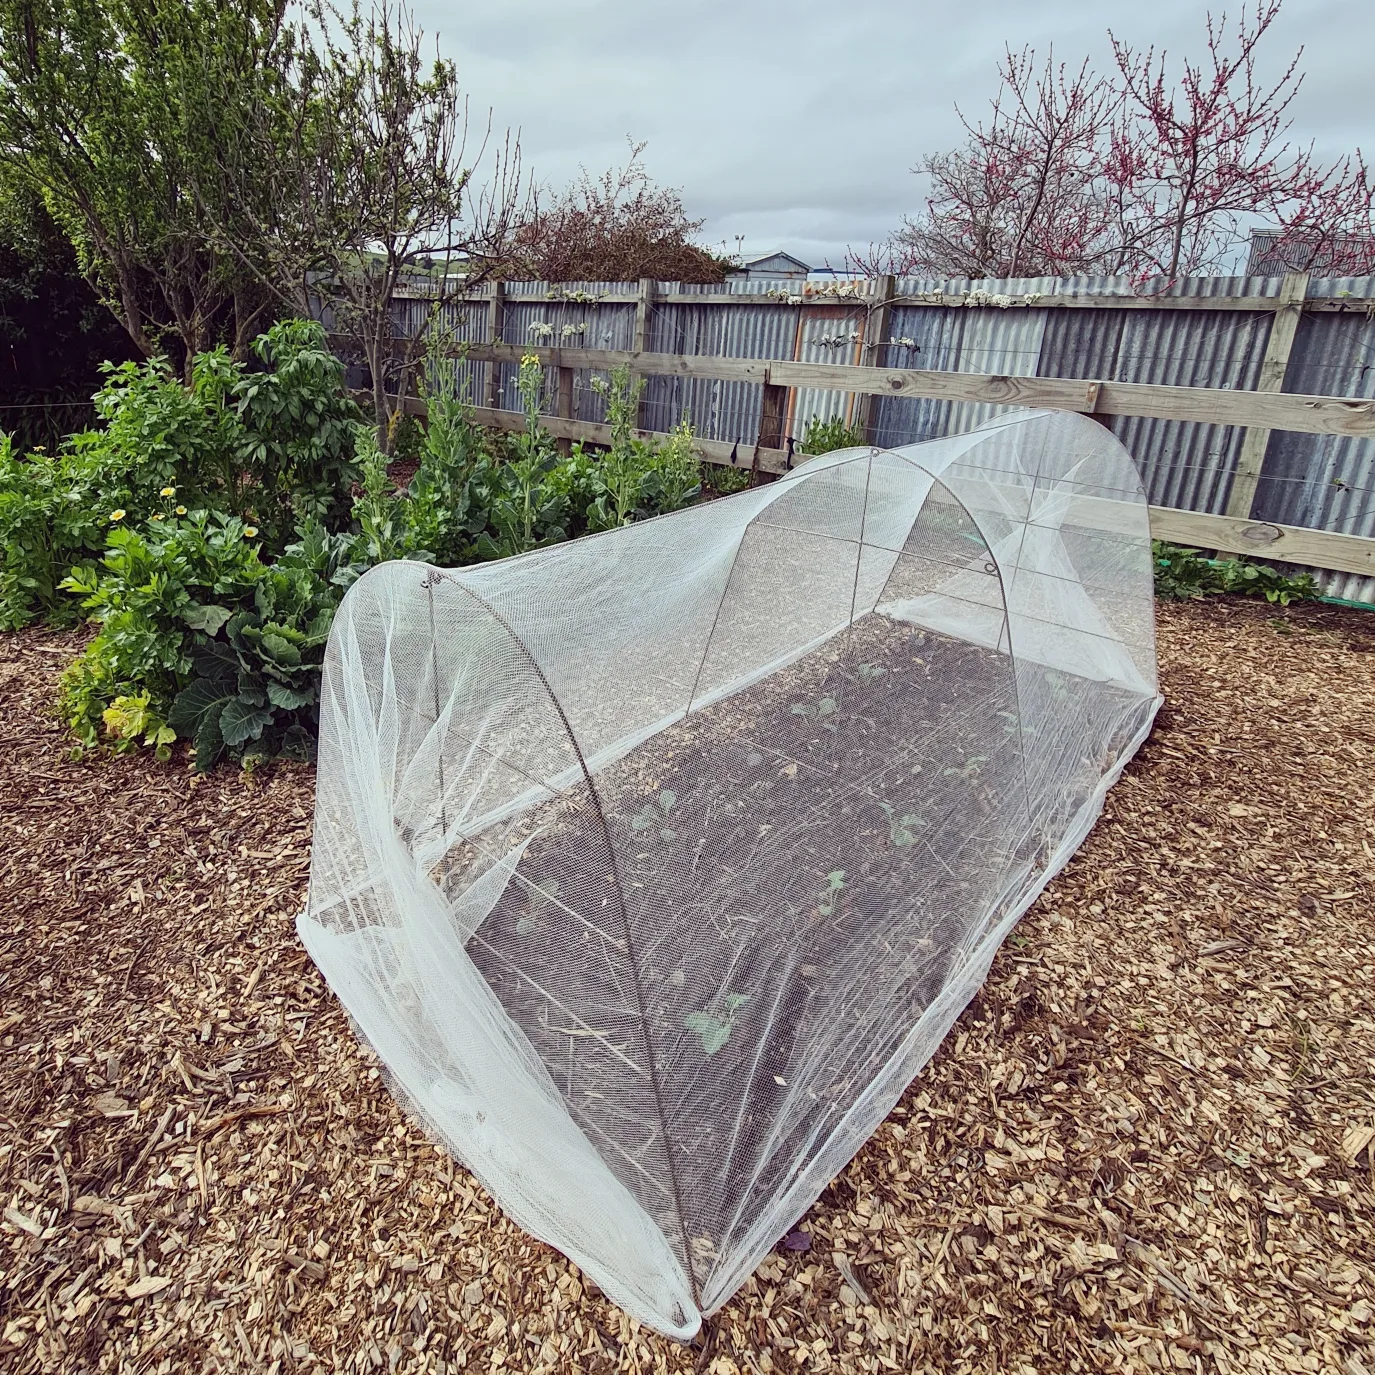
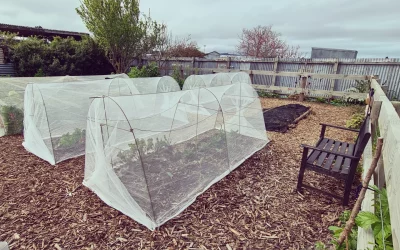
Now one year on I have set out rectangular beds that are completely No dig. I apply my homemade compost, and worm castings, and let nature continue to repair itself. Between the beds I have placed arborist’s chippings. It’s a manageable way to keep a large area tidy and the wood chips have brought in the fungi my soil needed.
I make compost teas, bubbling them with aquarium bubblers. I apply water sparingly, and prefer to use captured rainwater. I even have magnets on my garden hose on the off-chance that theory works.
I give all ideas a go, why not? It makes the daily tasks enjoyable, thought provoking and gives my partner something to laugh about.
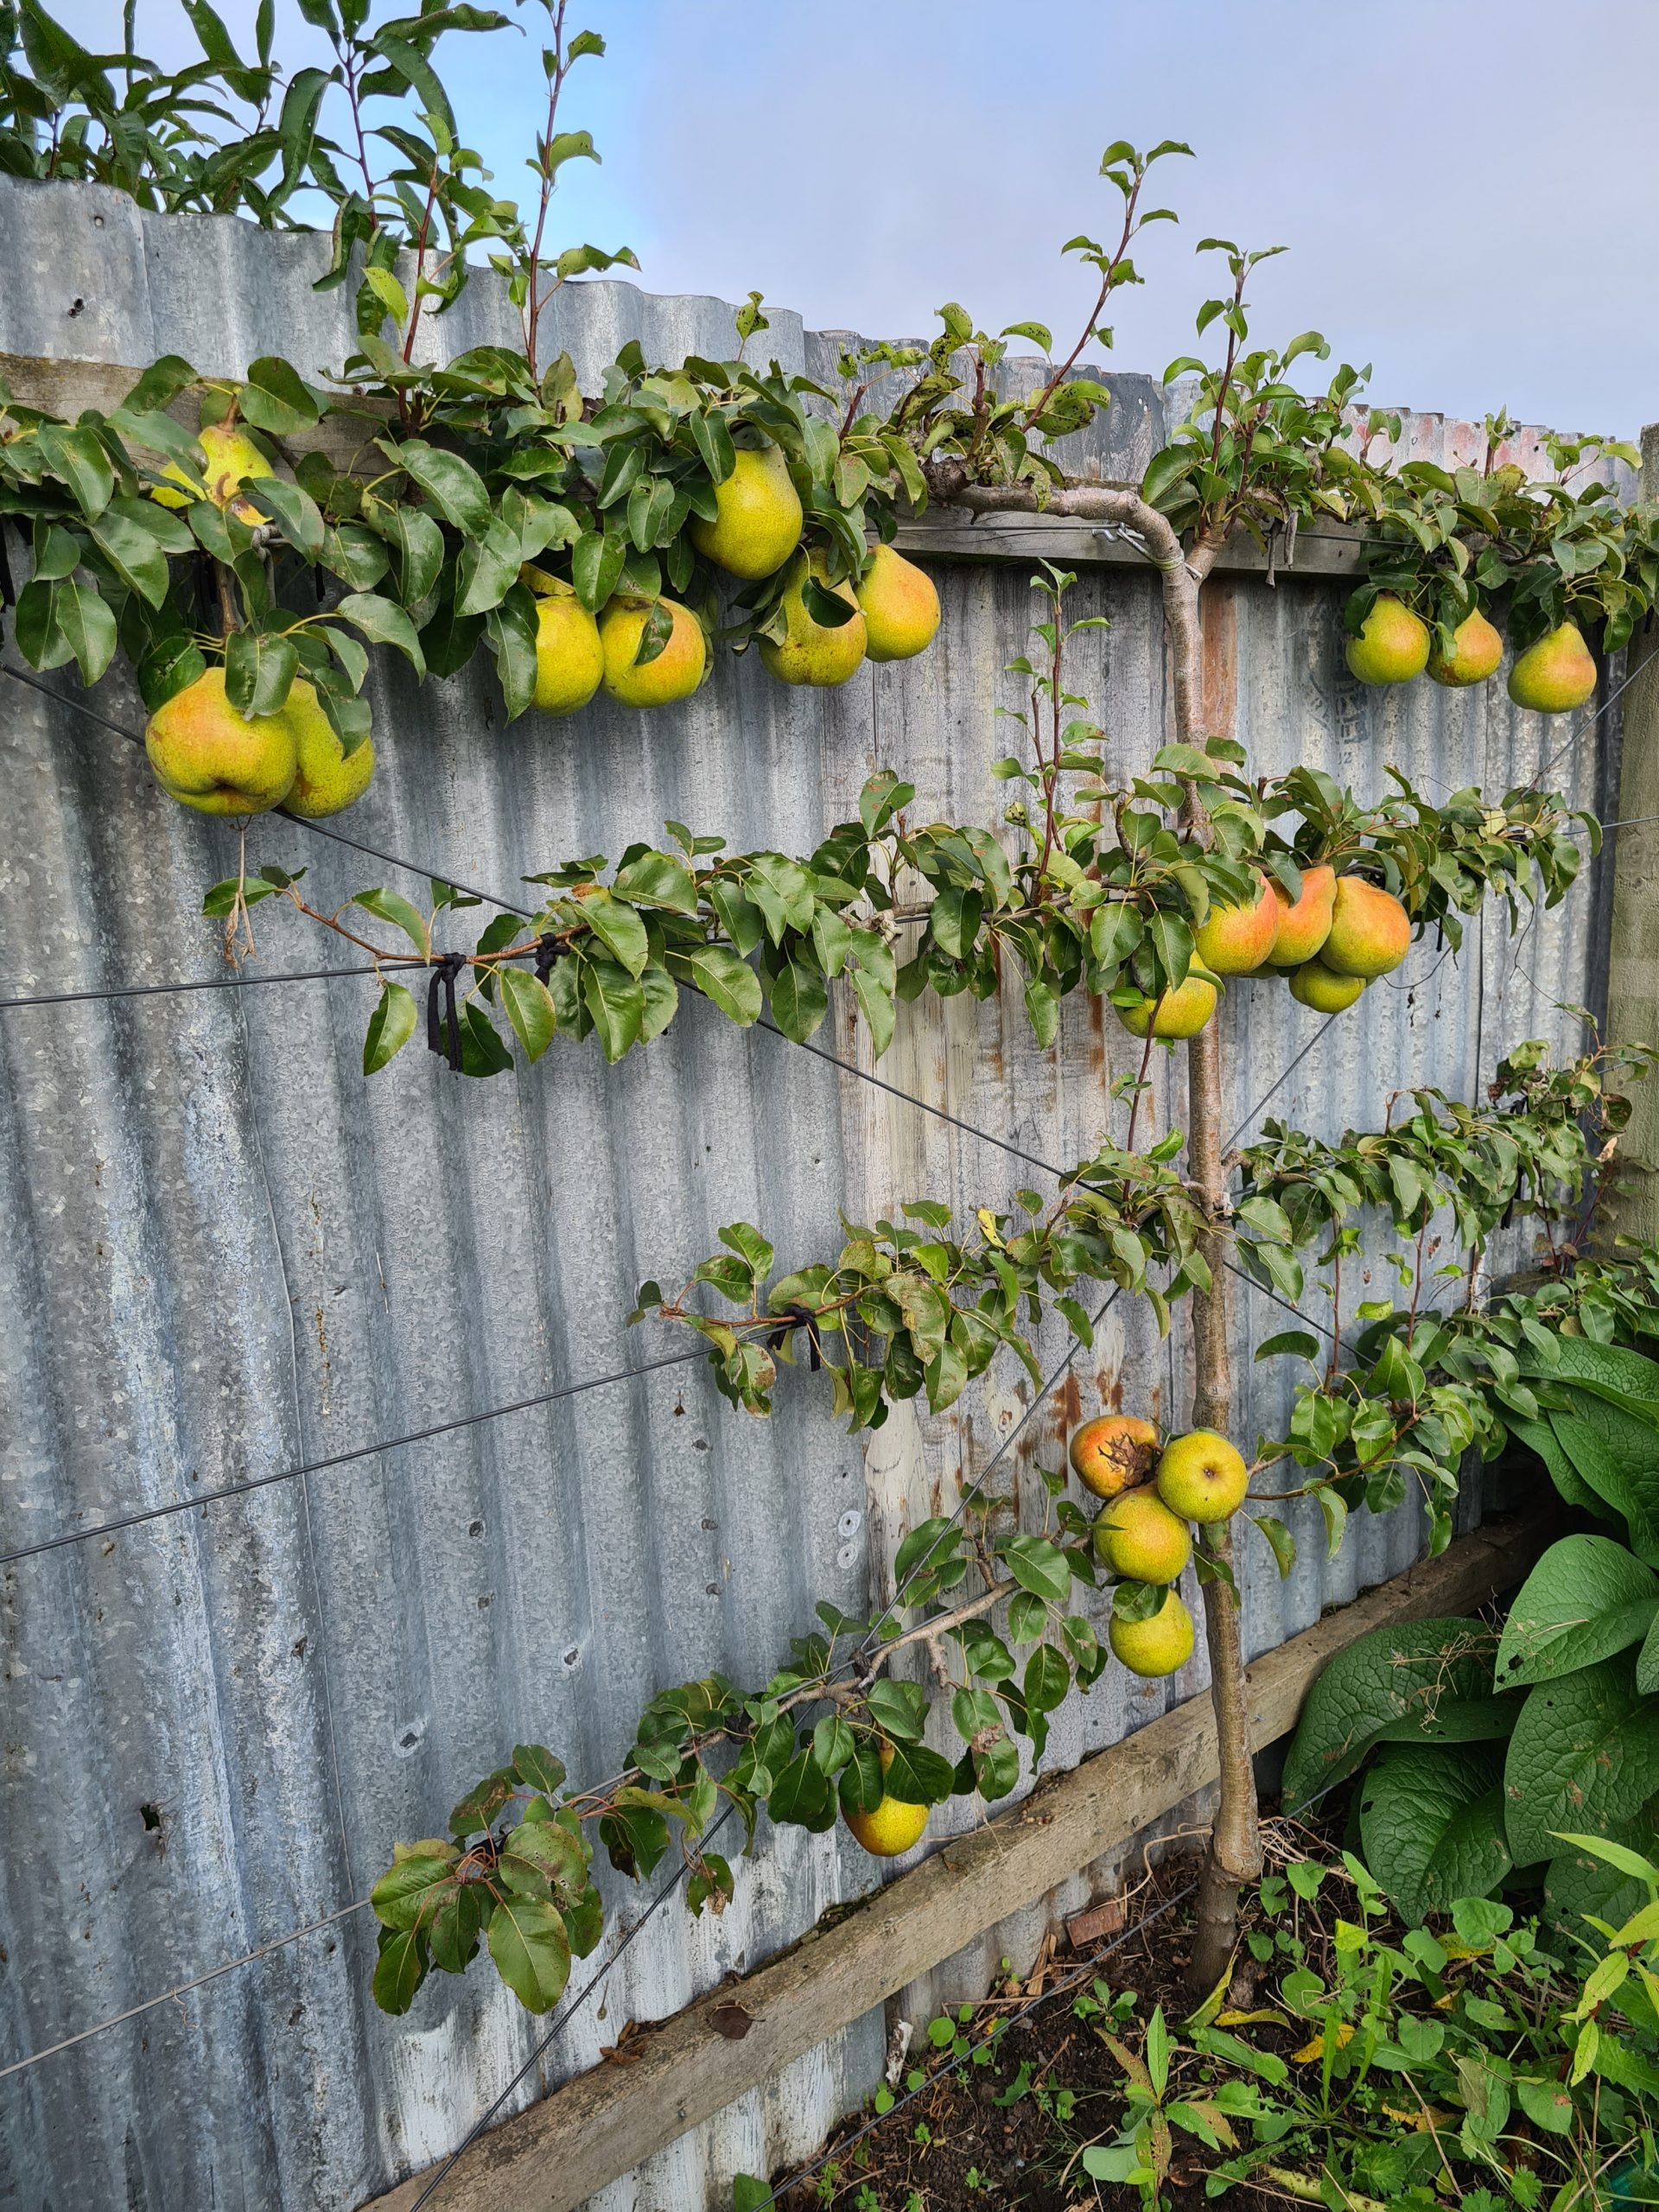
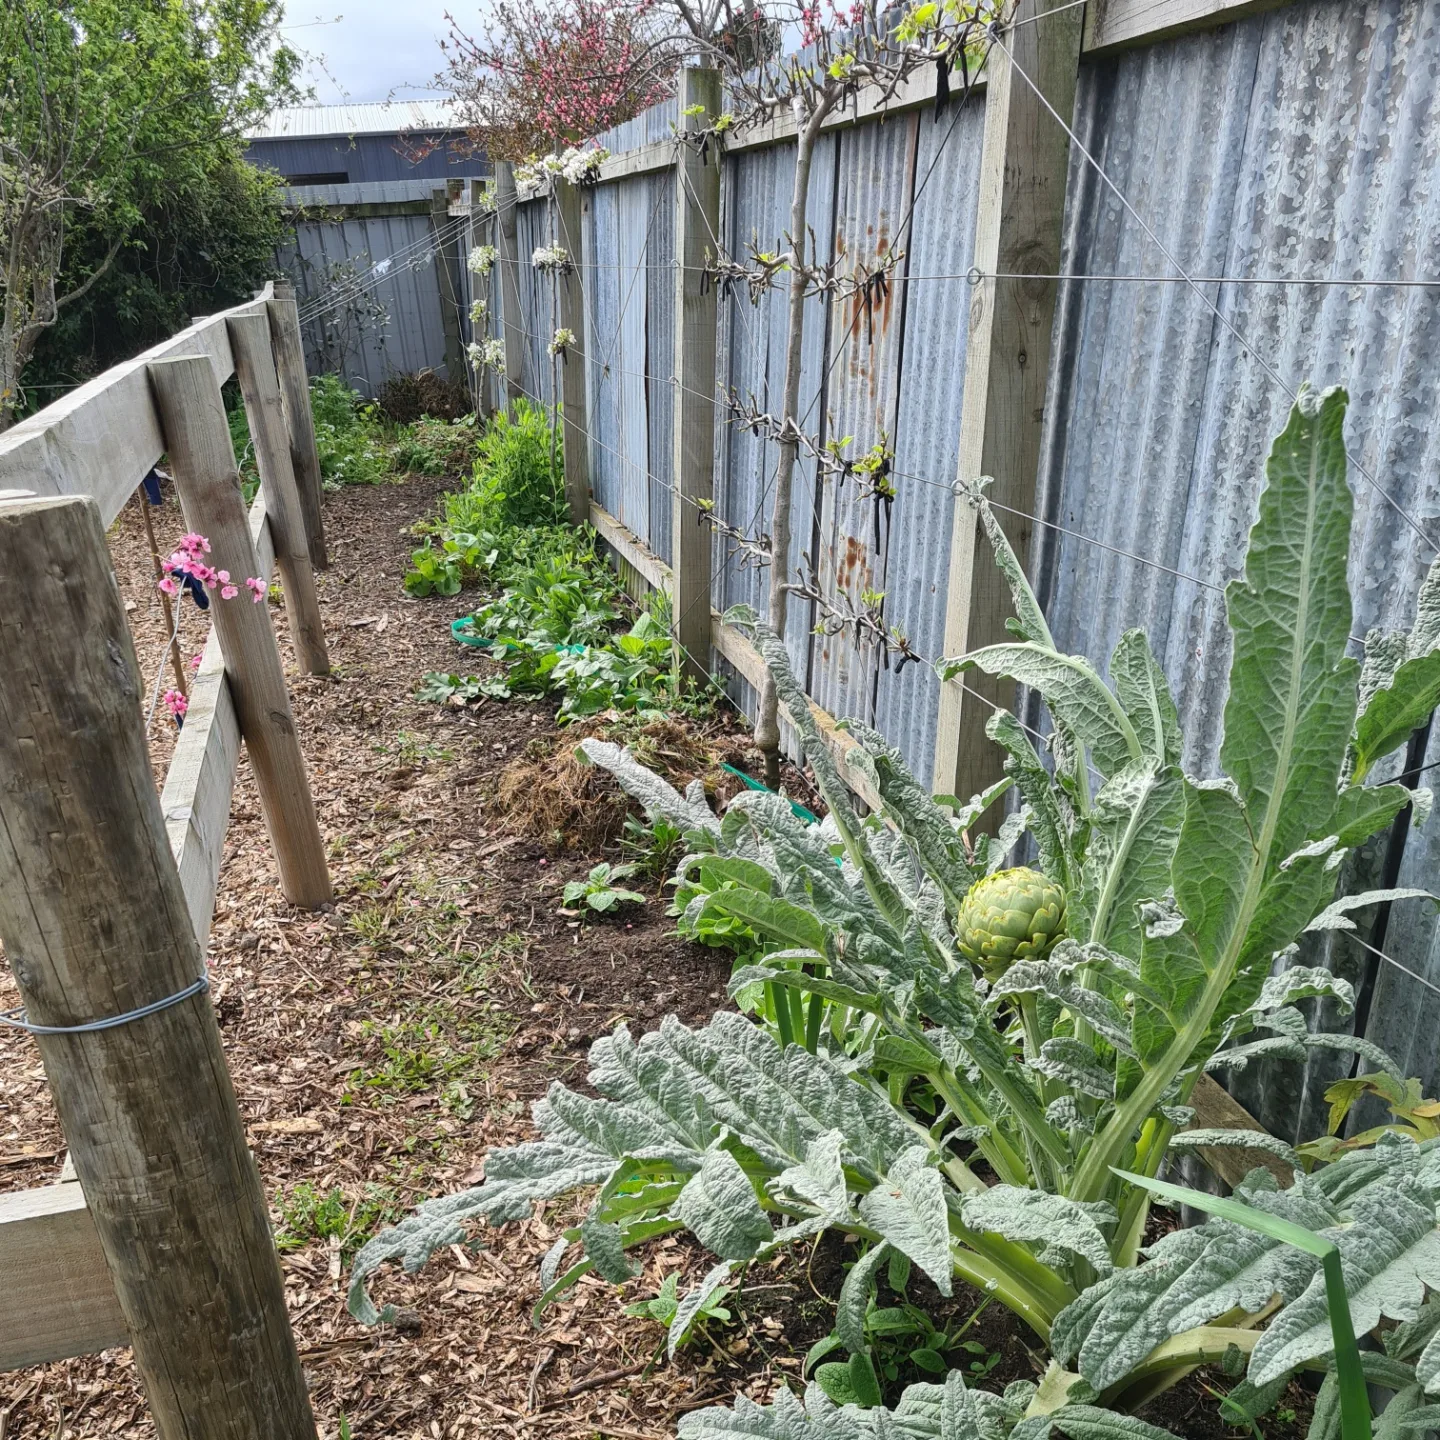
I have now got 29 fruiting trees here. There is no more room at the inn. Fourteen of those are espaliered. I’m so in love with this technique. They give me endless joy. Five are newly planted this spring, and some are now in their fifth year. They are my pride and joy. They fruit heavily, are easy to protect from baking sun, frost or hail. And they delight people, they are living works of art.

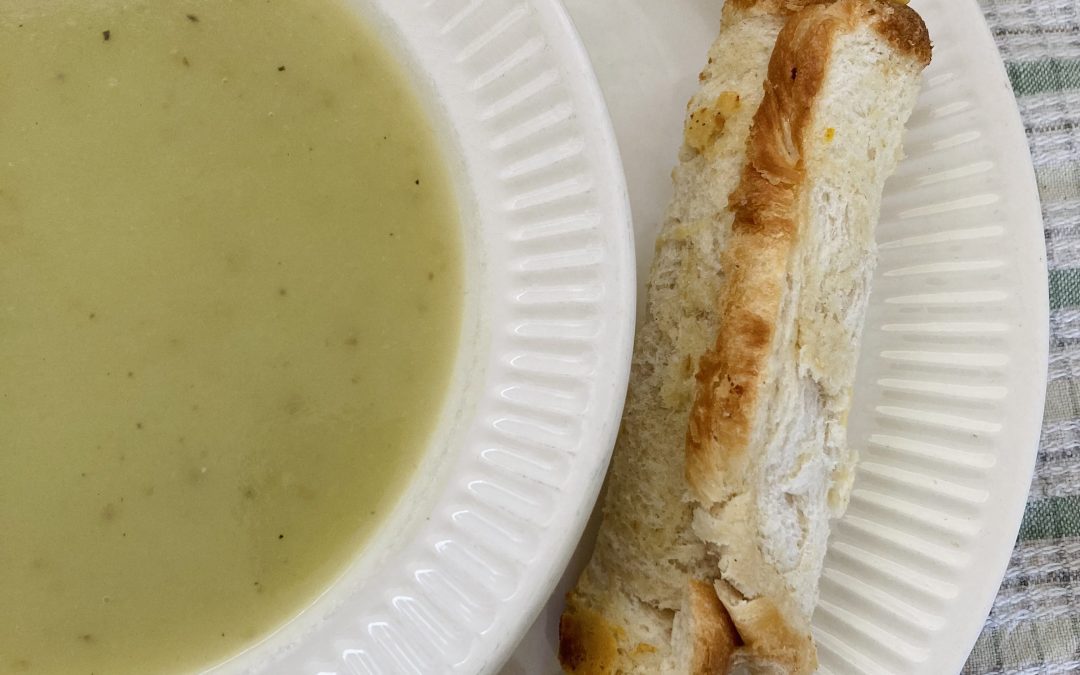
So that’s my wee story. I believe we should all be wise guardians of the soil we inhabit. We should do right by nature. And if possible we should grow more than we need, to share with others. I’m still finding I have a non-consistent flow of crops but I wish to help others with produce. That’s my aim.
I’m gifting constantly but I’d like it to have a market gardener’s type routine to it, so my help could have a more predictable output. That’s my goal.
I’d also prefer the recipients came to be part of the picking. Mostly so they have choice in their meal planning, and so we build a connection. Even for them to sit and watch and chat while do the harvesting would be lovely. I think there is something very healing and cathartic about growing food.
I have a plan to get children growing, for the elderly of the community. In my imagination they would work together young and old. I just need to find the time to coordinate the idea in my head into a real life thing.
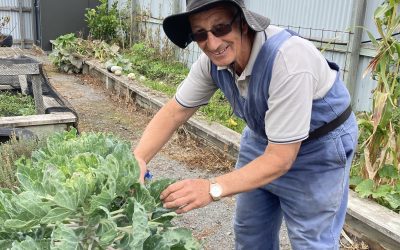
Sharon is a full time sculptor, artist and gardener/food producer based in Amberley who decided at age 43 to just live her dream life. 5 years later she is seeing the vision of how that could look, becoming more and more of a reality.
“I tread lightly on the earth and believe by opening my garden up for group tours I can help to share conversations on growing healthy food from healthy living soil.”
Check out Sharon’s garden at the upcoming Hurunui Garden Festival!
Also check out:
Sharon Earl Instagram
Sculptor – Sharon Earl Facebook
Amberley Worm Ranch
More posts you may enjoy…
Community Gardens For Building Stronger Communities and Food Security
read more
The Fascinating Story Of Sharon Earl’s Gardening Journey
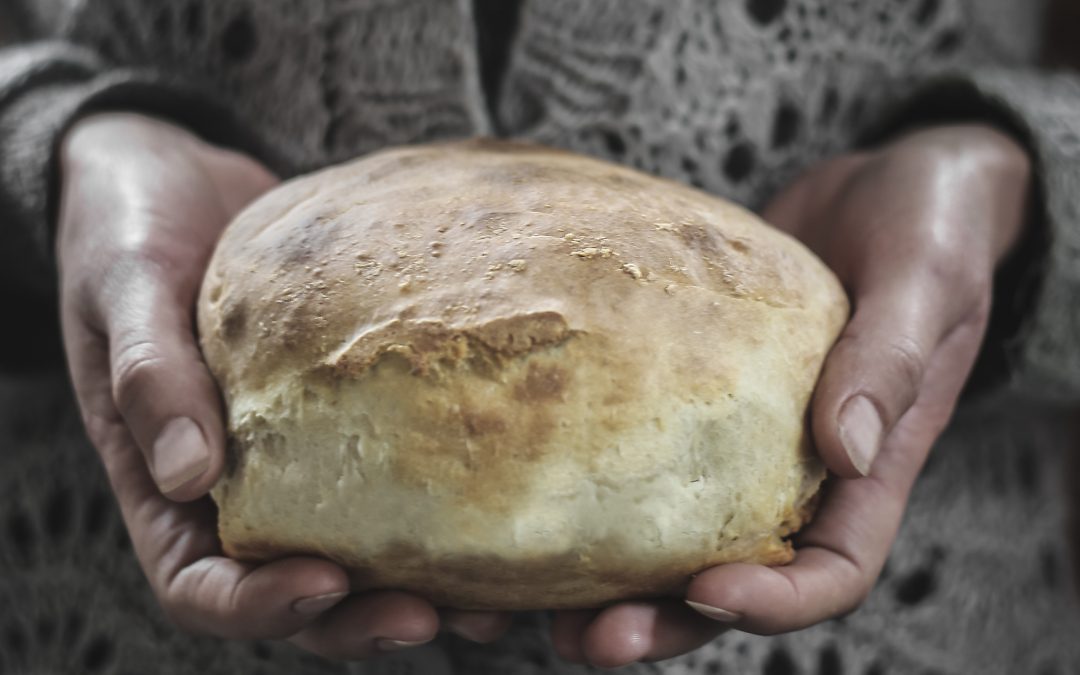
When she’s not creating tiny drawings with pencil, working with leather, or building life-sized intricate sculptures from wood and steel, Sharon Earl is in her ‘no-dig’ organic vegetable garden.

The SEDE Project
The SEDE (Supporting Elderly Diet Enrichment) Project.
Home gardeners sharing surplus home grown produce with elderly people in their community.