The Best Way to Eat Leeks!
The Best Way to Eat Leeks!

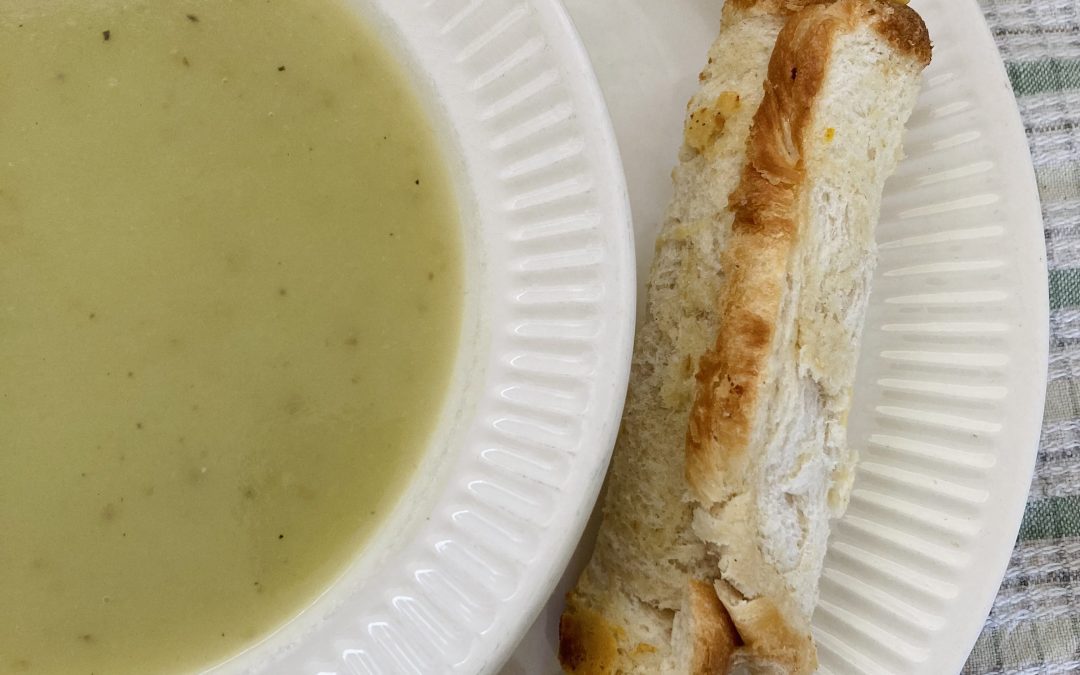
The Ultimate Leek and Potato Soup
The best way to eat leeks? If you ask me, it’s Leek and Potato Soup! This fail-proof (I think!!) recipe is so simple yet absolutely delicious, you need to try this!
Many years ago on a New Years Day I was feeling rather dusty. My good friend Kristy made me the best leek and potato soup, it was life changing! Up until that point, I didn’t have any good memories of leeks.
As a kid, leeks were served in white sauce. I still remember the squeaky texture of the leeks, and wondering why they had to be in white sauce (surely some cheese wouldn’t have hurt!). So I decided I didn’t like leeks and to be honest the idea of eating them in white sauce again still haunts me (especially when I know it could be made into a fine soup instead!).
I have to admit I don’t have a specific recipe to down to the detail, as I’m an intuitive cook and rely on taste testing along the way but in all honesty I think it’s pretty hard to mess this one up so let’s get into it!
Ingredients
1 large onion, chopped (optional)
Plenty of FRESH garlic cloves*, coarsely chopped (essential)
1 large leek (or 2 smaller ones), chopped
4 large potatoes (skin on, washed), chopped
2 tablespoons of butter*
Decent tasting vegetable stock*
Sea or rock salt and cracked pepper
Ingredient notes:
- All quantities are approximates.
- If you can use fresh garlic rather than pre-crushed garlic, the flavour is rewarding!
- It doesn’t matter too much about how the vegetables are chopped as the soup will get blended smooth, though it will cook considerably quicker if the potatoes are chopped smaller.
- The butter is for sautéing but also for flavour and creamy consistency, so I tend to go for at least 2 tablespoons. If using vegetable oil or dairy free / vegan butter alternative, you will probably want to reduce that amount down to just enough sauté
- Vegetable stock I use powdered Massel or Rapunzel Organic stock. Both of which have amazing flavour! Highly recommend. Otherwise, use whatever one you like.
- Freshly cracked pepper is much nicer than ground pepper, and I always prefer to use sea or rock salt than table salt!
Method
- In a large pot on medium heat, sauté onion (if using) in butter til translucent, adding garlic and leek towards the end. You only want to cook the garlic and leek briefly, a minute or less, while the onion should be cooked for at least 5-10 mins.
- Add chopped potato and mix altogether.
- Top with enough boiling water to cover all the vegetables.
- Add salt and stock to taste (refer to packet for dilution rates or do what I do, taste test!).
- Mix all together and bring to boil.
- Once boiling, reduce heat to medium-low, cover with lid and allow to simmer until potatoes are cooked through, stirring occasionally (this is usually around 20 mins or so, depending on how you cut your potatoes).
- Once cooked, blitz with stick blender until smooth, add more salt if needed and a generous amount of cracked pepper.
- If you want a thinner consistency, add more water. If you feel like it needs more butter, add more butter. Some people like to add cream too, I personally don’t think it needs it but you do you. Heck, you can even top with fried potato peels, bacon bits (I prefer these plant-based yummies from Off-Piste) and fresh herbs if you really wanted to…
There you go – simple, delicious Leek and Potato Soup… the BEST way to eat leeks. For extra indulgence, serve with the Southland classic- cheese rolls!!


If you liked this post, you may enjoy these posts too!
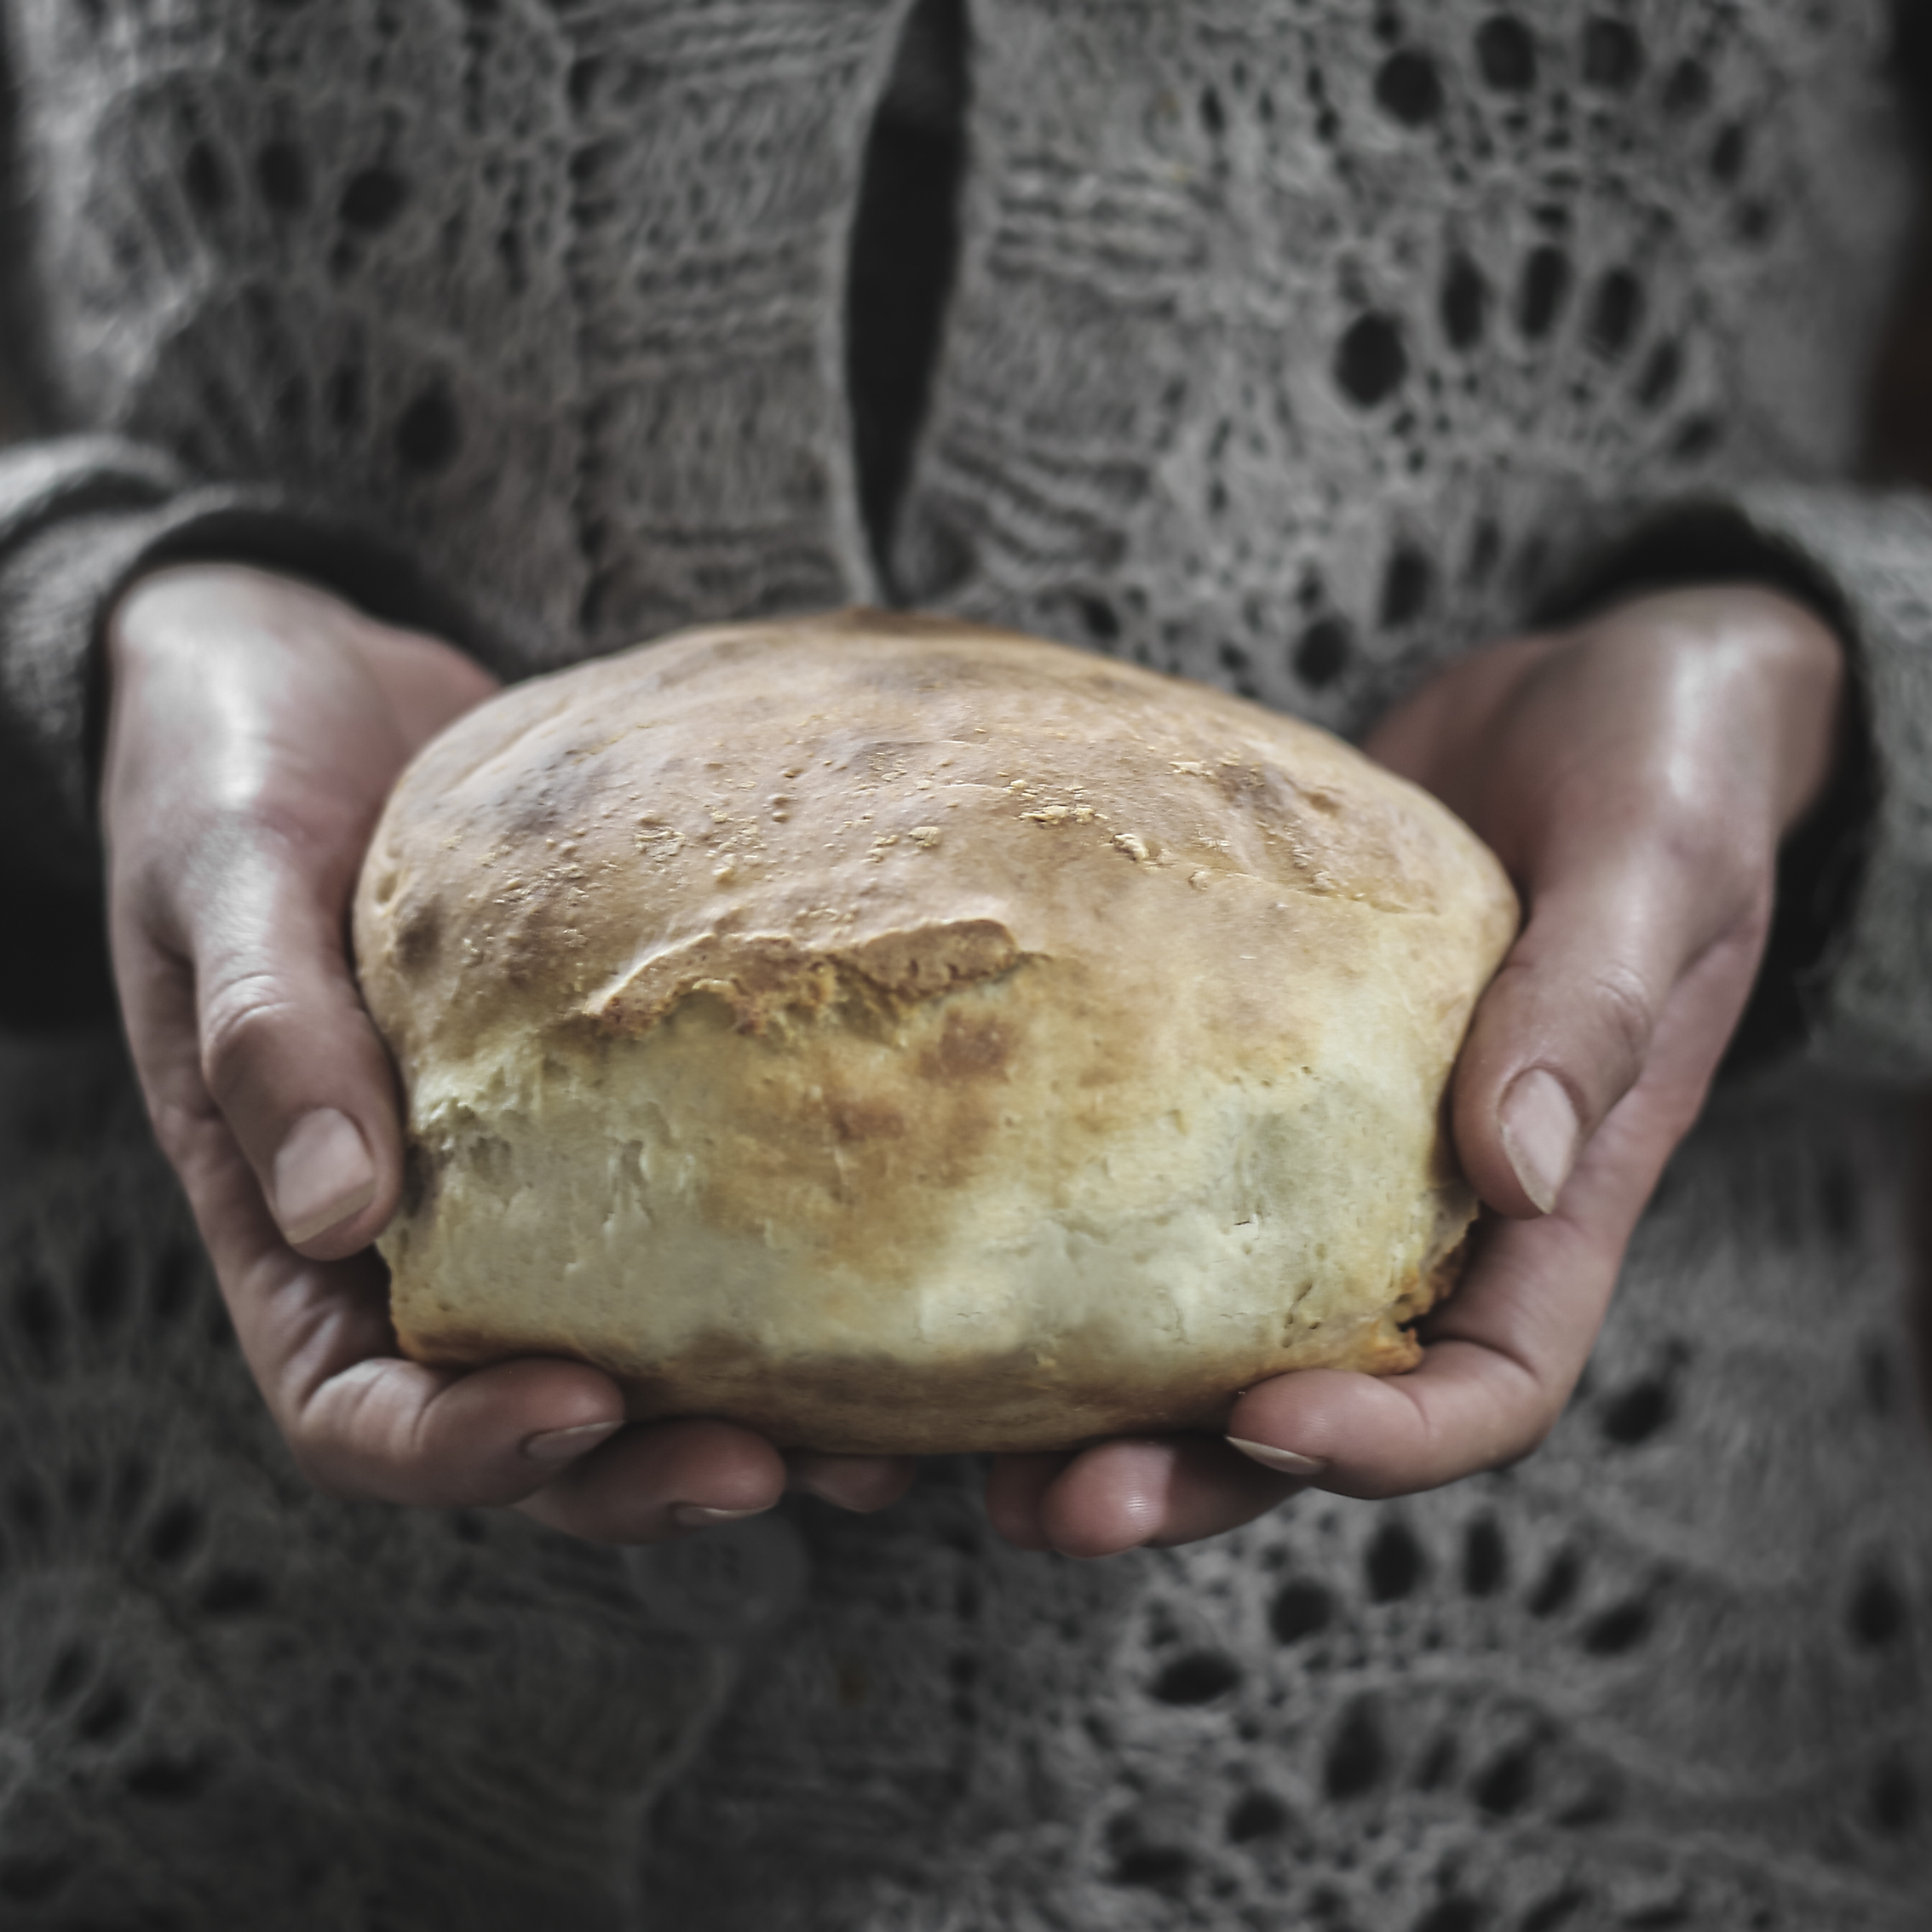
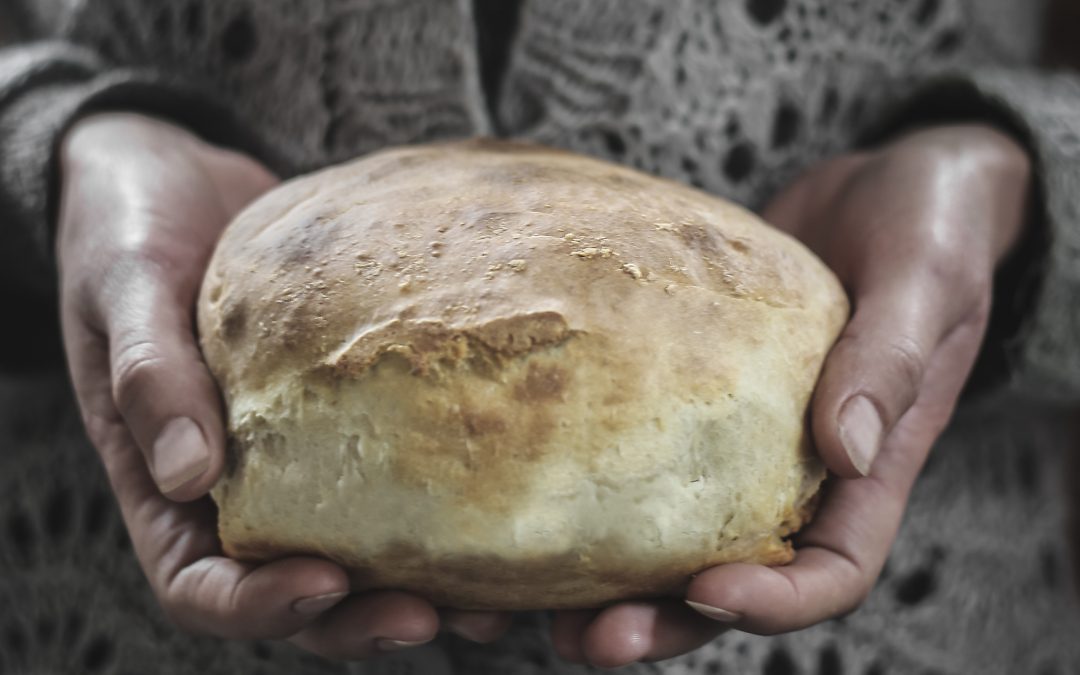
How to make Rēwena Bread
Rēwana bread is a traditional Māori sourdough bread, Sixth House Photography shares how they make their rēwana starter/bug and loaves using potato or kūmara… read more
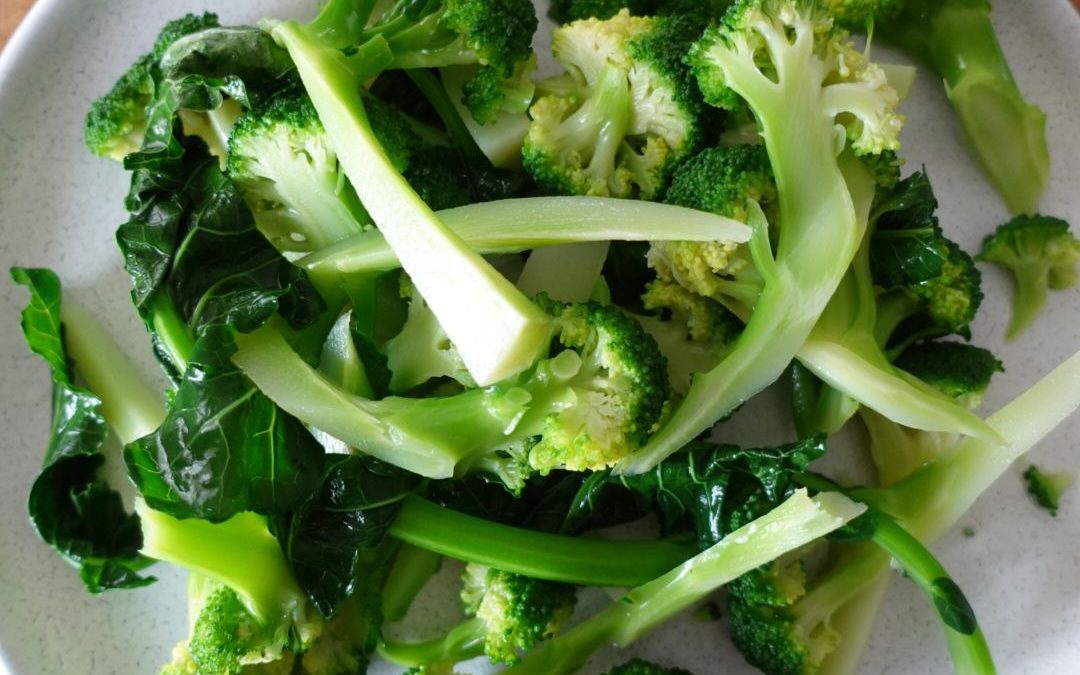
How to Blanch Vegetables
What is blanching and why should we do it? We asked Jen Pomeroy from The Modern Mess to teach us… read more